


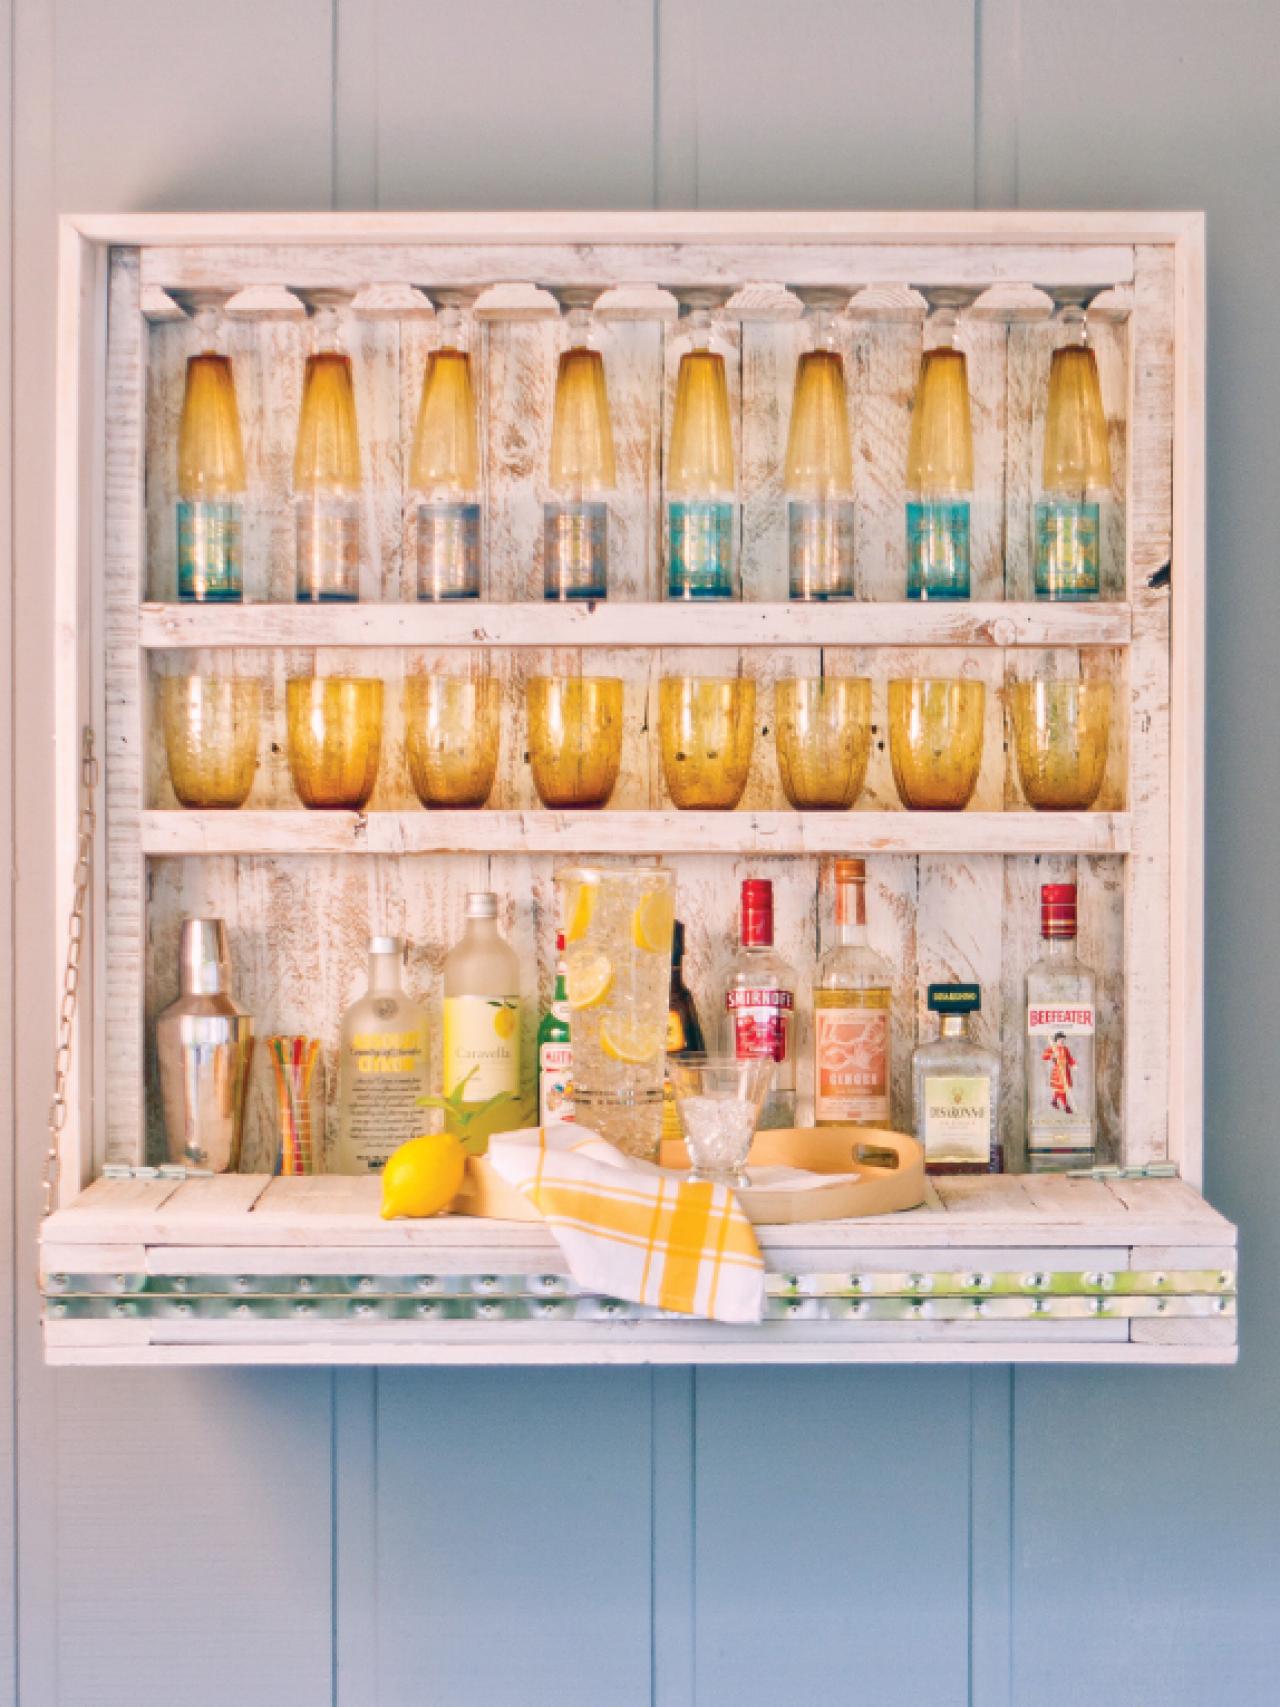
Build a Hanging Outdoor Bar

Small Outdoor Bar Area

Materials Needed:
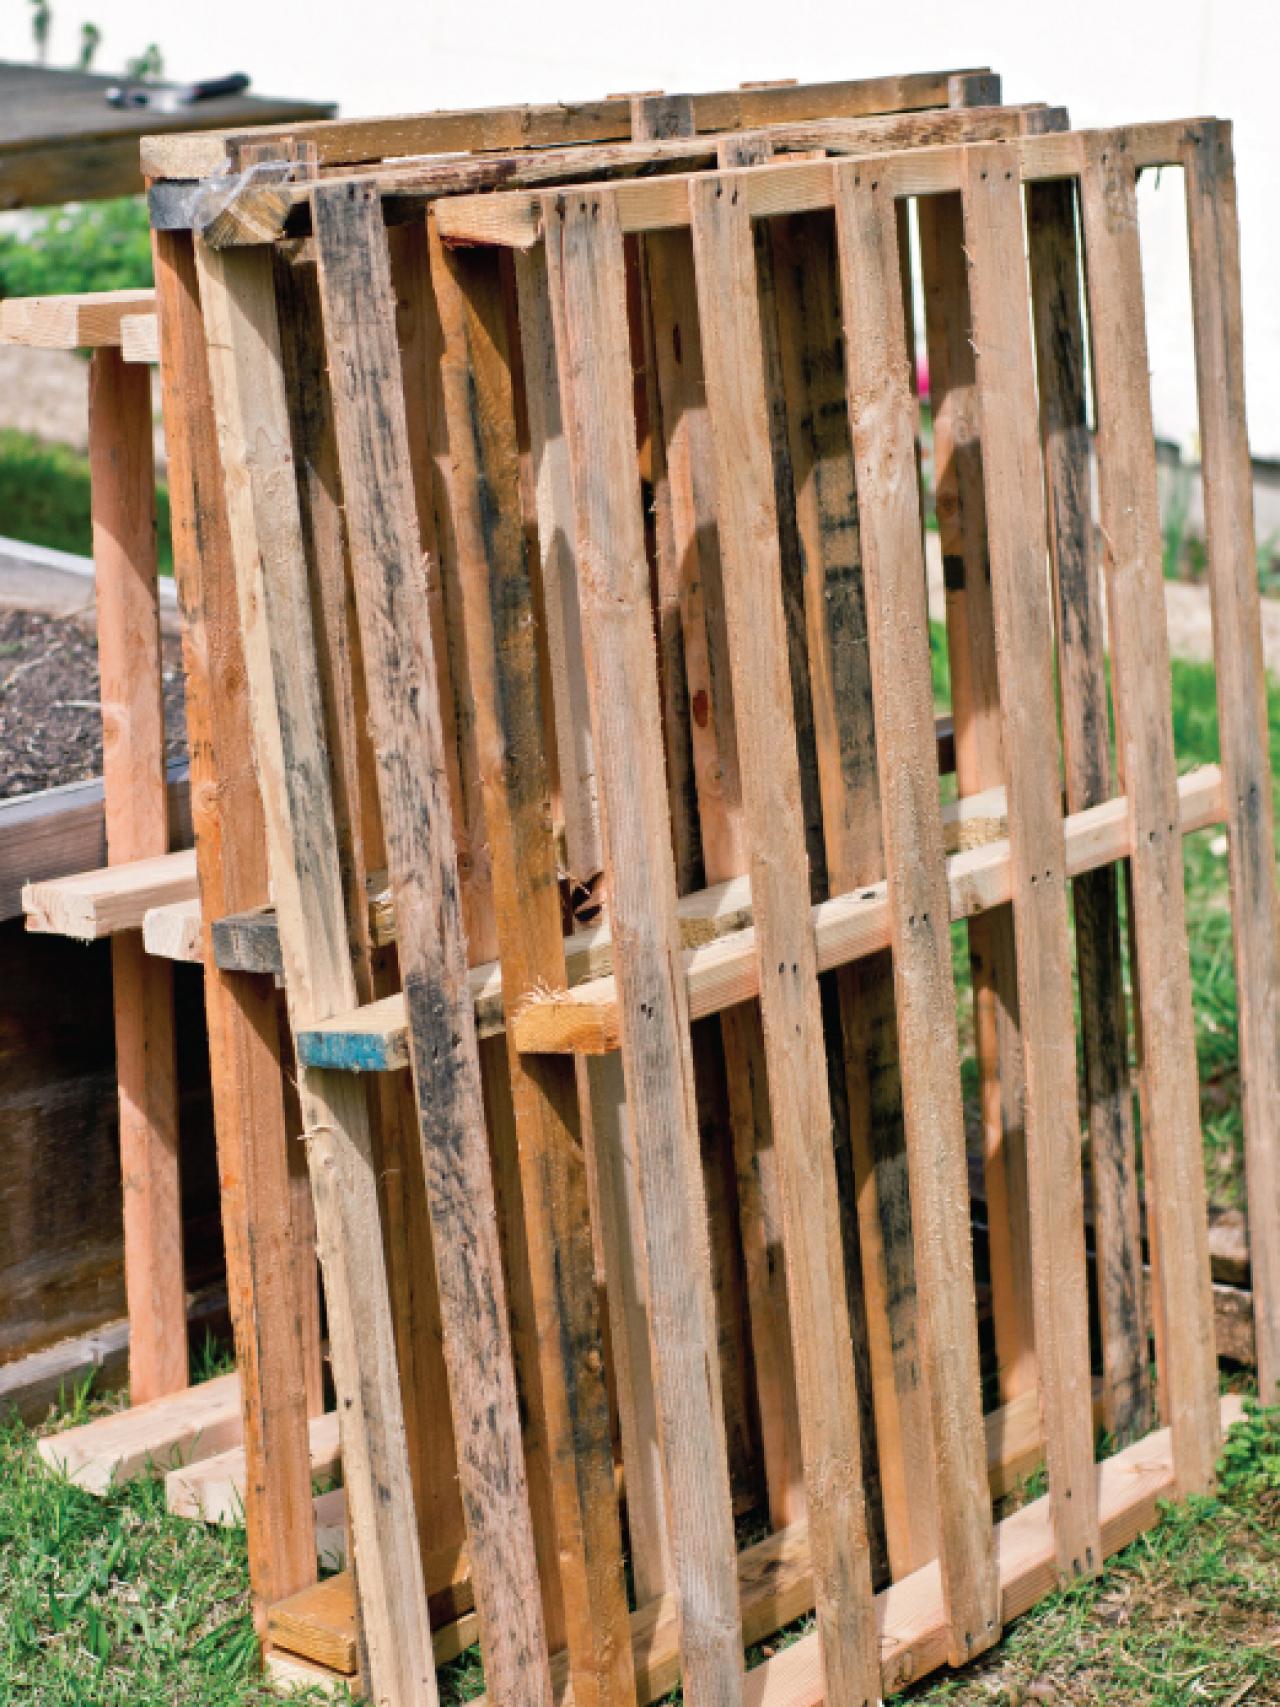
- 8-10 wood pallets (Note: You may have to take apart extra pallets to find enough quality wood.)
- 2 1"x8"x8" pieces lumber
- 2 large paint stirrers
- wood glue
- 3-1/2" wood screws
- 12 sure-ties
- 150 1-1/2" nails
- 2 piano hinges (36" or cut down from 38" with hacksaw if no 36" ones are available)
- 2 slide bolts
- 3 feet 30-40 lb. chain
- 2 2" screws
- 2 bolts with nuts
- 6 washers
- table saw (You could also do cuts with a jig saw or circular saw.)
- hammer
- screwdriver
- drill
- hand planer (for evening where necessary)
Disassemble Pallets
Turn pallet over and cut bottom slats with a jigsaw close to the sides. This will make removing it from the center board much easier. Then, you can remove the top slats from the back side with a hammer. Remove all nails and discard.

Palettes
Cut List
Once the pallets are disassembled, it's time to cut the pieces for the bar.
To construct the back of the bar, cut the following sizes:
8 2"x4"x36" pieces
6 2"x4"x31-1/2" pieces
4 2"x4"x17-3/4" pieces
To construct bar slats, cut the following sizes:
14 36" pieces
3 38-1/2" pieces (one cut in half lengthwise)
28 13-1/4" pieces
8 3-1/2" pieces
Build the Base of the Bar Front
Arrange by lying flat three of the 31-1/2" 2x4 boards inside of two 17-3/4" 2x4 boards to make a rectangle. Two of the longer boards should be together, as pictured. Secure each of the six joints with a sure-tie. Repeat for the other set of 31-1/2" and 17-3/4" 2x4 boards.


Align Wood Pieces for Outdoor Bar Top
Building an Outdoor Bar
Add the Bar Front Slats
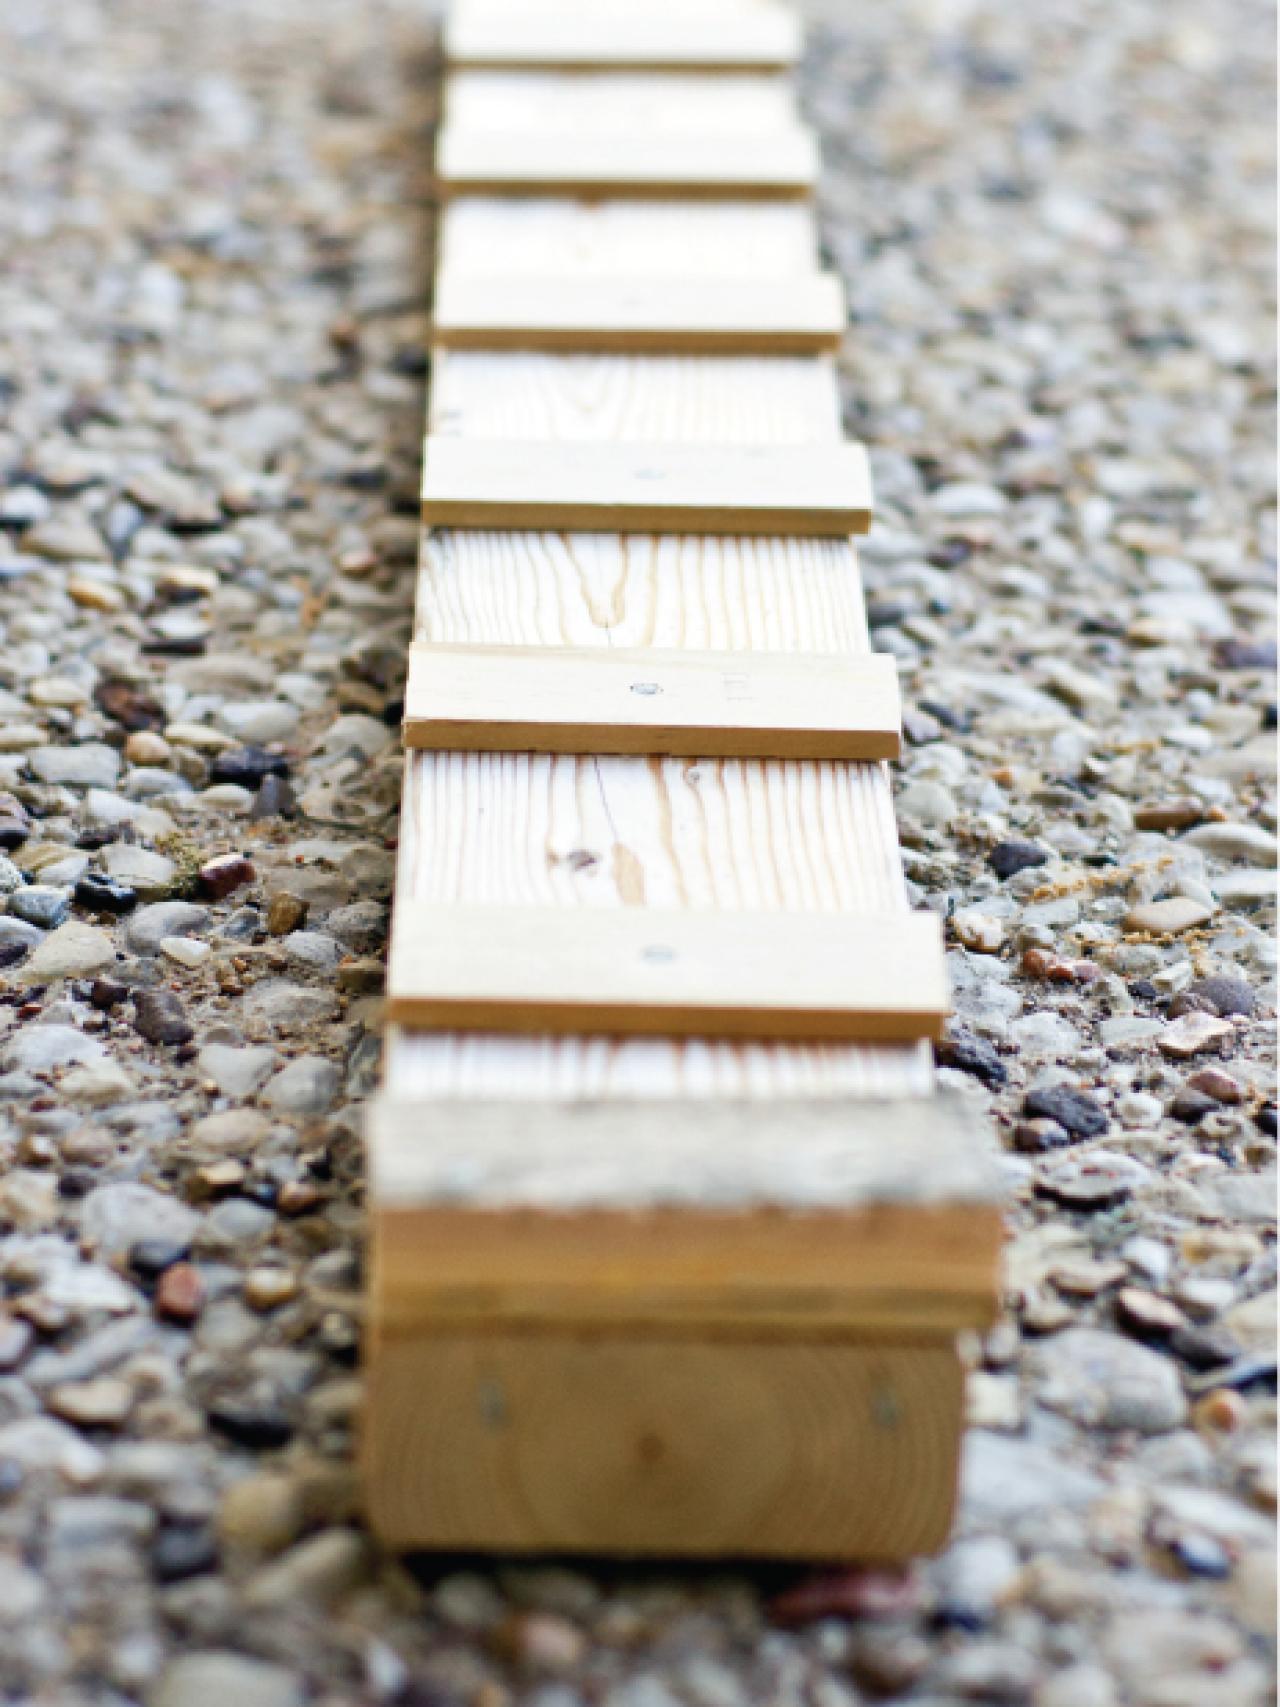
Flip the rectangle over. At the end with two 2x4s, attach with nails one of the split 38-1/2" pieces first with the cut facing the edge of the rectangle. Attach with nails one of the whole 38-1/2" pieces right next to it.
Beginning from the far left edge, attach with nails the 13-1/4" slats perpendicular to the long pieces you've just attached. Stop after 6 pieces. Begin working from the other outer edge and work toward the center. If the final gap is smaller than one of the slats, you may have to trim one down a bit. Repeat for the other 17-1/2" by 38-1/2" rectangle. Set aside.

Attach Horizontal Wood Pieces to Bar Top
Build the Stemware Rack
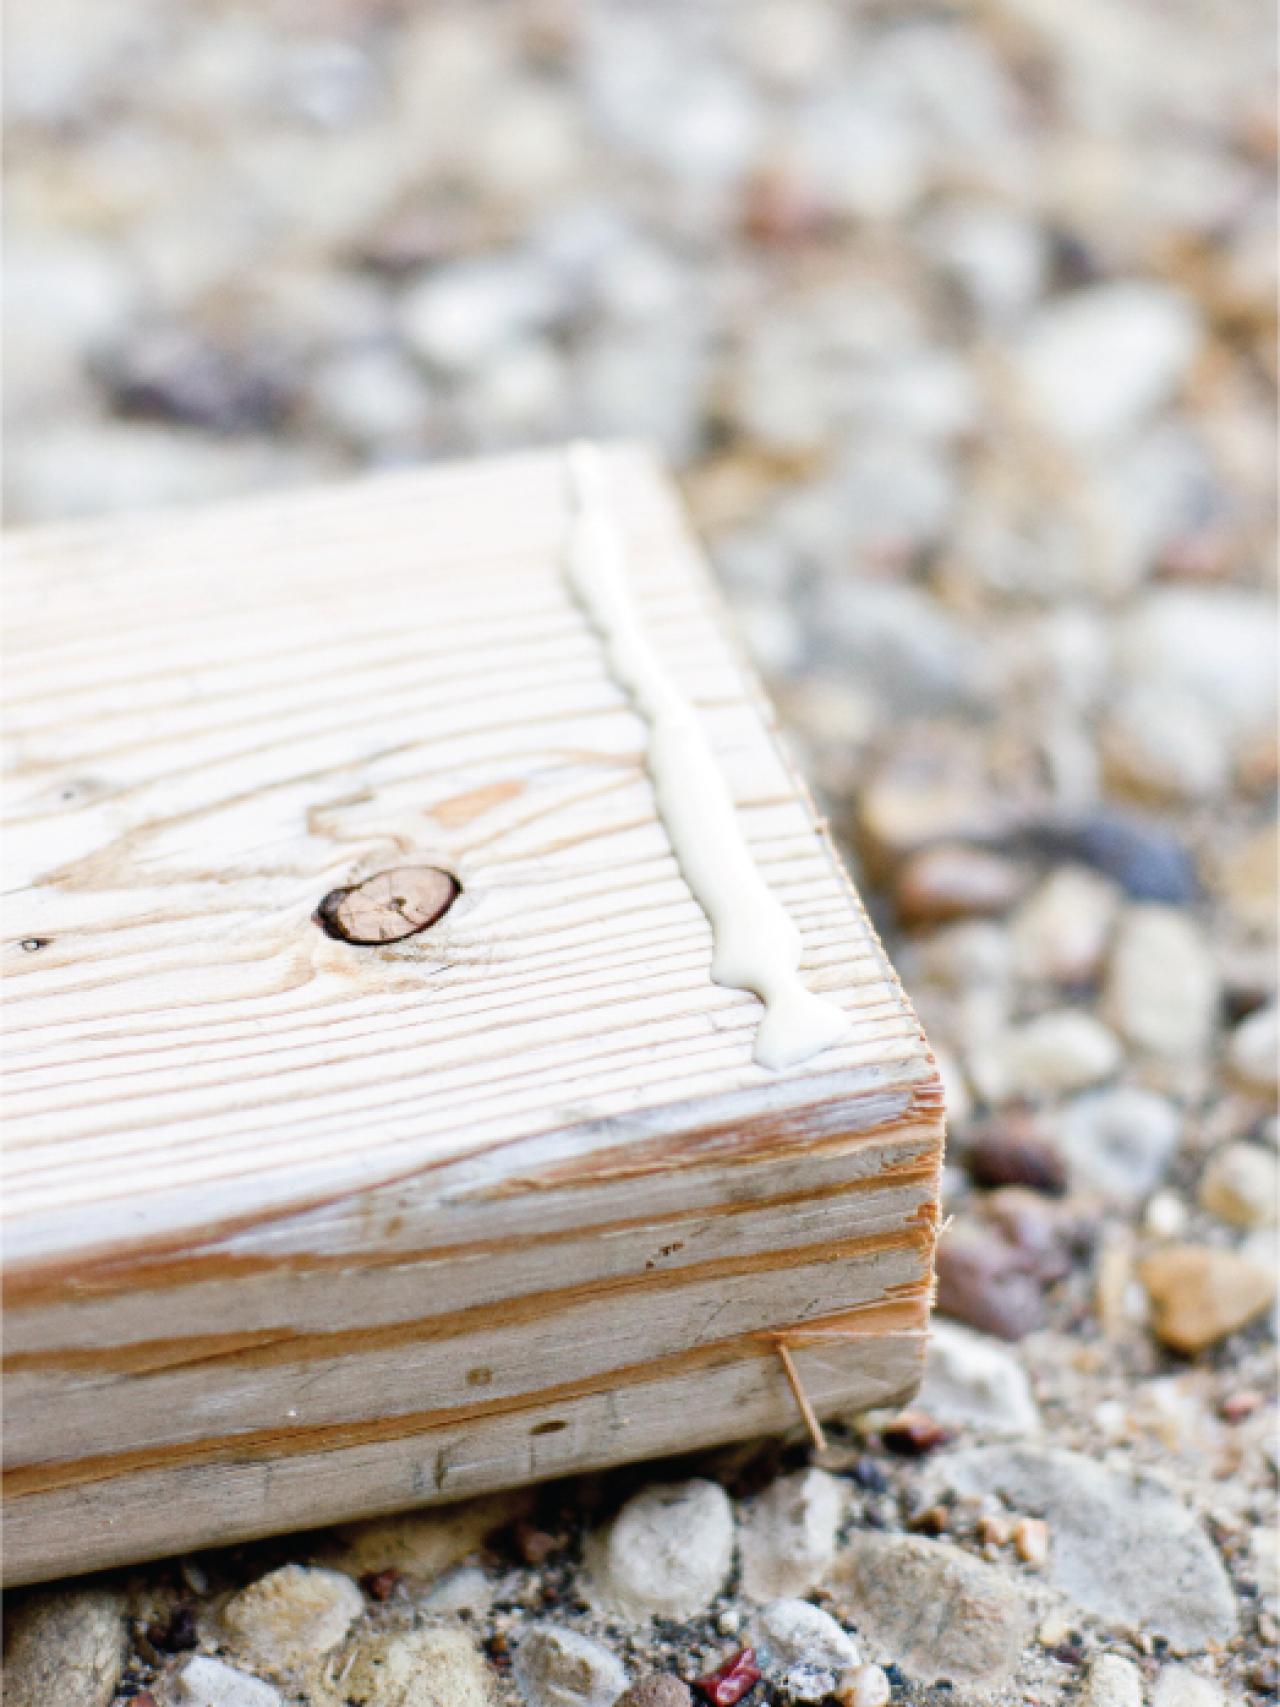
Cut one of the pieces of paint stirrer in half lengthwise. Cut one piece of the 3-1/2" slat in half lengthwise. Set aside.
Place one piece of cut paint stirrer in the center of a 36" board. Apply wood glue to it and secure it with one nail in the center.
Measure 3 inches from the edge of the newly-attached strip. Secure the next paint stirrer strip there and continue in that fashion until your reach the board's end. Secure one of the halves of cut paint stirrer at each end flush with the end of the 2x4. Repeat for the opposite side of the center piece.
Center a piece of the 3-1/2" slat over each of the cut paint stirrer pieces. Attach with glue and one nail at each end. Use the halved slats at the ends of each 2x4, with the cut side flush with end of the lumber.


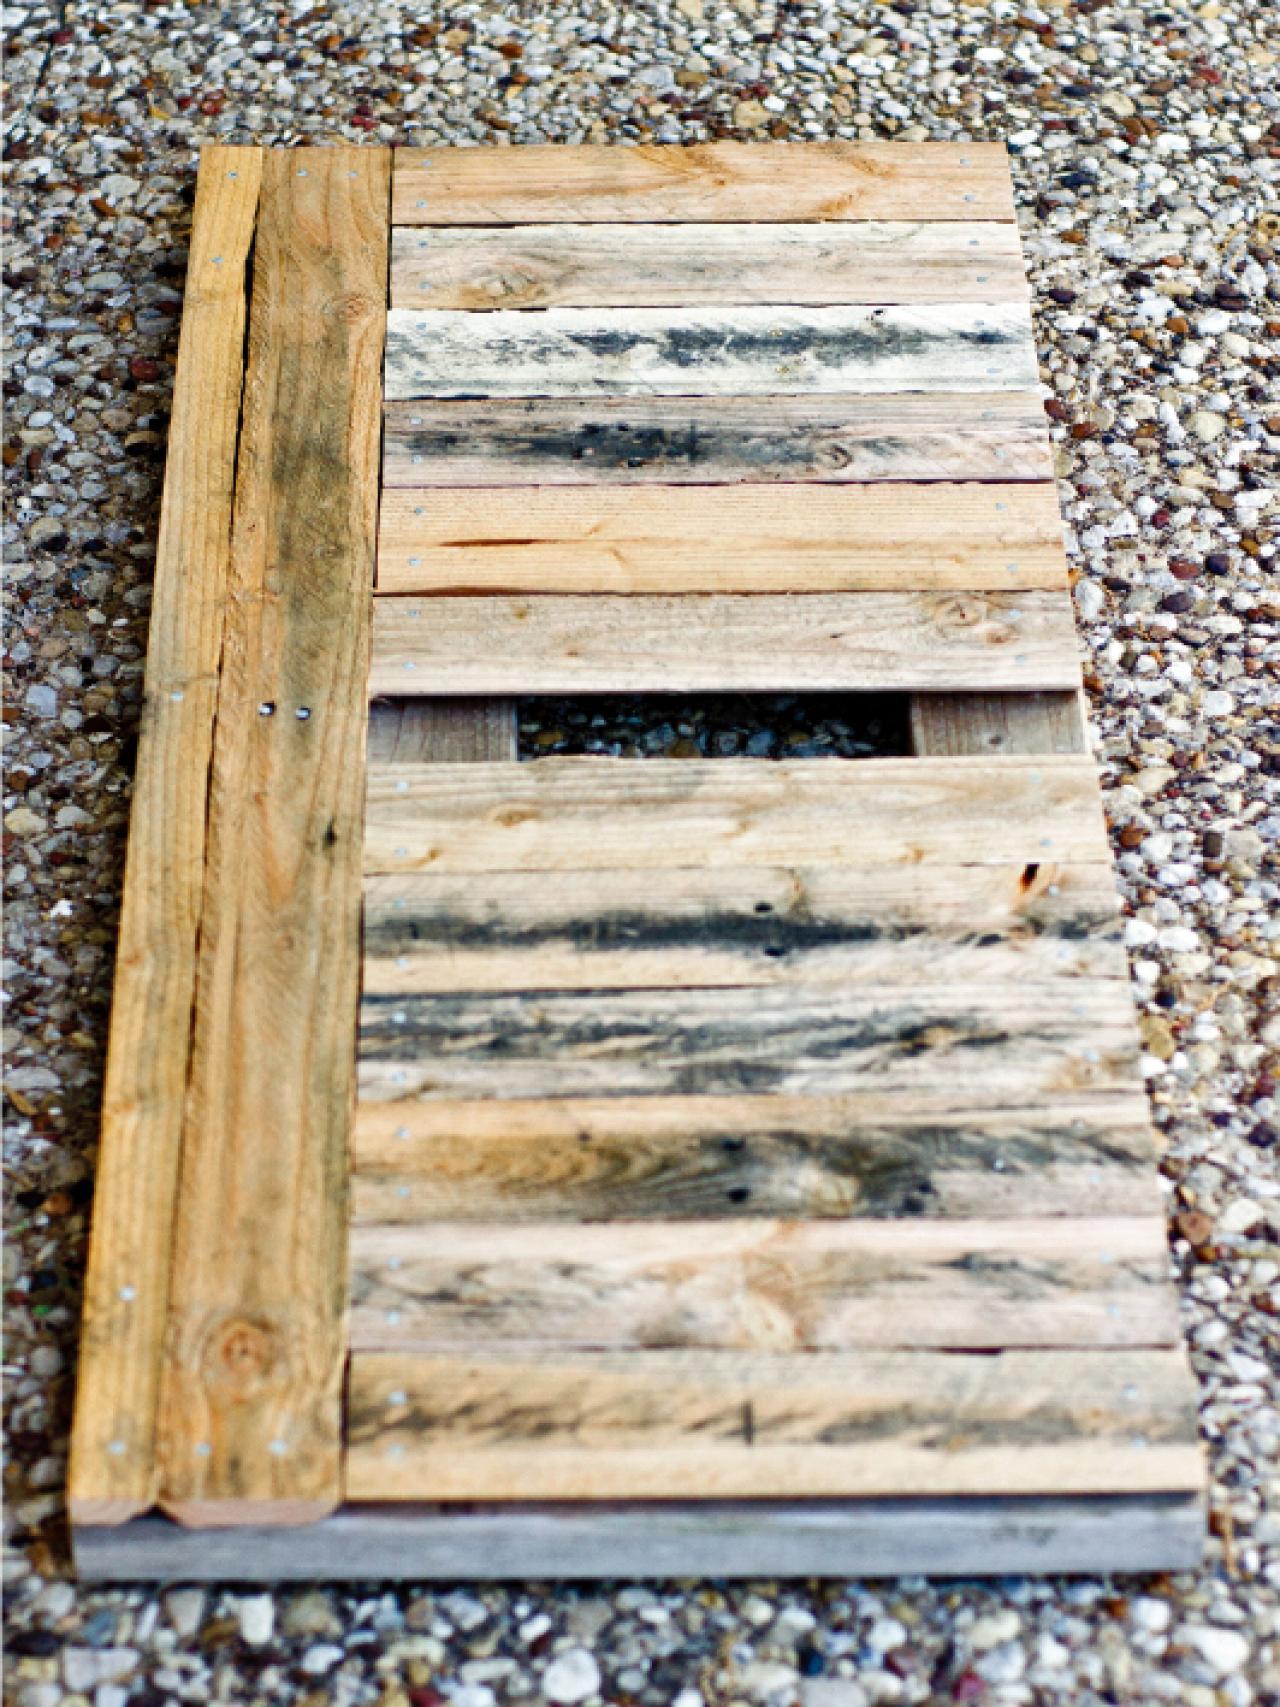
Wood Fragments for Outdoor Bar
Outdoor Bar Glue
Wood for an Outdoor Bar
Joining Wood for an Outdoor Bar
Build the Shelves and Back
Now it's time to build the body of the bar. Lay the stemware rack on its smallest edge at the top of the rectangle, and another 36" board at the bottom. Place two 36” boards on the outside of the top and bottom boards, creating a rectangle. It should measure 36"x39". Secure these in place with two 3-1/2" wood screws at each joint.
Arrange another 2x4 12-1/4" from the bottom and attach. Attach the last 2x4 6 inches above that.
Flip the shelves over and begin attaching the 36" slats vertically. Place a nail at each 2x4, covering the entire back.
Assemble the Bar
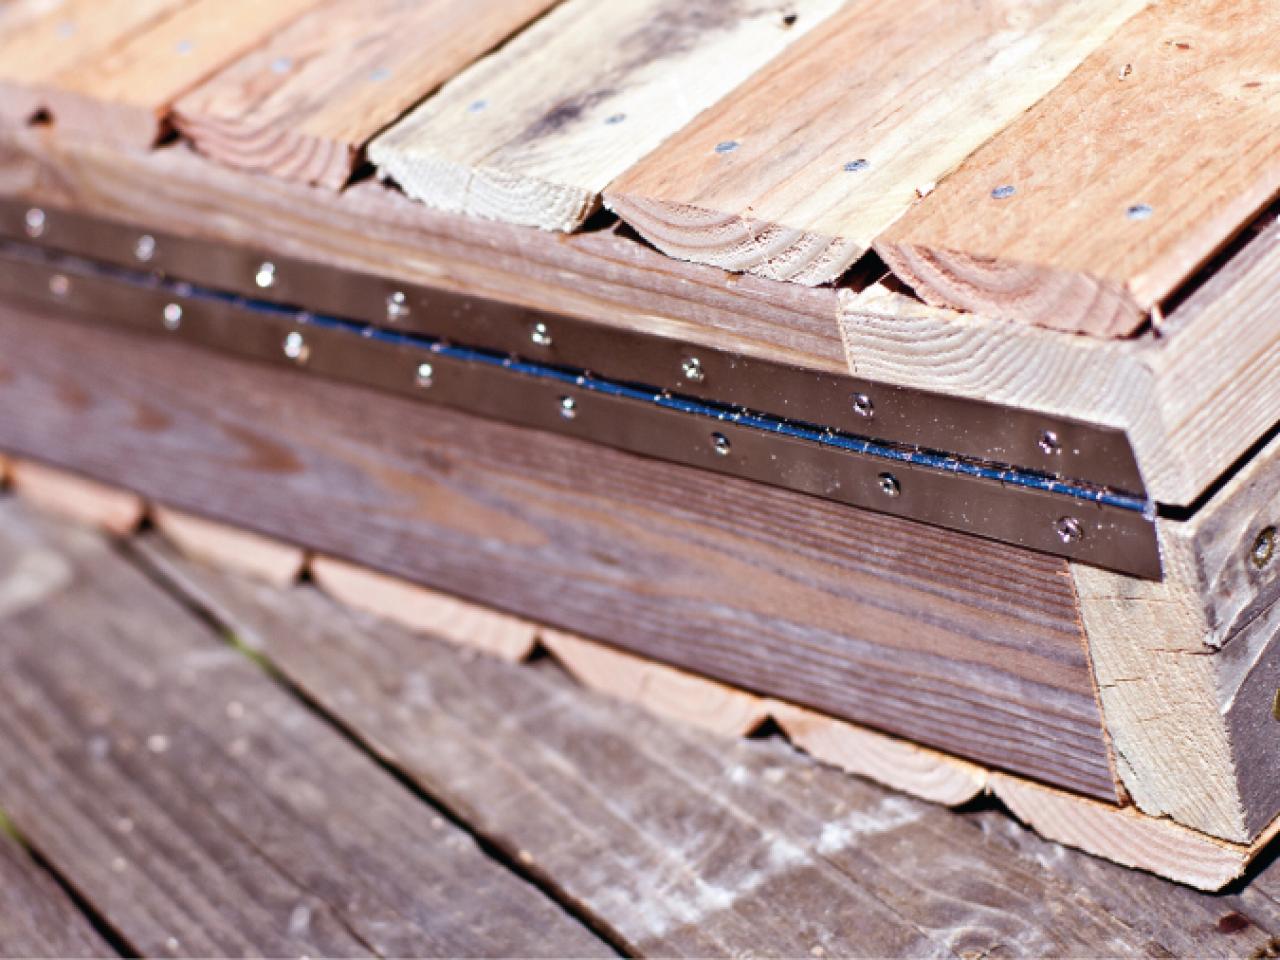
Lay the two smaller bar rectangles back to back on a flat surface. The edges with the long 38-1/2" slats cut in half should be mirroring each other. Attach one piano hinge in the center of the two pieces.
Lay the folding piece you just made on top of the shelves. Using the other piano hinge attach the folding door/bar to the bottom of the shelves.
Cut the 1"x8" boards to create a three-sided frame. The measurements will depend on whether you plan to miter the corners or just butt the joint together. No framing goes on the bottom, as that will need clearance for swinging open.
Attach the 1"x8" board flush with the back edge of the 2x4 and not the very back edge of the slat backing. It should stick out about 4-1/2” past the front edge of the shelves.
With the shelves lying horizontally, fold the door in place. Attach slide bolts to either side of the top of the door, approximately 2 inches from the top. Push the bolt against the frame and mark with a pencil where it hits. Use a drill to make a hole here, but do not drill through the frame.
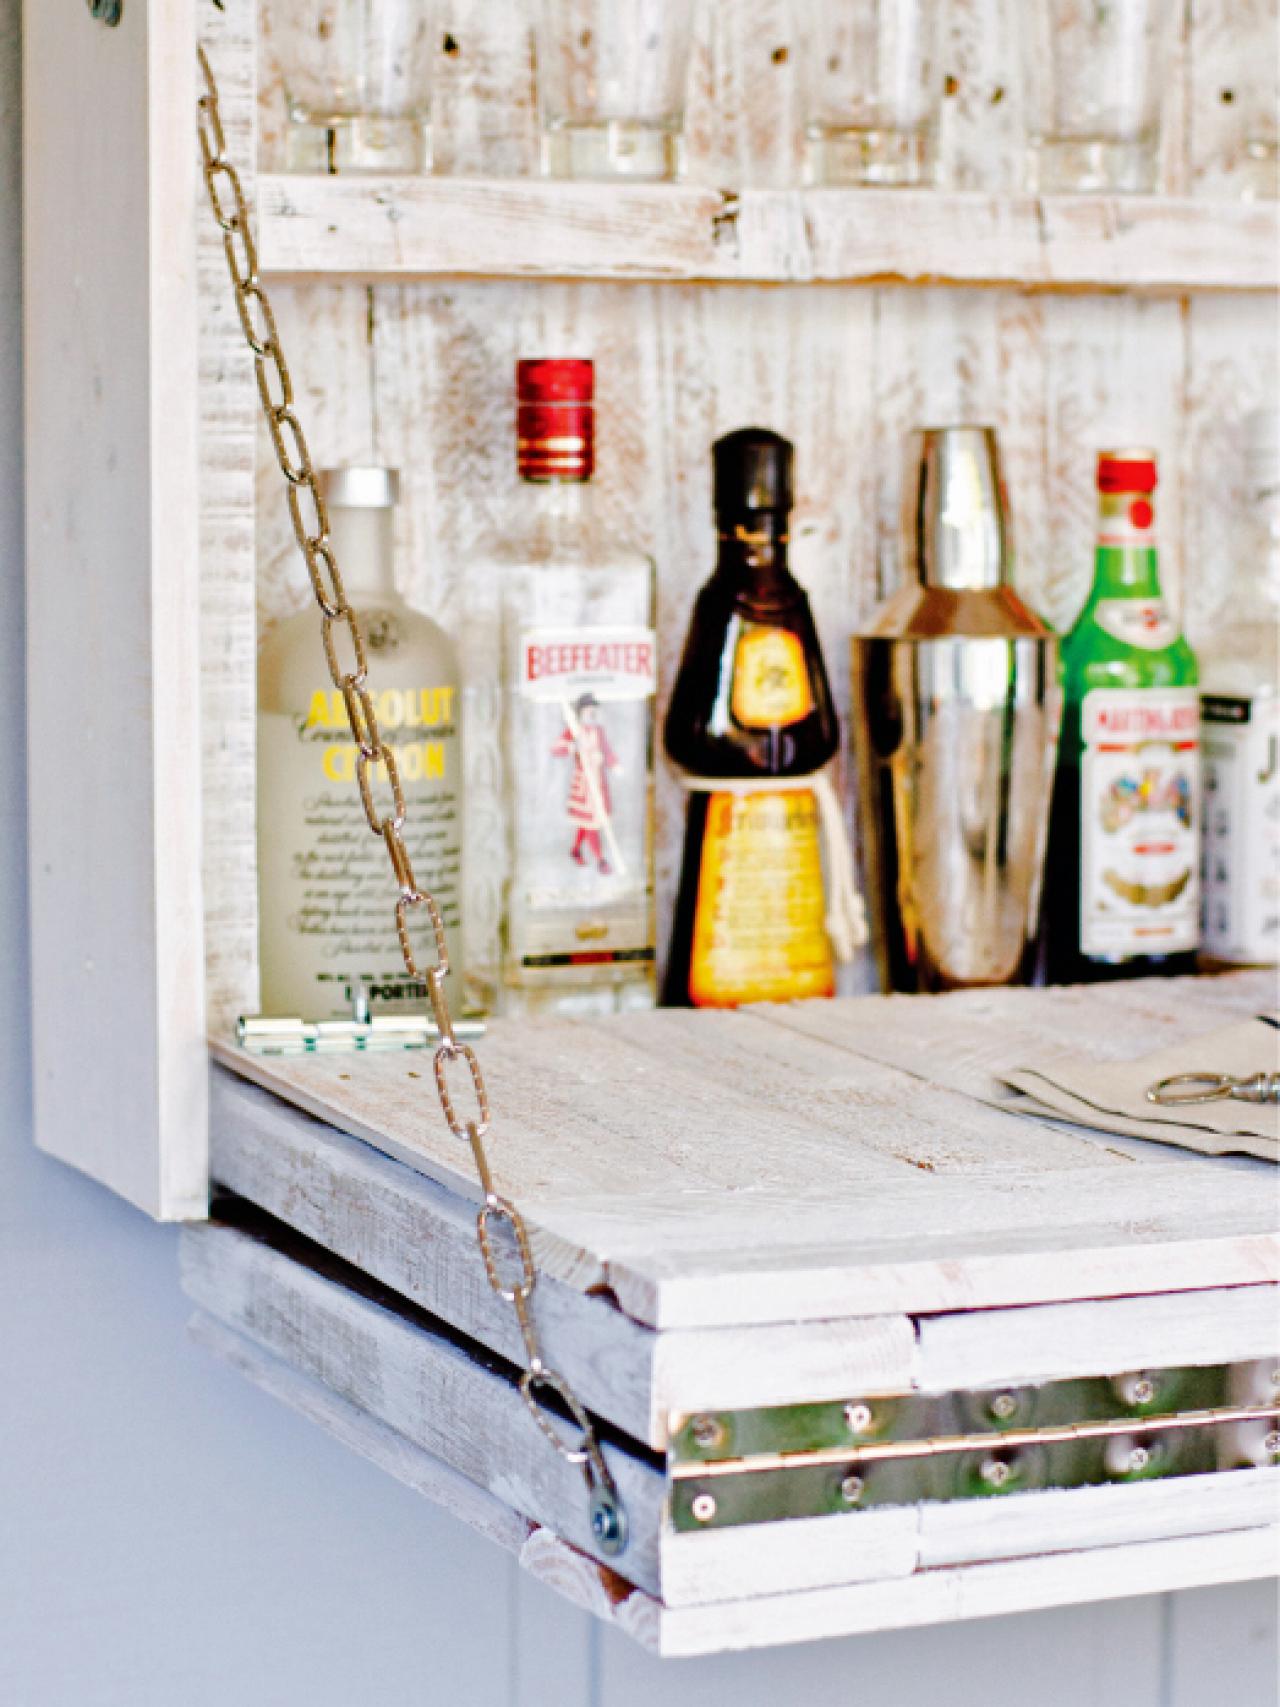
Open the door and prop up as if to make the bar. It will be vertical. Attach one end of chain to the inside of the frame with a bolt, washer and nut. Attach the other end of the chain to the front most edge of the side of the bottom half of the bar. Repeat for the other side.
Dry brush the entire project with the paint color of your choice.


Bar Hinge
Outdoor Bar Chain
Bar Door Latch
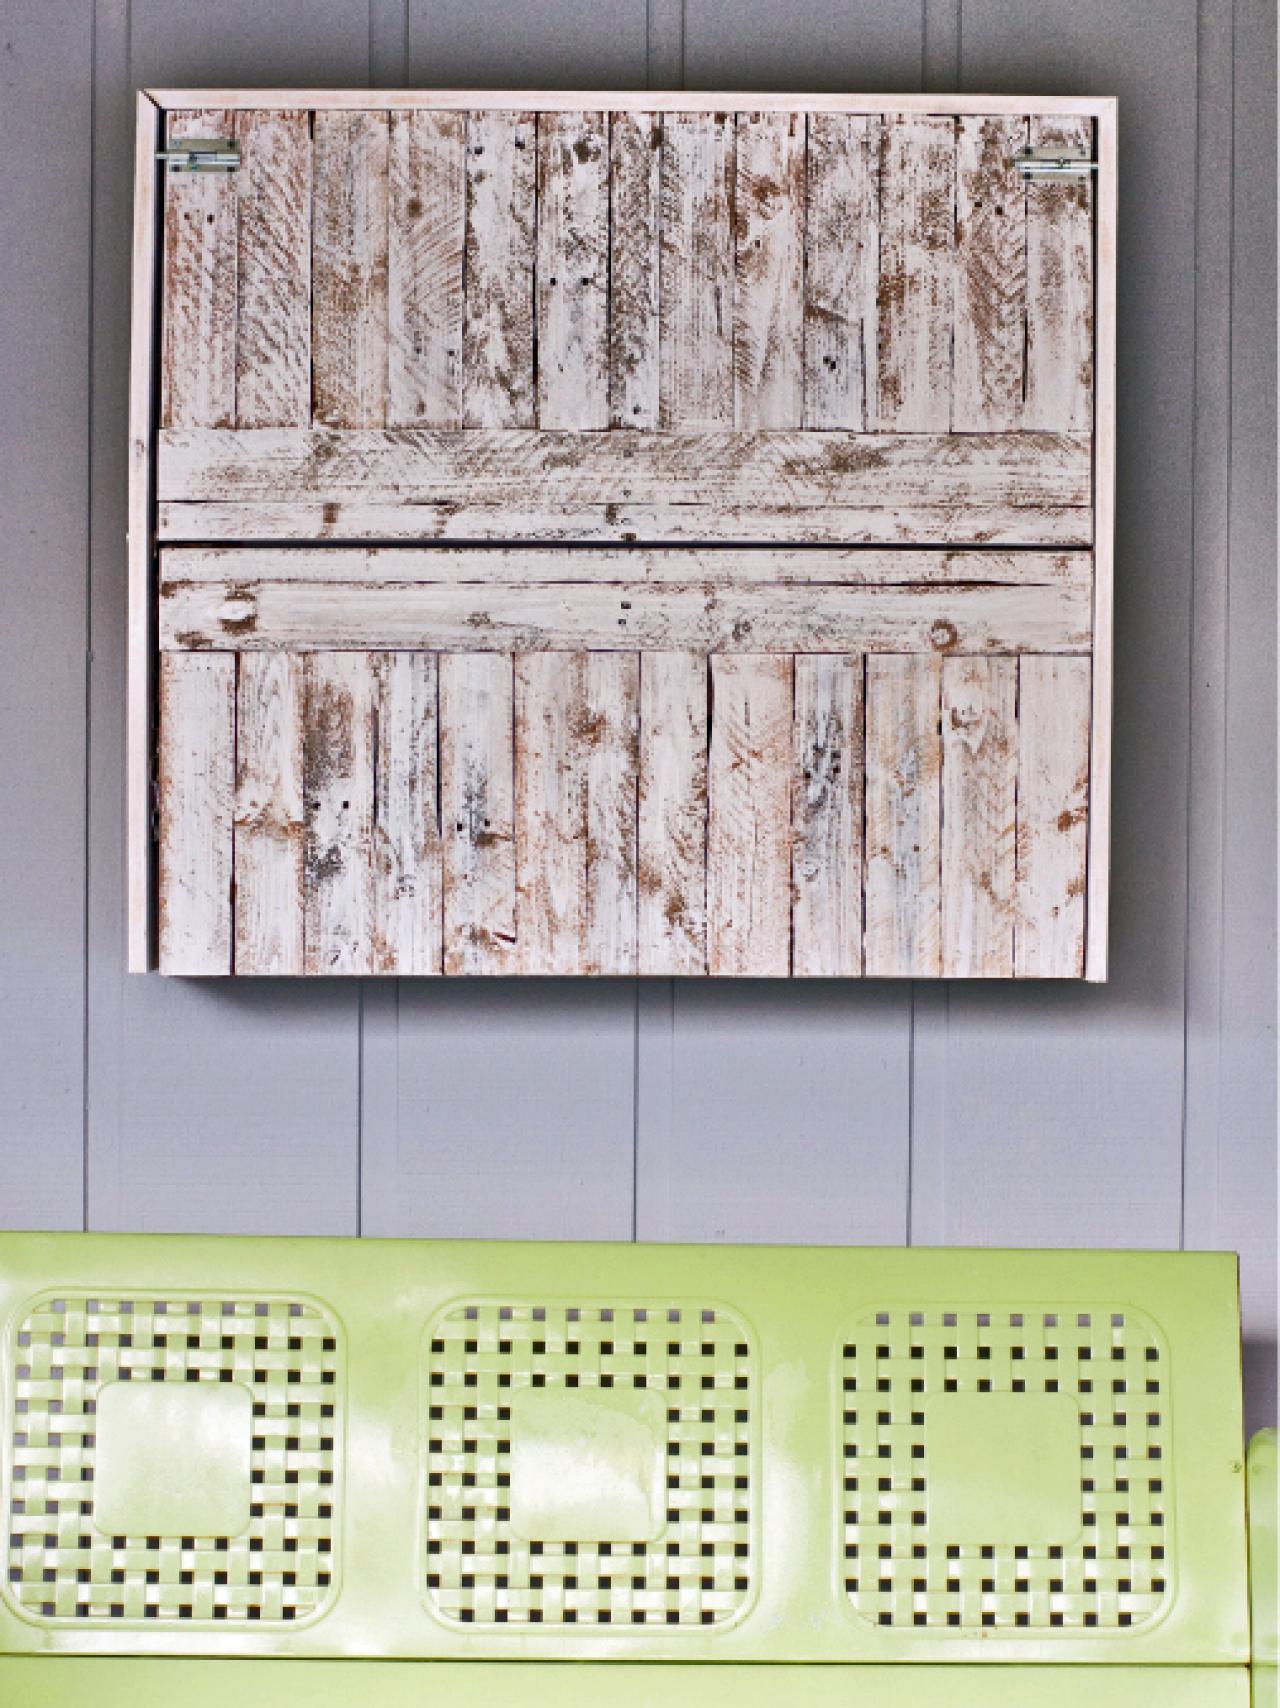
Hanging the Bar
Use wood screws and washers to attach directly to studs in your outdoor walls.
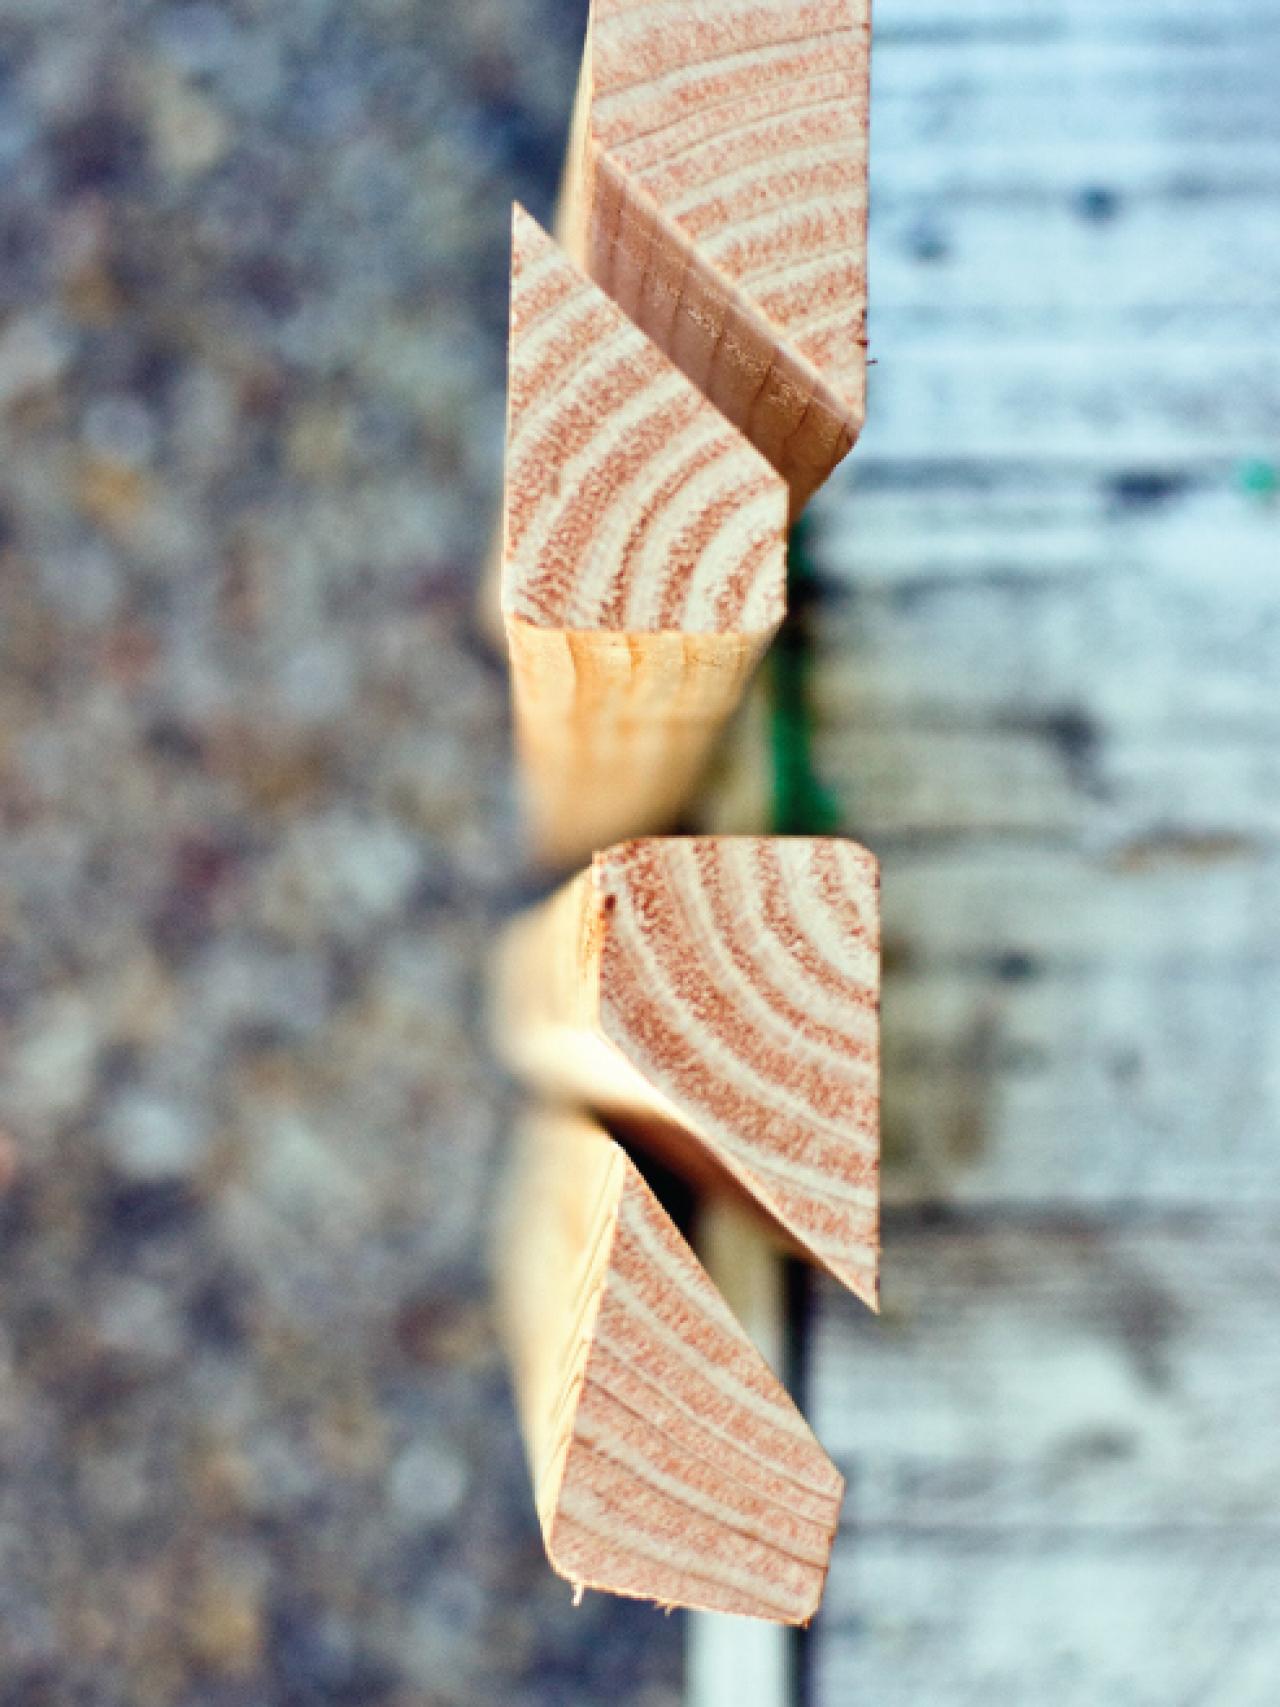
Make cleats by cutting two of the 36" boards in half lengthwise at a 45 degree angle. Half of the cleat gets attached to the back of the bar with the point facing down. The other half gets attached to the wall with the point facing up. You will need several screws into both the back of the bar and the wall. It is best to secure some of the screws into a stud for extra support.
Tip: The finished project is quite heavy. Get help as needed with lifting and attaching.


Angled Pieces for Outdoor Bar
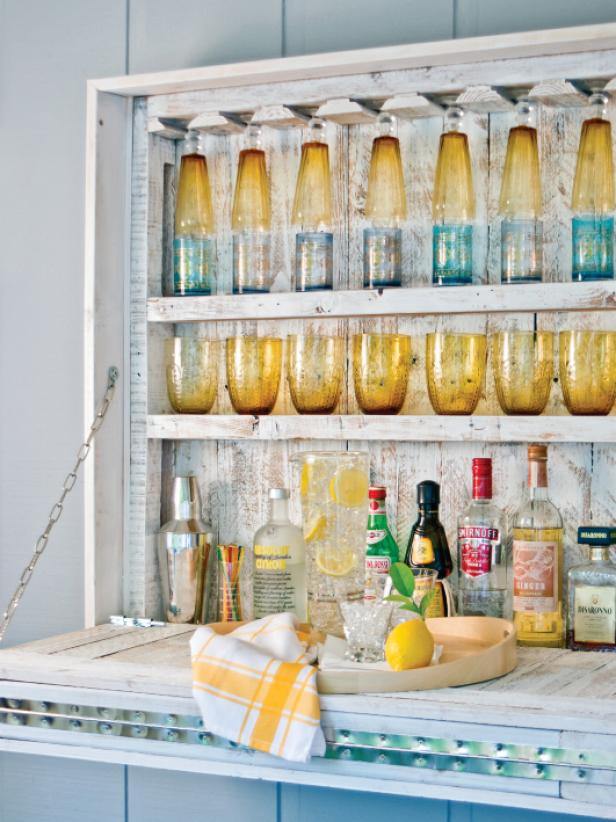
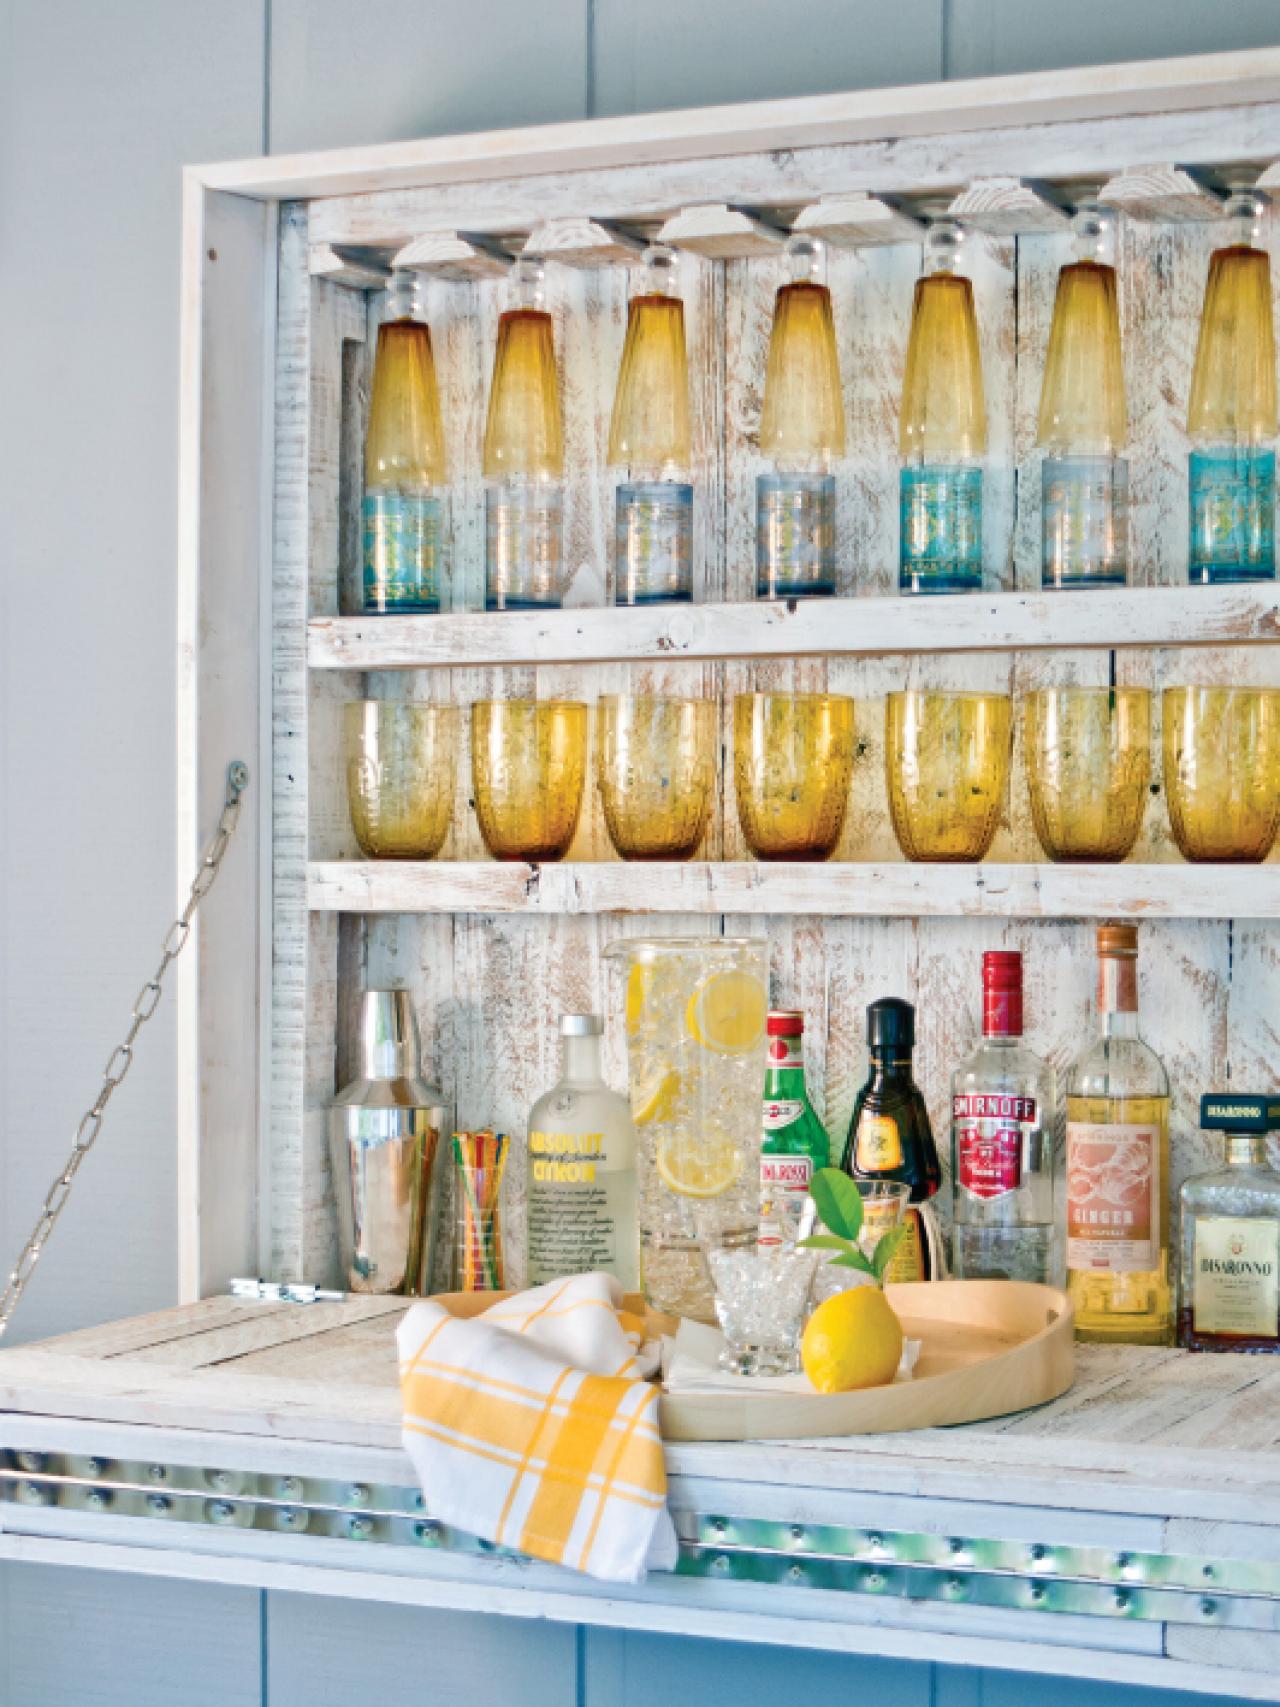
Bright Glasses Serve Refreshments
Decorate your bar with something functional. Colorful glasses double as a decoration and glassware for refreshments.
Outdoor Bar Project


