


How to Build a Grilling Island
Create an outdoor kitchen by nestling a gas grill into a custom-built, granite-topped island.

An outdoor grilling island is a great way to create a custom cooking area without the expense of special-order appliances. Here we take a standard off-the-shelf grill and adapt it to island life.

Frank Murray
Tools + Materials
- tape measure
- framing square
- table and circular saws
- 4' level
- 15-gauge finish gun
- bit driver and bits
- pocket jig
- 1 piece 5/8" pressure-treated or marine plywood
- (10) 2x4 x 8’ pressure-treated lumber for the frame
- (6) 1x4 x 8’ pressure-treated lumber for the frame
- 1 1/2" 15-gauge finish nails
- pocket and exterior wood screws (stainless or coated)
- construction adhesive
- countertop
- exterior-grade 1x lumber for the cladding
- grill
- safety glasses
- dust mask
- work gloves
- earplugs
Note: We used standard pressure-treated lumber to construct the fame and reclaimed pine for the cladding, but you could also use teak, mahogany or another exterior grade wood for the cladding. Masonry or metal are other options for the exterior cladding.
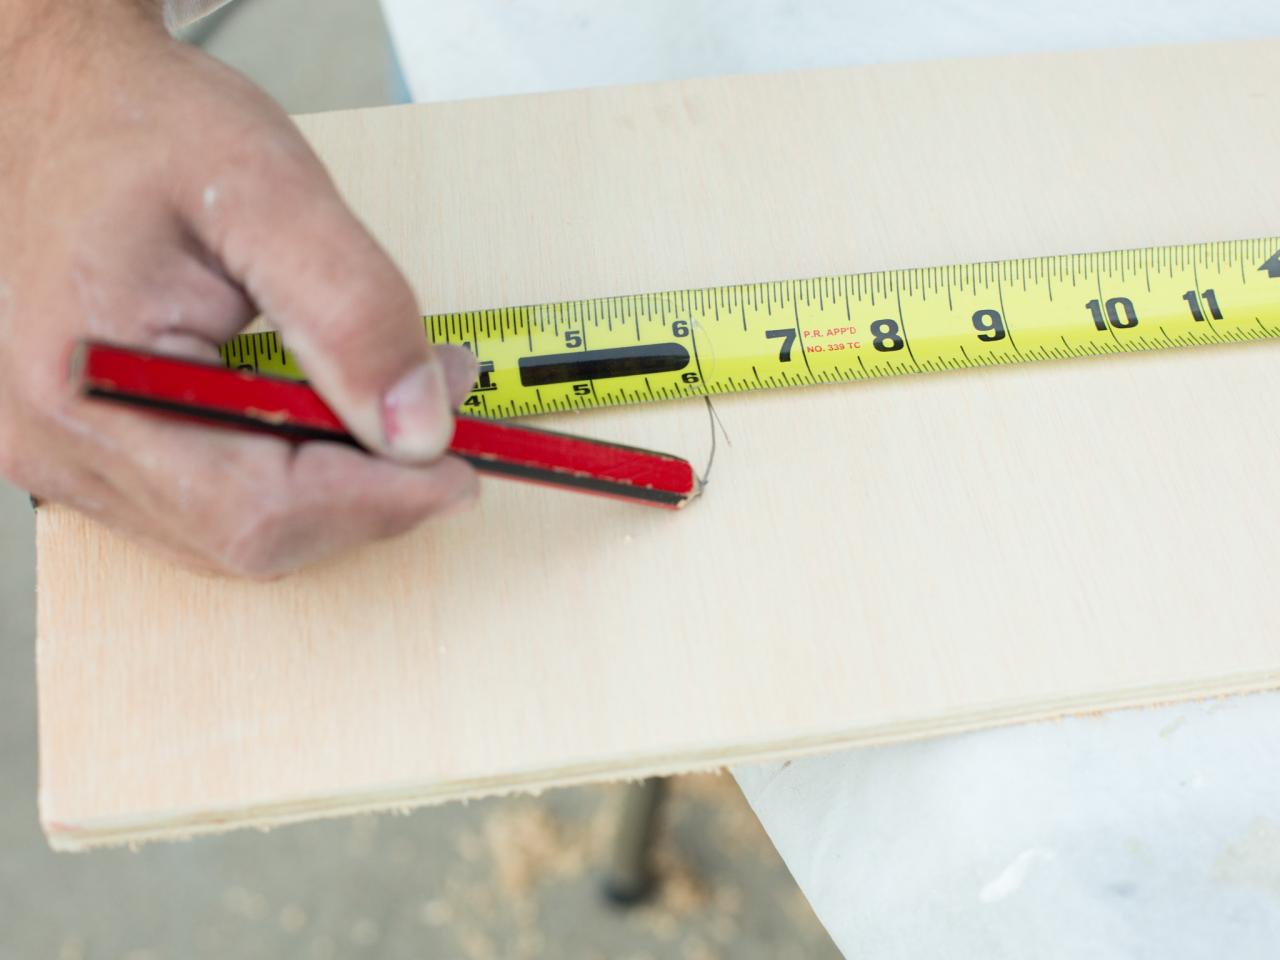
Take Measurements
Size up the base. Measure the width and depth of the grill, making sure to account for any items (i.e., gas lines) protruding off the back. Add 1/2 inch to each measurement. This will be the size of the opening created for the grill. Next, measure the distance from the ground to the lid and subtract 2 inches. This will be the countertop height. Then determine the total width and depth of the island. A good starting point is to multiply the grill width by three. This will give equal countertop area on both sides of the grill. Take the grill depth and add 6-1/2 inches to achieve the total depth.

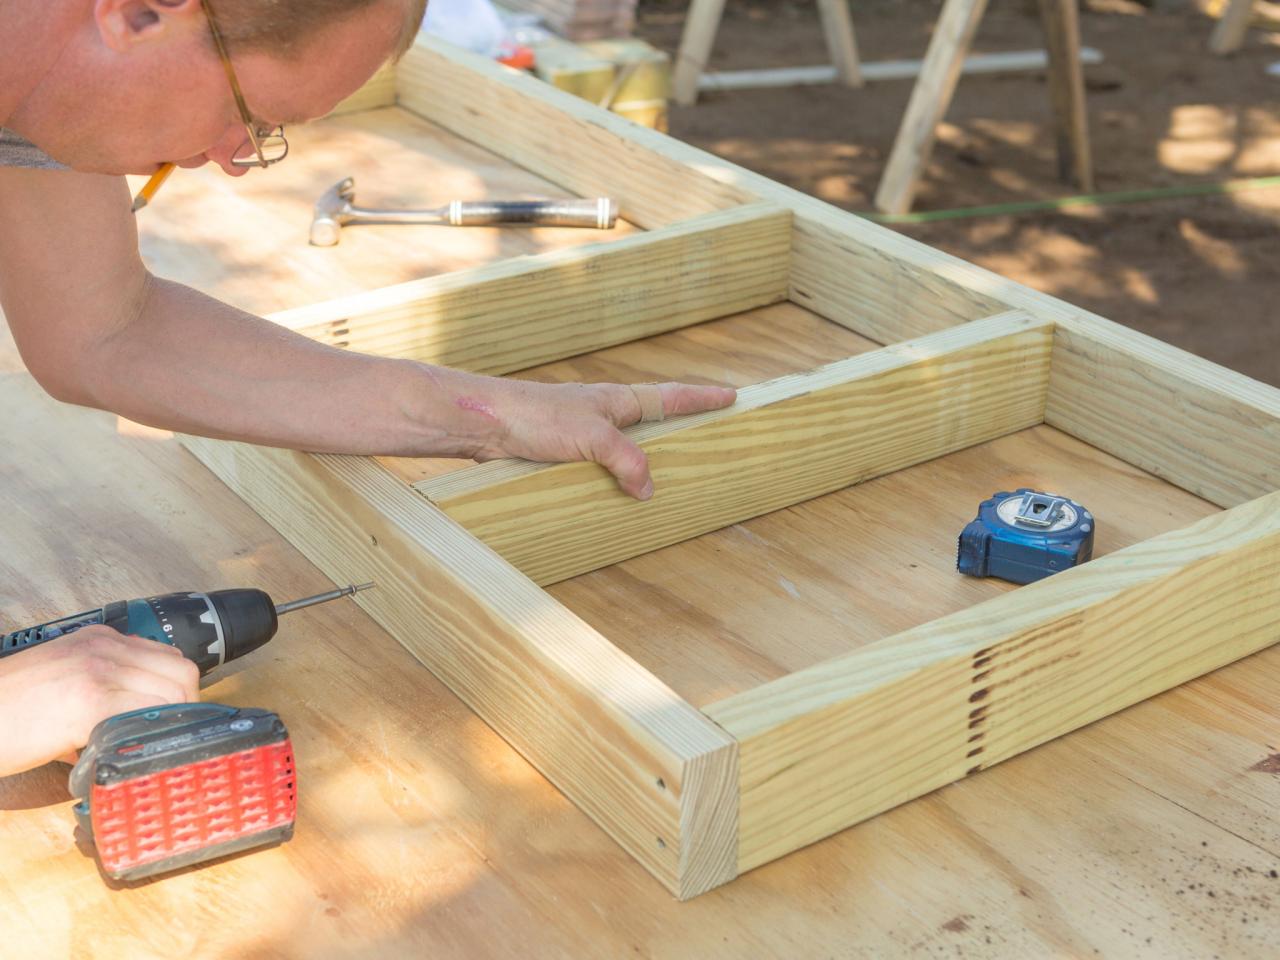
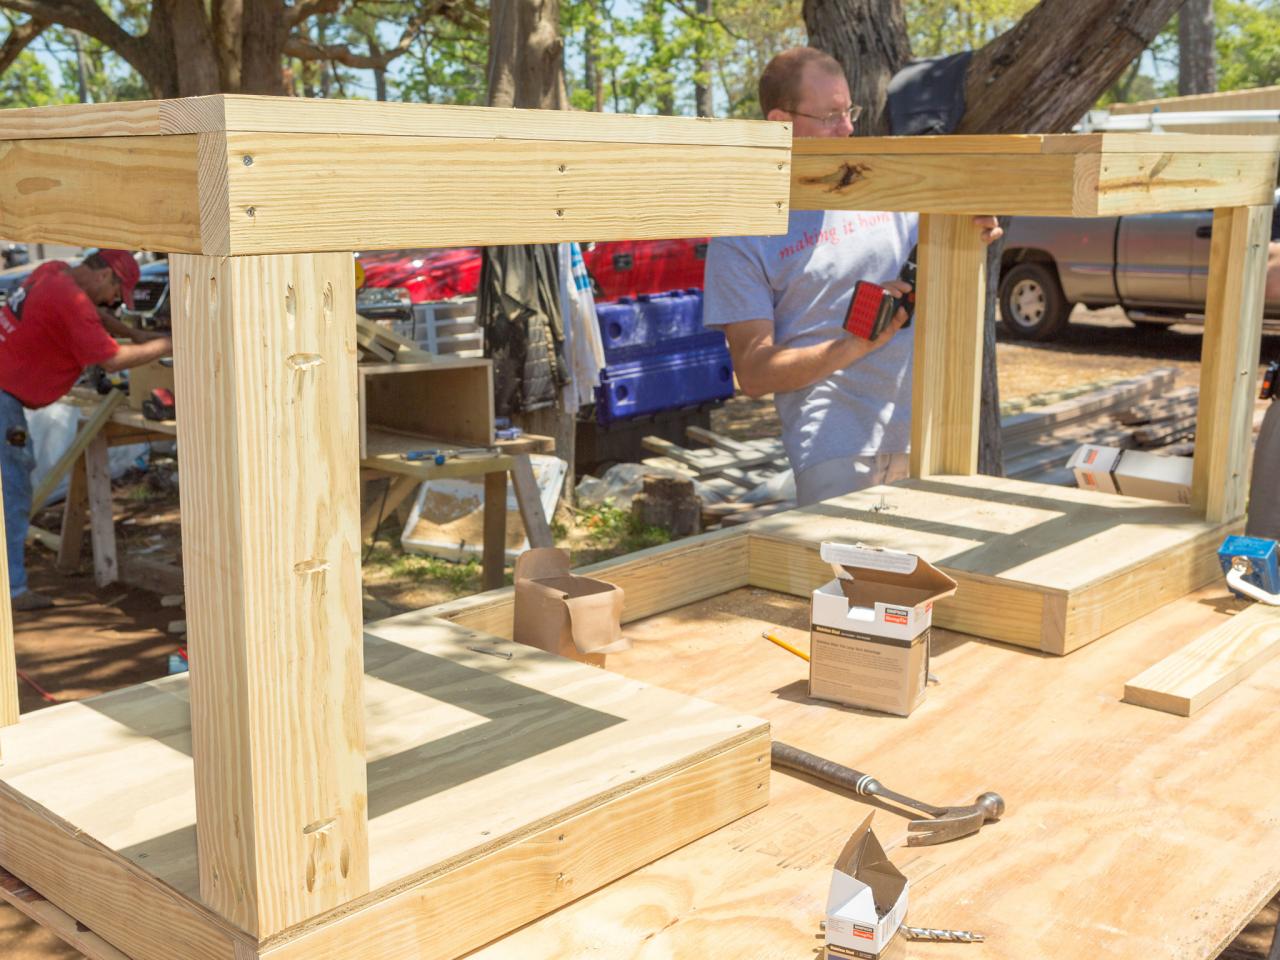
Construct the Island Frame
Frame the U-shaped top and base for the island using the total width, depth and grill opening dimensions. Frame each piece with pressure-treated 2x4 studs and wood screws.

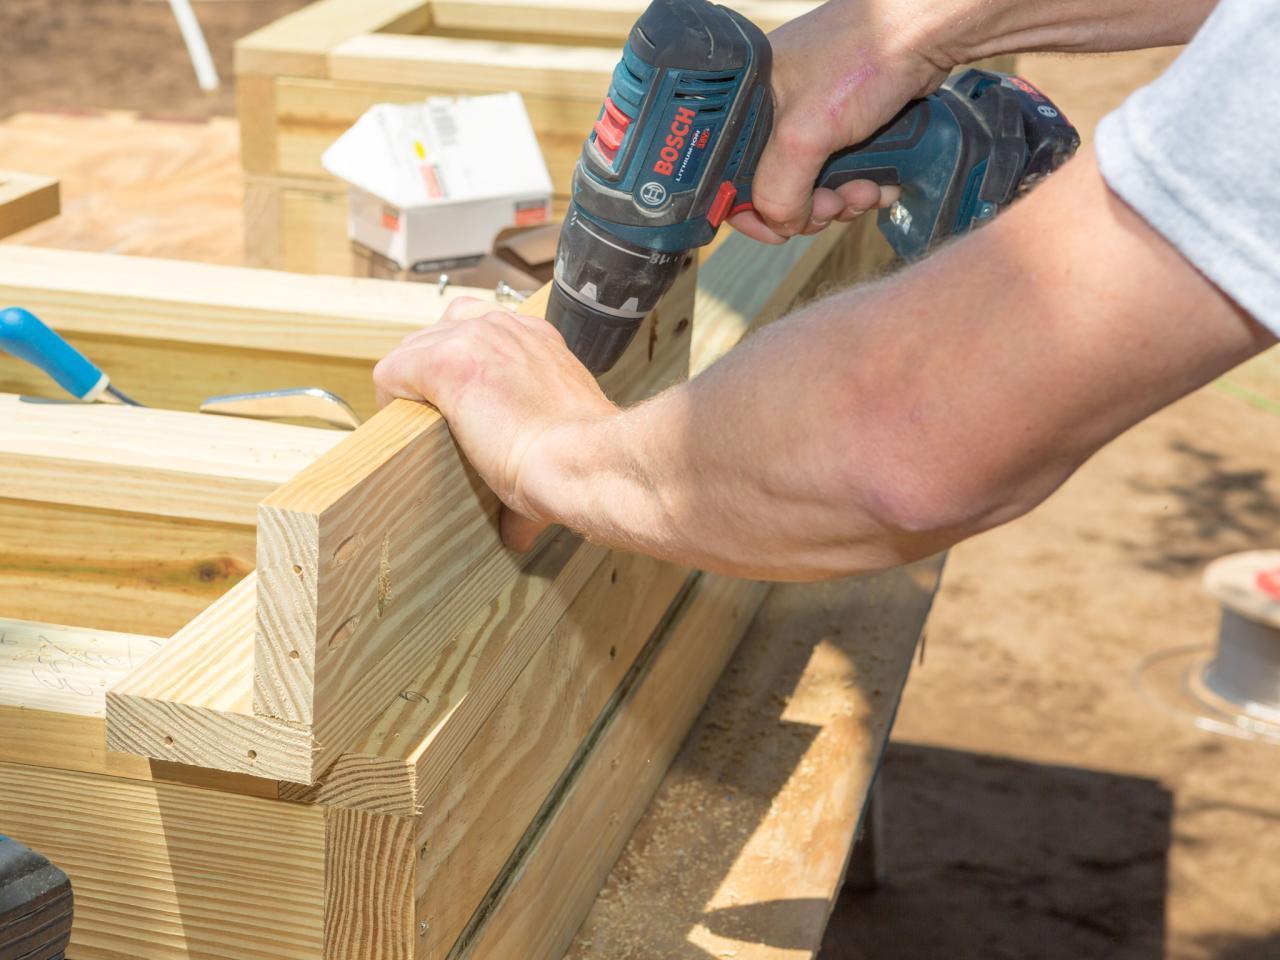
Construct Corners
Create the vertical corners by joining two pieces of 1x4 pressure-treated pine with pocket screws or face-driven wood screws. Subtract 3.75 inches plus the countertop thickness (usually 1 to 1.5 inches) from the overall countertop height to determine the lengths of the verticals.

Assemble Parts
Add a 1x4 edge band around the top frame to support the countertop. Optionally, sheet the base frame with plywood if adding operable doors and storage in the island. Attach the base, verticals and top frame with four wood screws at each corner. Turn the completed frame over and install furniture-leveling feet at each corner and 2 feet on center across the back.

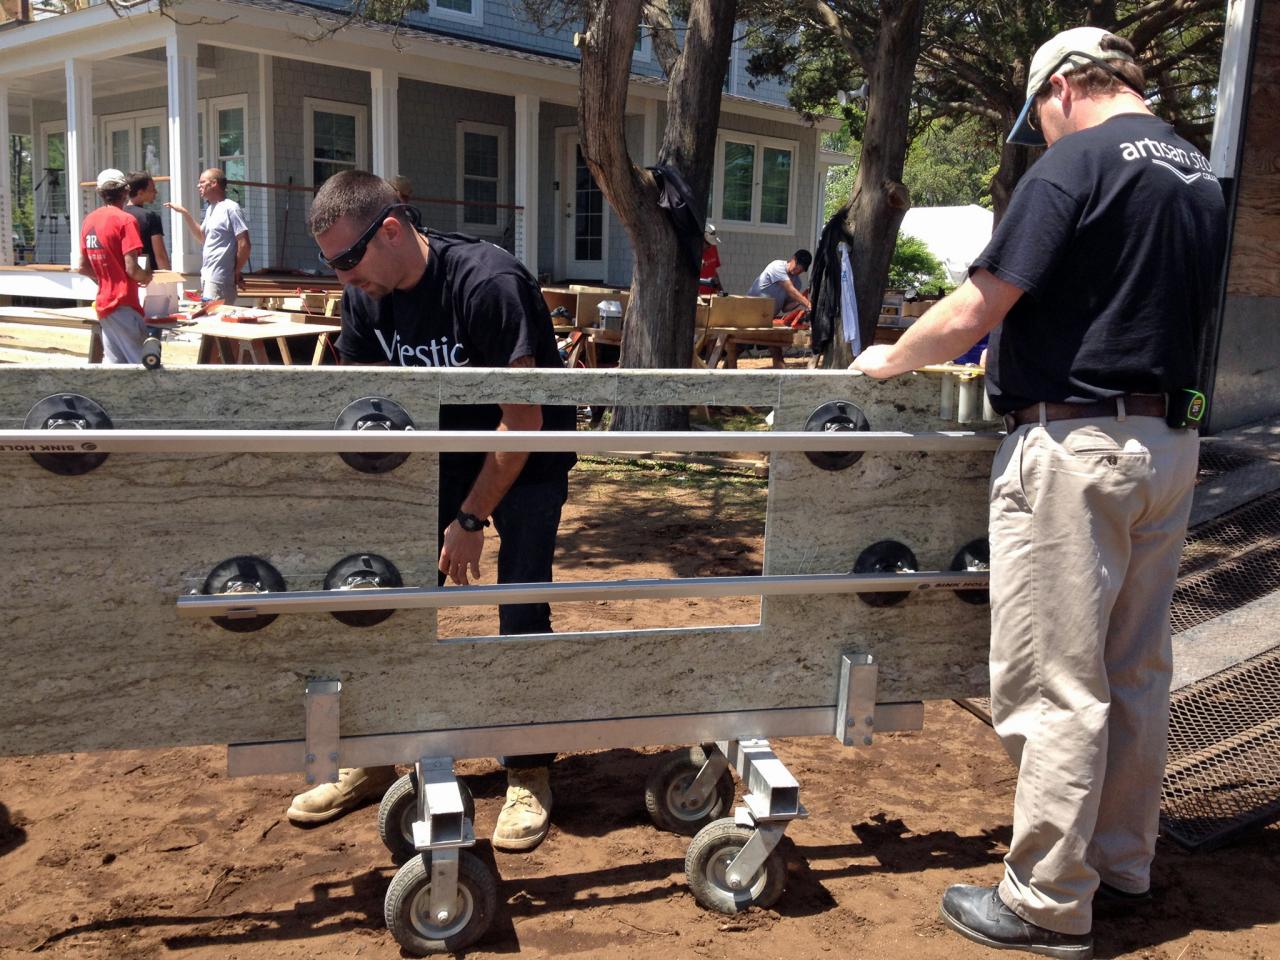
Select Countertop Material
Consult a local countertop fabricator to select an easy-clean countertop material that will stand up to the elements. Once the material is selected and the lead time established, ask the installer to template the island frame, adding a 1 inch overhang around the perimeter. Be sure to account for the thickness of any cladding in addition to the overhang.

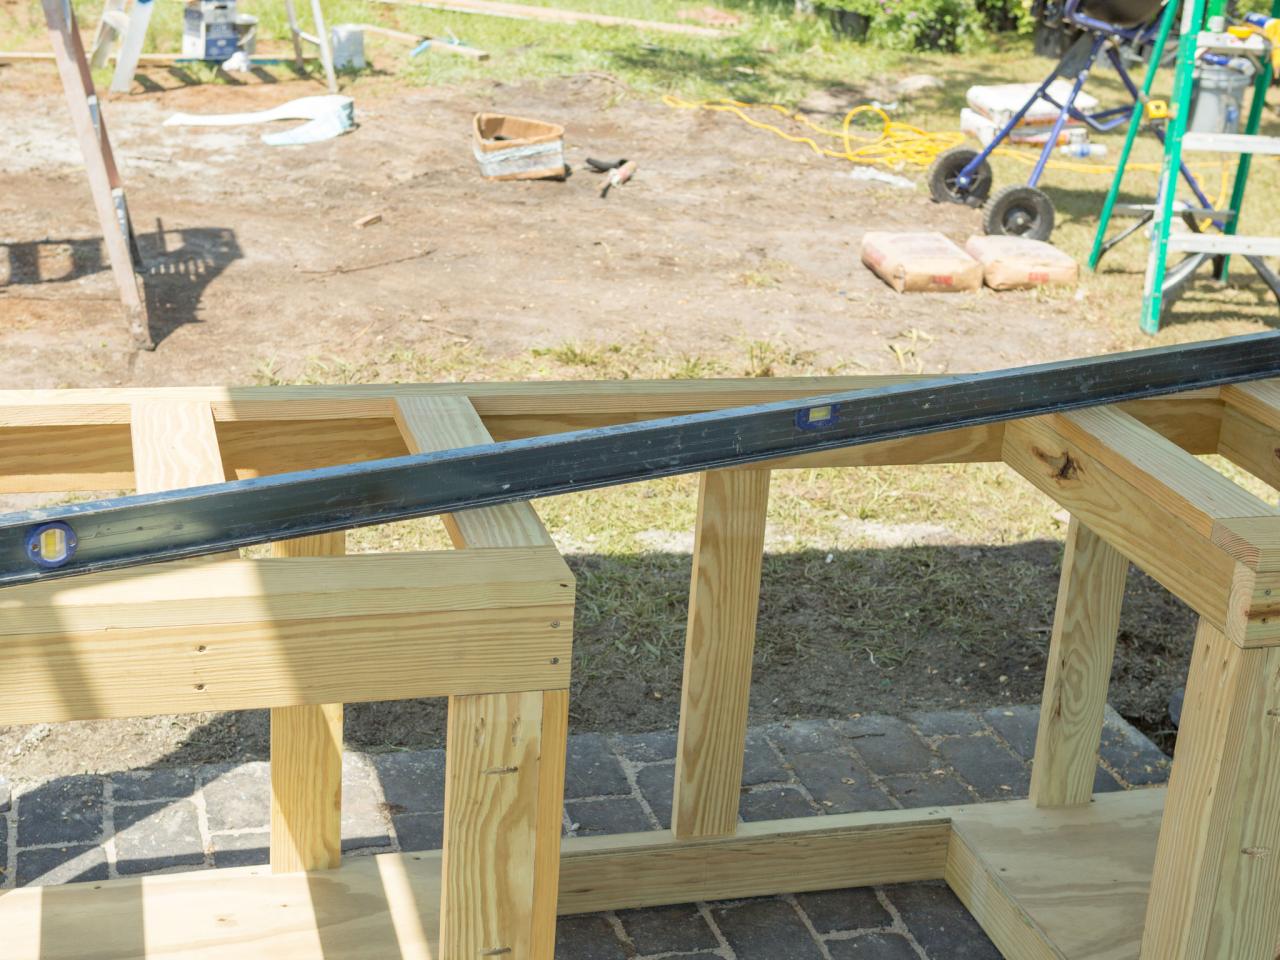
Install Frame
Install the island frame in its final position and check for level. Adjust the feet and, if necessary, add a plastic shim if the ground variance exceeds the range of the leveling feet.

Cap Frame With Countertop
Install the countertop, being sure to have the grill handy in case any final adjustments are required to the top.

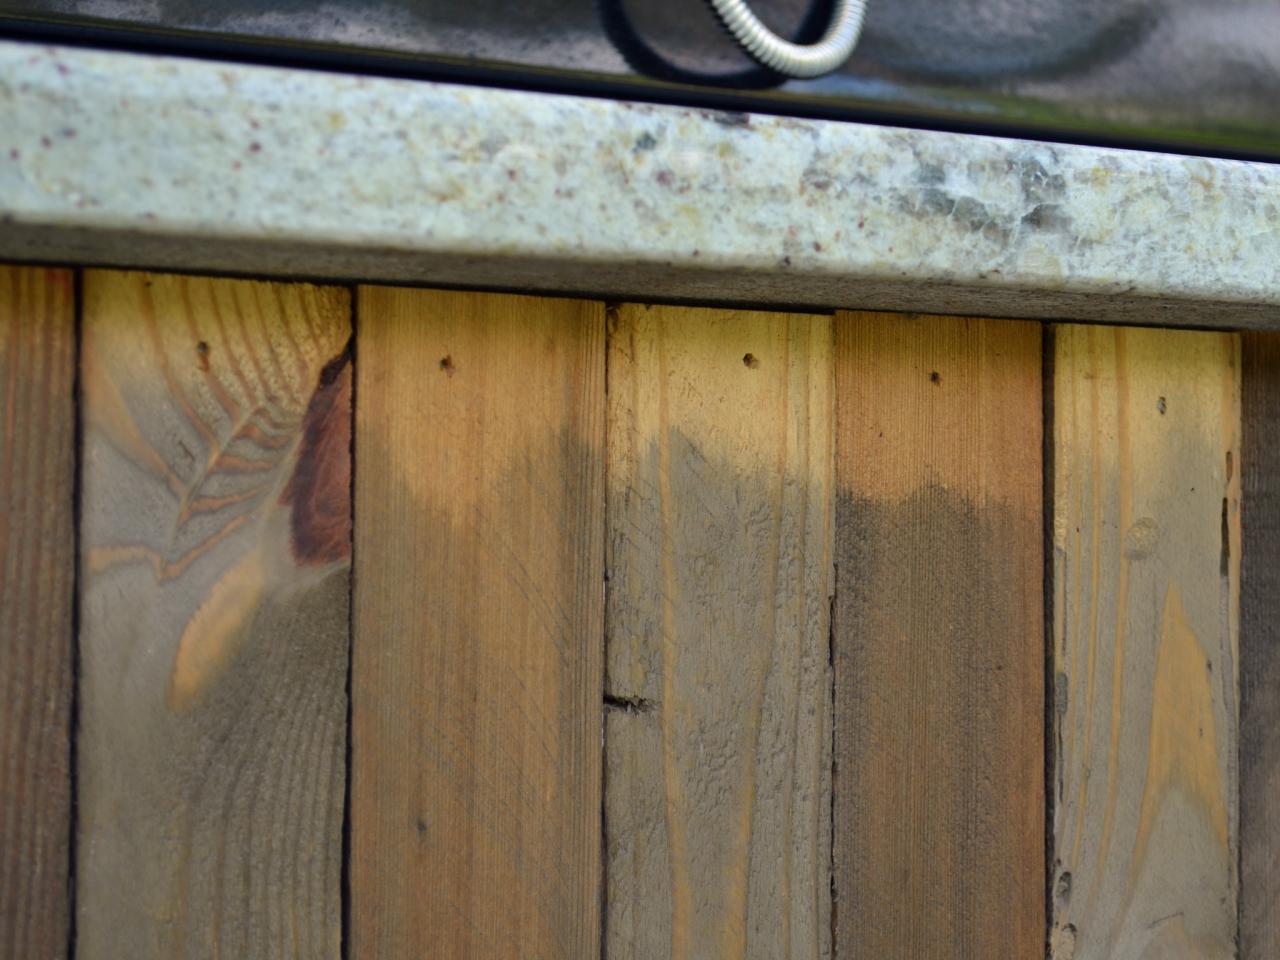
Clad Exterior
The face of the island can be clad in a range of materials from metal to masonry or wood. In this case, reclaimed pine studs left over from a renovation were cut down into 3/4-inch strips and then installed with 15-gauge finish nails driven into the top and base framing. If installing a different material, such as masonry, it may be necessary to clad the exterior with sheathing first. Take this opportunity to decide if operable doors for storage in the base are necessary.

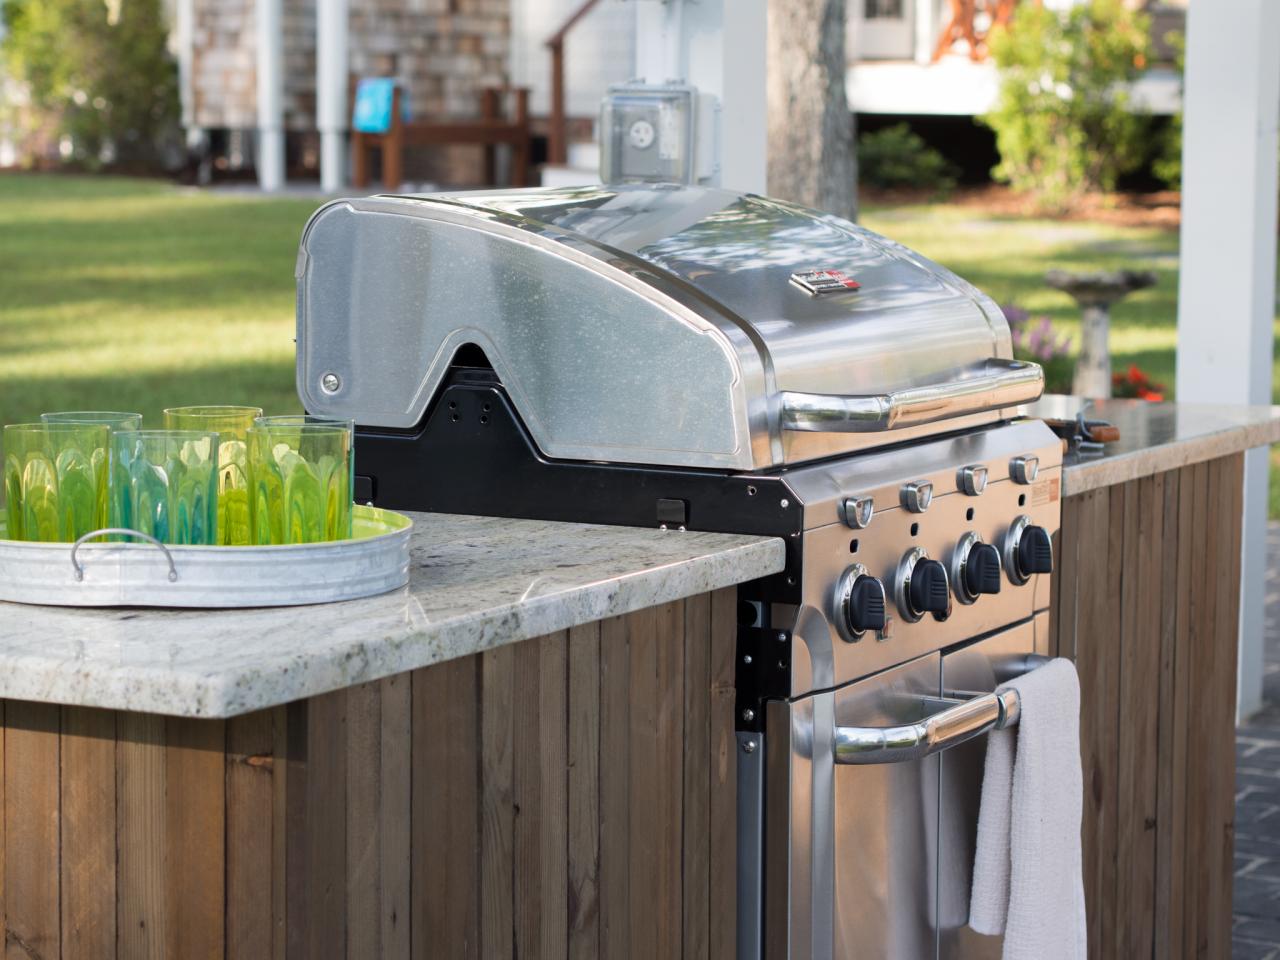
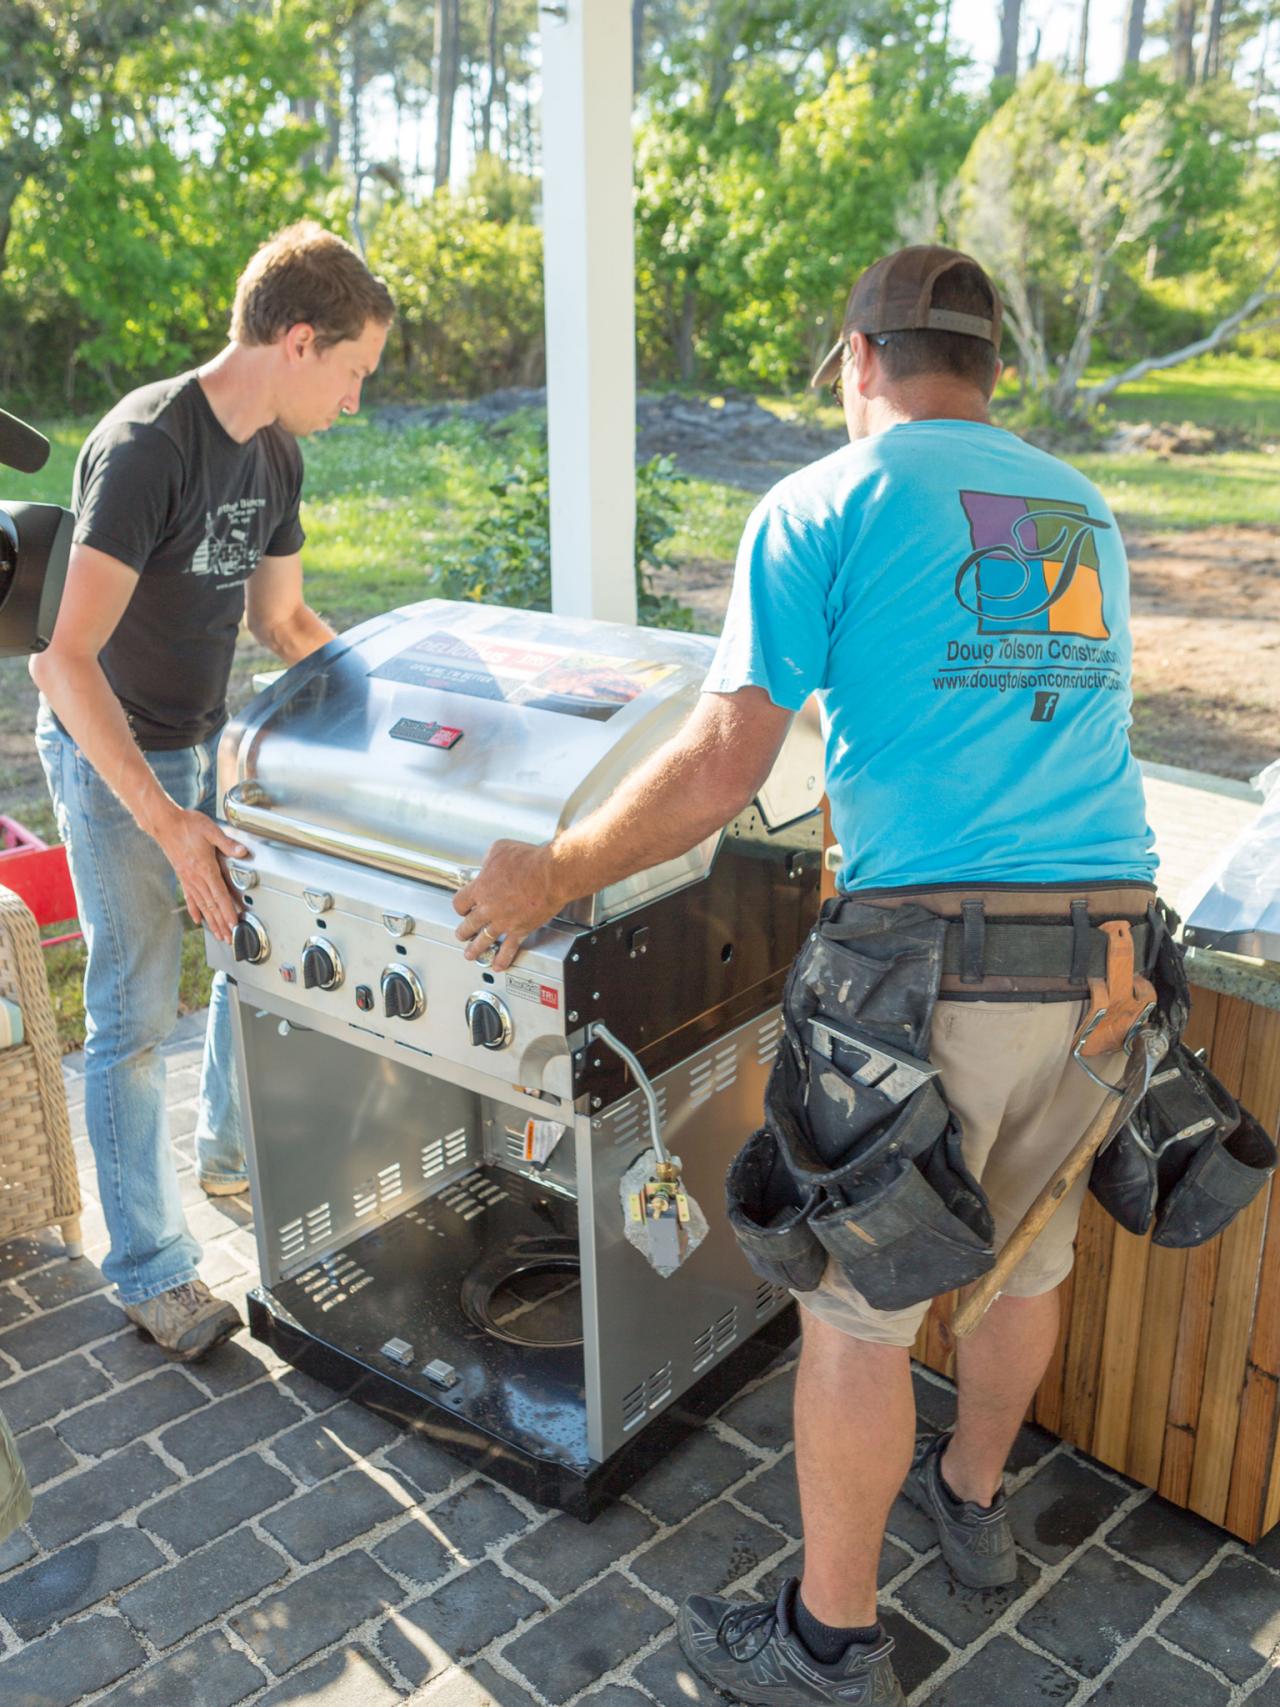
Install Grill
Slide the grill into place, making sure not to crimp any exterior lines. Make sure grill front is flush with island face to allow for airflow behind the grill.


