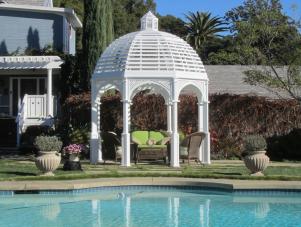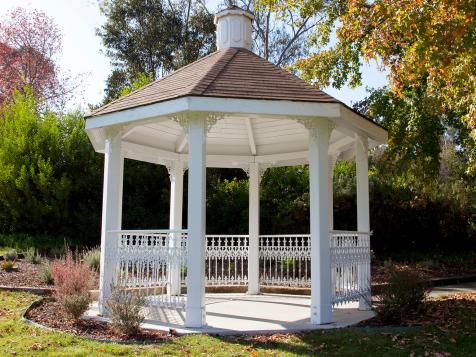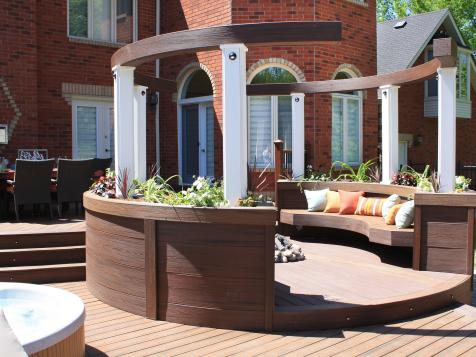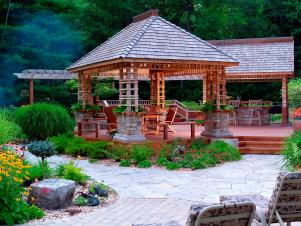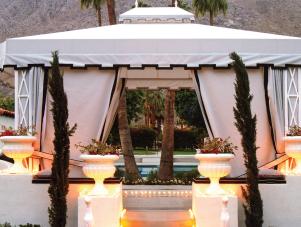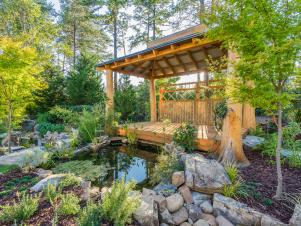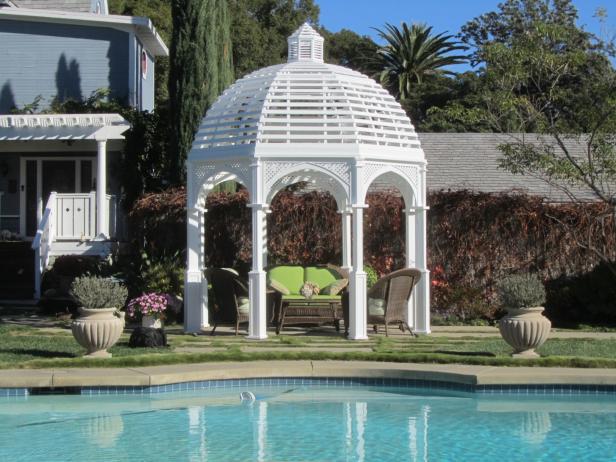
14 Gazebos for Patios, Pools and Gardens
From pop-up structures to custom-made shelters, find gazebos for all styles and budgets.

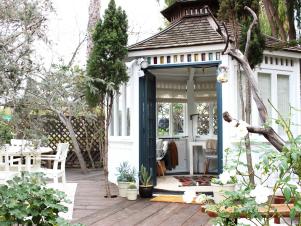
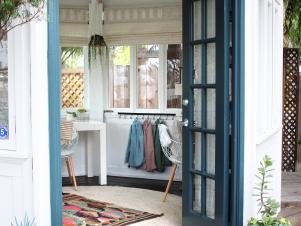
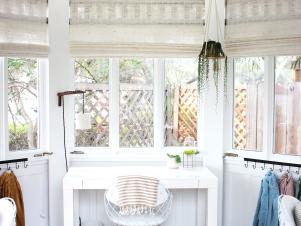
Living Large in Small Spaces: Gazebo Turned Bohemian Workspace
This gazebo by Vanessa Matsalla was converted into a fully functional outdoor workspace, offering a change of pace for managing everyday tasks. The small space houses three desks, a bohemian-style ambiance with a teal-colored door, and plants and storage space to make it feel homey.

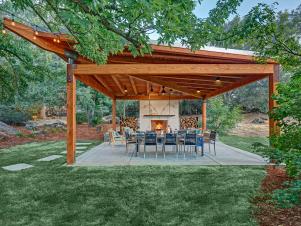
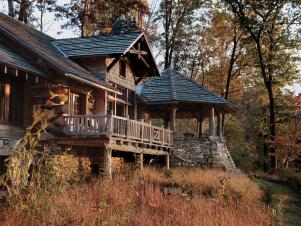
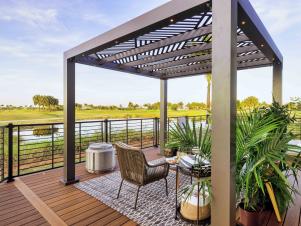
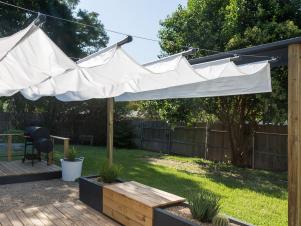
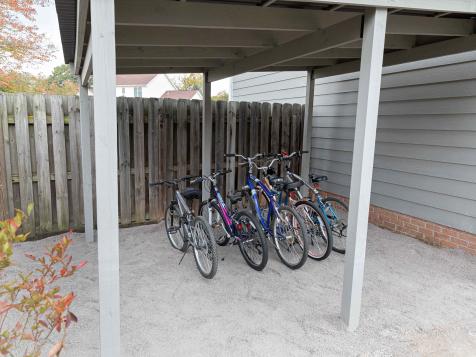
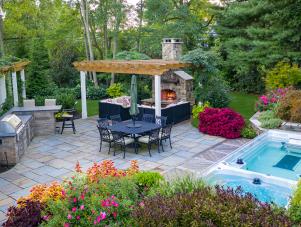
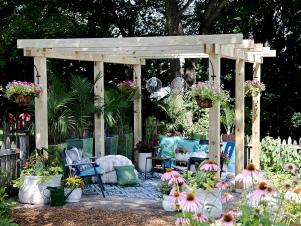
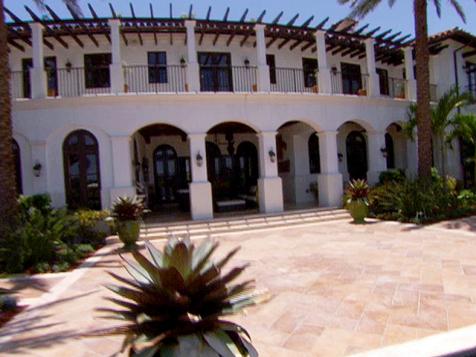
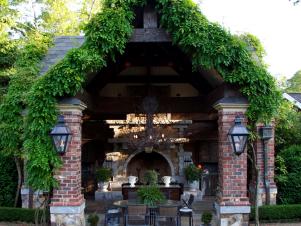
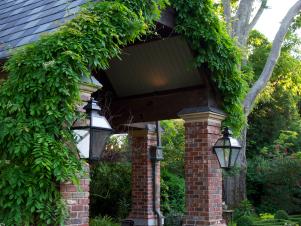
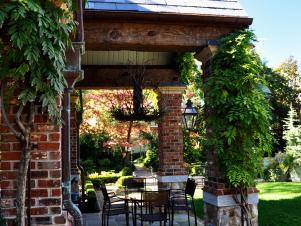
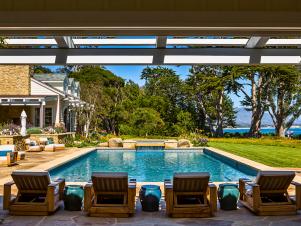
36 Backyard Pergola and Gazebo Design Ideas
Add shade and style to your outdoor living space with one of these unique structures.
View Photos of Gazebos


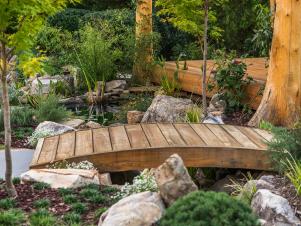
Liven Up Your Landscape


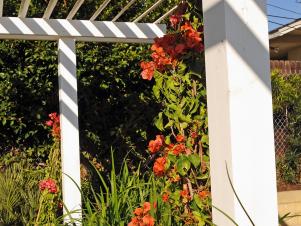
Trellis
Build a trellis to give climbing plants some support while making a decorative statement in your landscape.

Playhouses
Check out these creative outdoor play spaces for kids and families.