


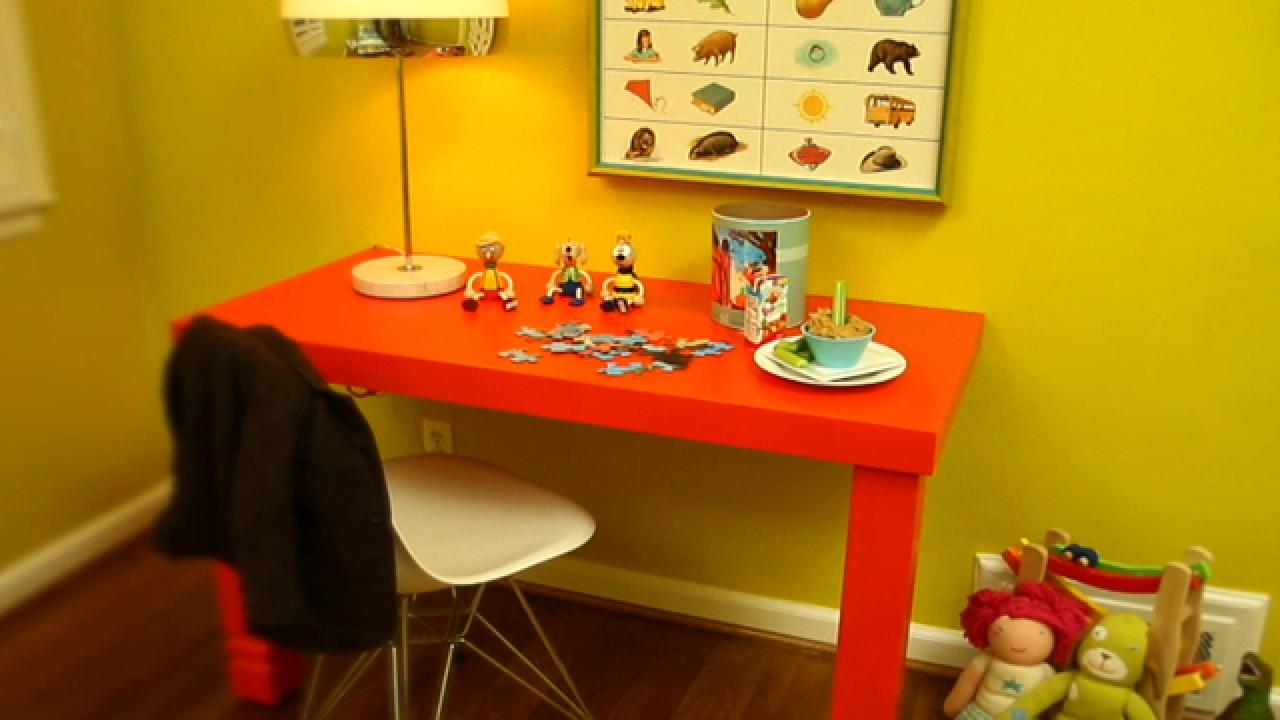
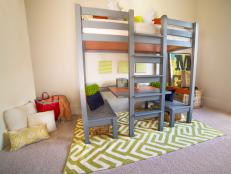
Stair Post Kid's Desk

Materials Needed:
- stain-grade plywood
- stair posts
- table saw
- chop saw
- tape measure
- pencil and notepad
- caulk and caulk gun
- wood filler and putty knife
- orbital sander
- medium-grit sanding pads
- primer
- semi-gloss paint
- paint sprayer
- extension cord
- plastic sheeting
- drill
- wood screws
- spirit level
- 1x3 MDF trim
- nail gun
- damp cloth
- high-gloss floor sealer
Determine Dimensions
Using tape measure, determine proper height, width and depth for desk in relation to wall, child's size and the room's traffic flow. Mark desk's desired height on wall with pencil. Jot dimensions down on notepad with pencil. Tip: Keep in mind needed clearance for doors and windows.
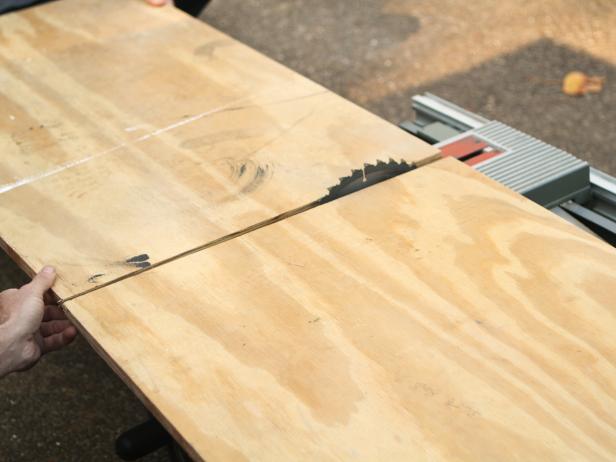
Cut Plywood and Trim
Referring to dimensions on notepad, measure, then mark plywood and trim pieces with pencil and spirit level. Use table saw to cut plywood to size. Cut trim to size using chop saw and miter corners.
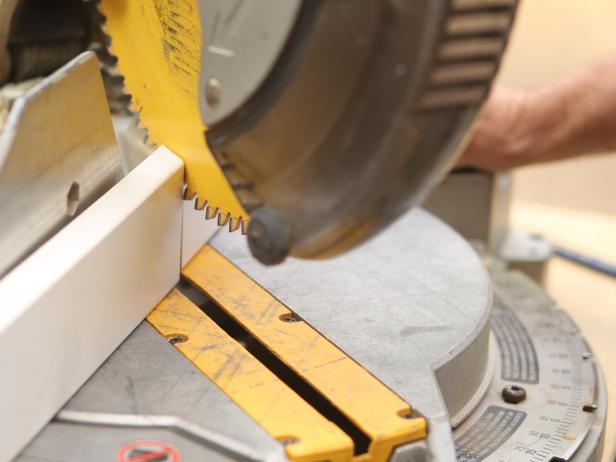
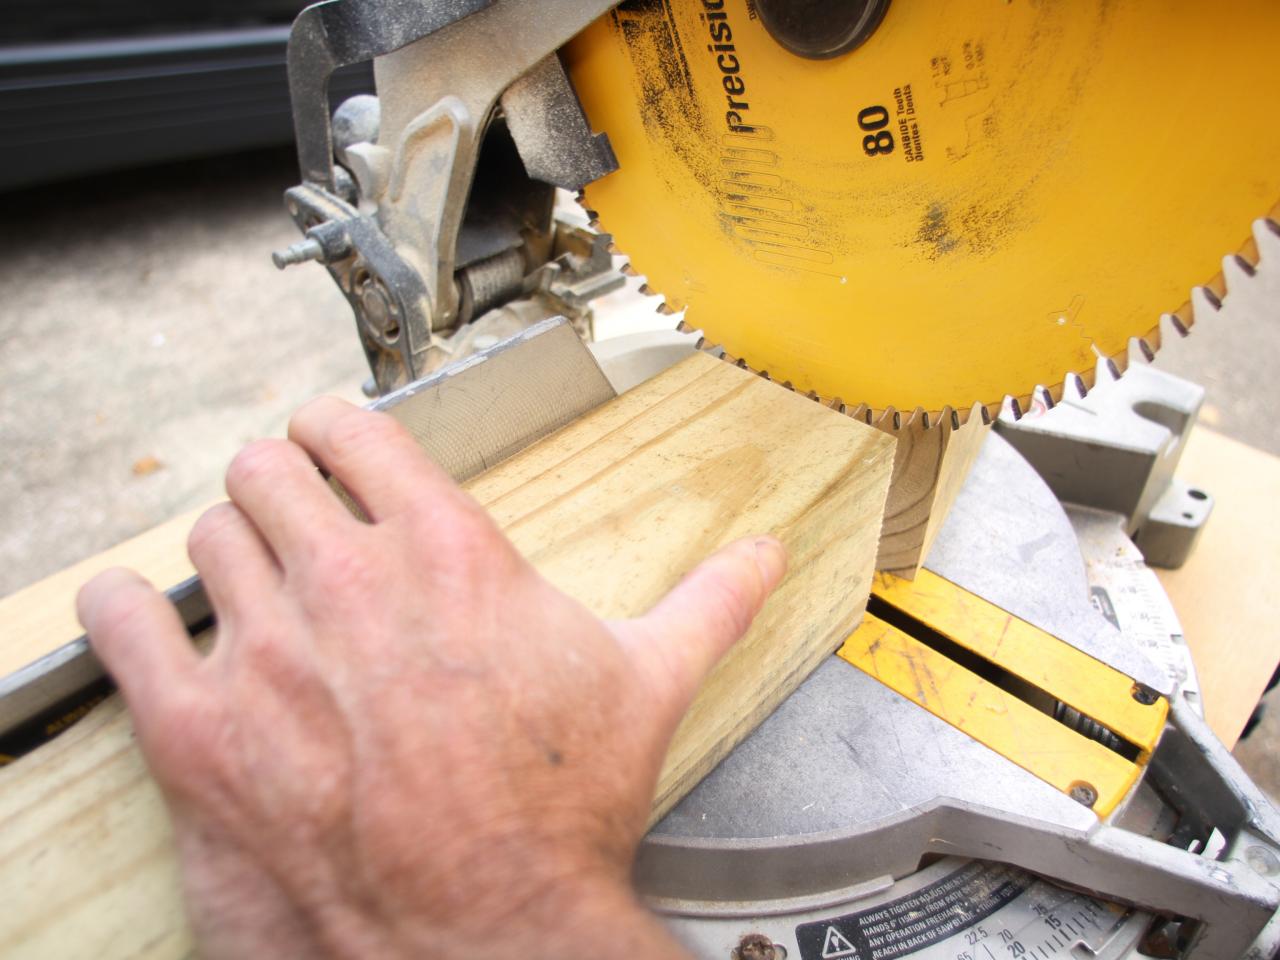
Cut Posts
Referring to dimensions on notepad, measure post, then mark with pencil. Cut posts to size using chop saw.

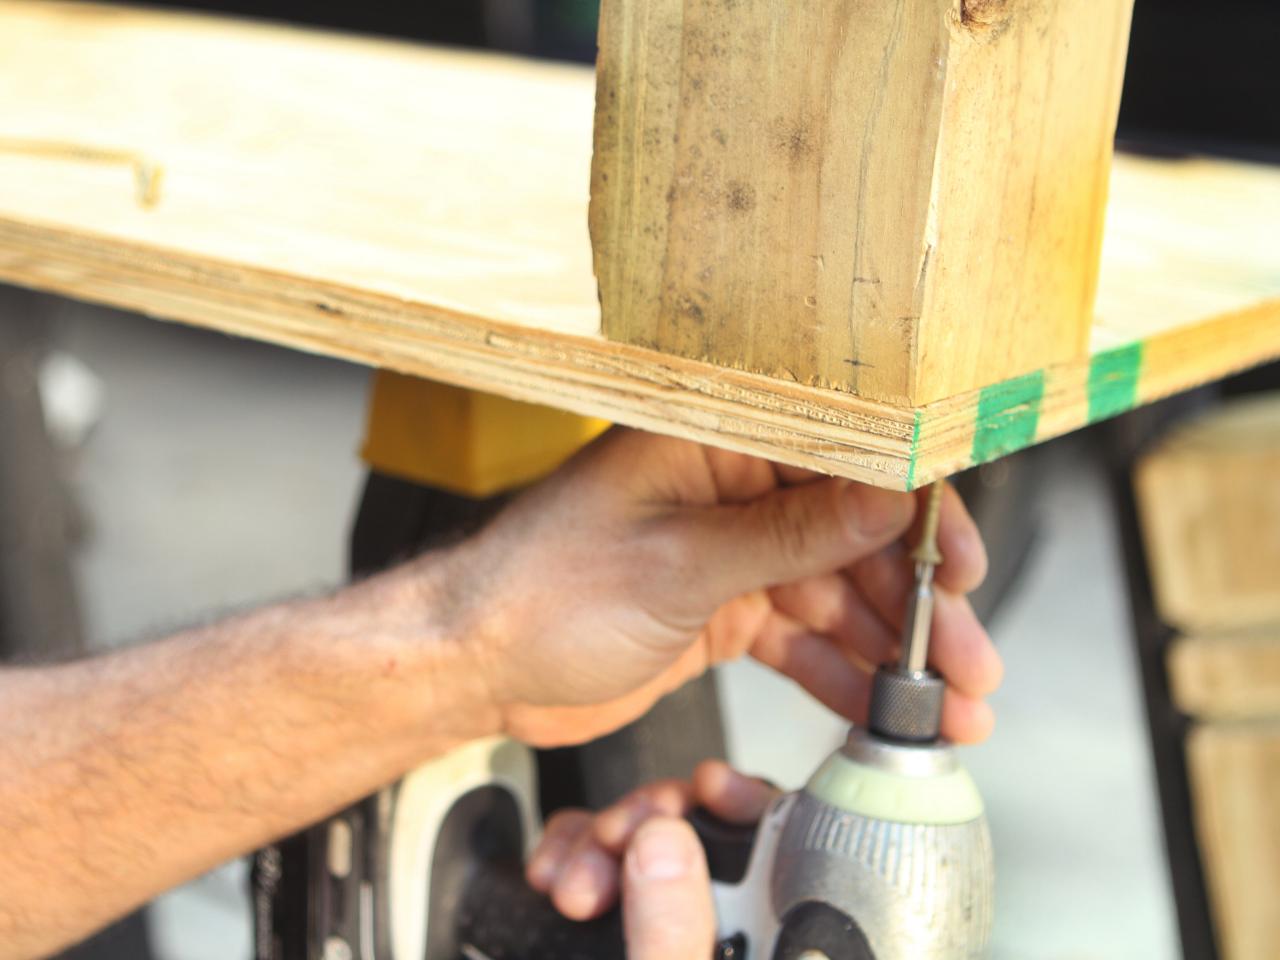
Attach Plywood to Posts
With help from a friend, firmly hold plywood still and in place perpendicular to post. Using drill, attach posts to plywood with wood screws directly through plywood and into top of post.

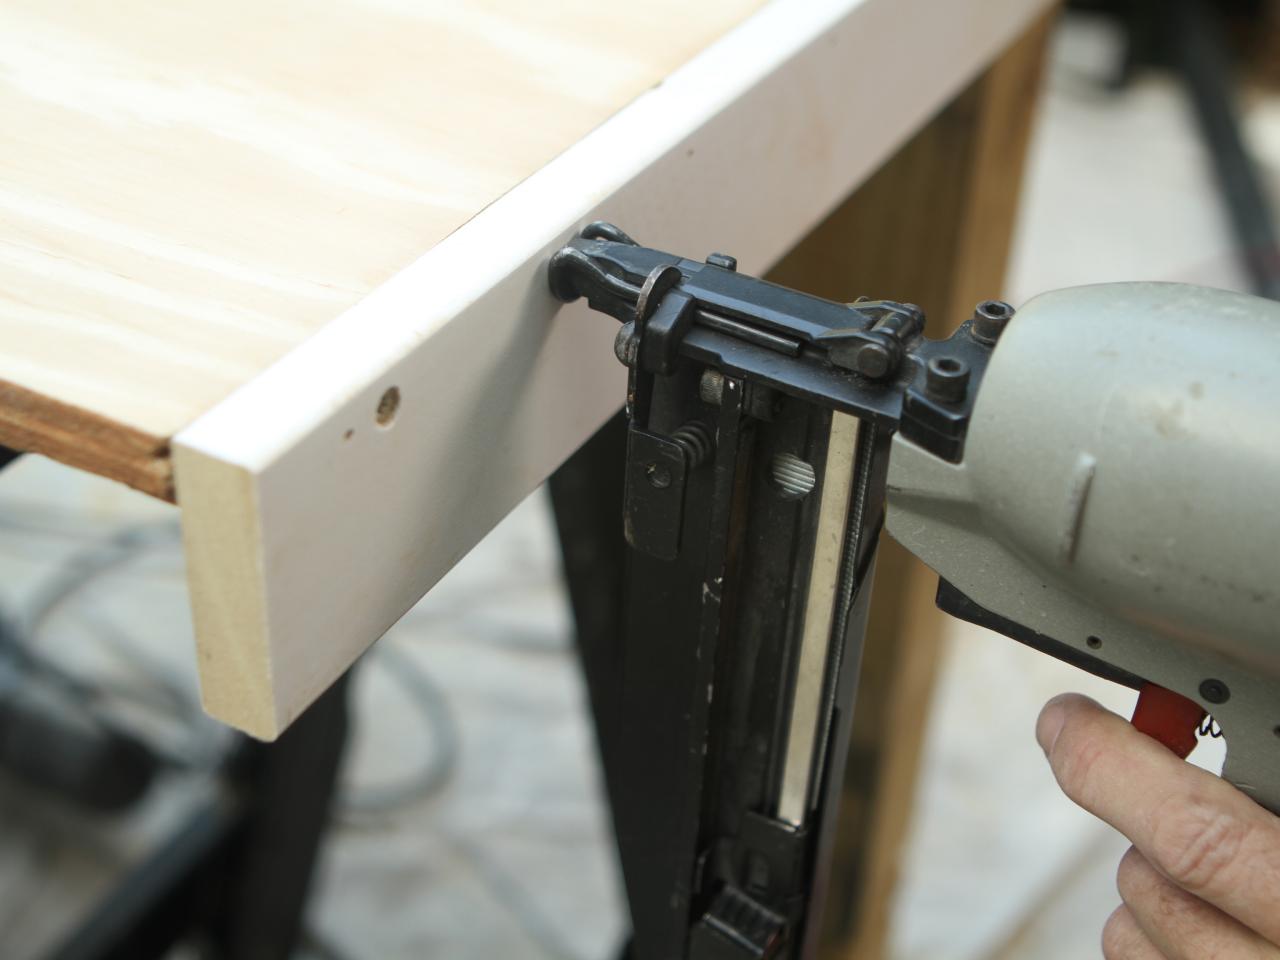
Add Trim
Using nail gun, attach mitered pieces of 1x3 MDF to front of plywood.

Prep for Paint
Fill gaps, nail holes and screw holes with wood filler using putty knife. Caulk spaces between trim and plywood with caulk gun. Once wood filler and caulk have fully dried, sand all surfaces using orbital sander and medium-grit sanding pads. Wipe dust from surfaces with damp cloth.
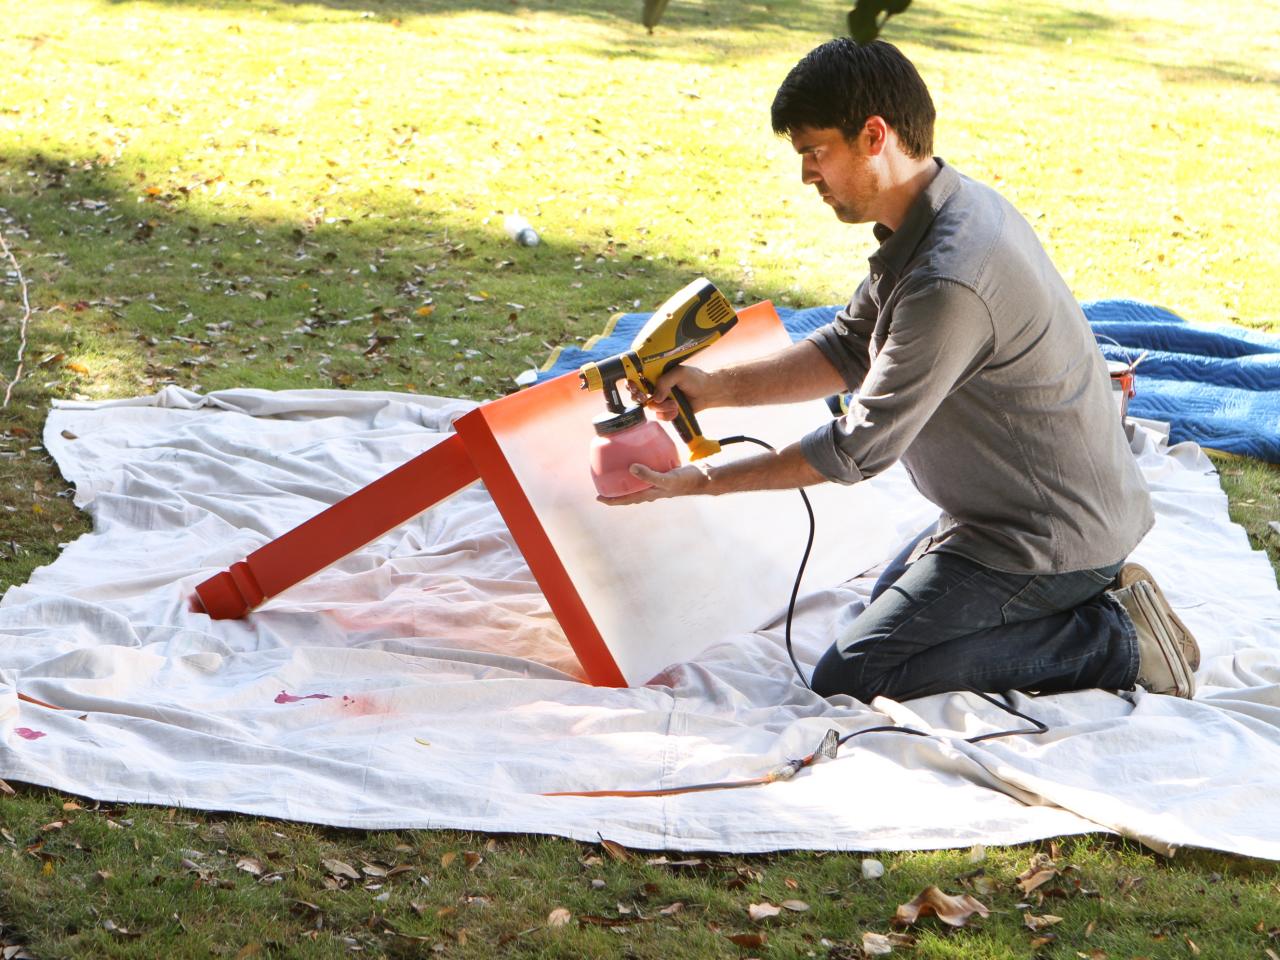
Prime, Paint and Seal
Load primer into paint sprayer, then spray in a steady, controlled manner keeping sprayer eight inches from surface of desk. Once primer is dry to the touch, clean out sprayer, load finish color, then spray two even coats in a steady, controlled manner, keeping sprayer eight inches from surface of desk. Once finish coat is dry, repeat painting steps using floor sealer. Tip: Allow at least 24 hours' drying time before placing objects on sealed surface.

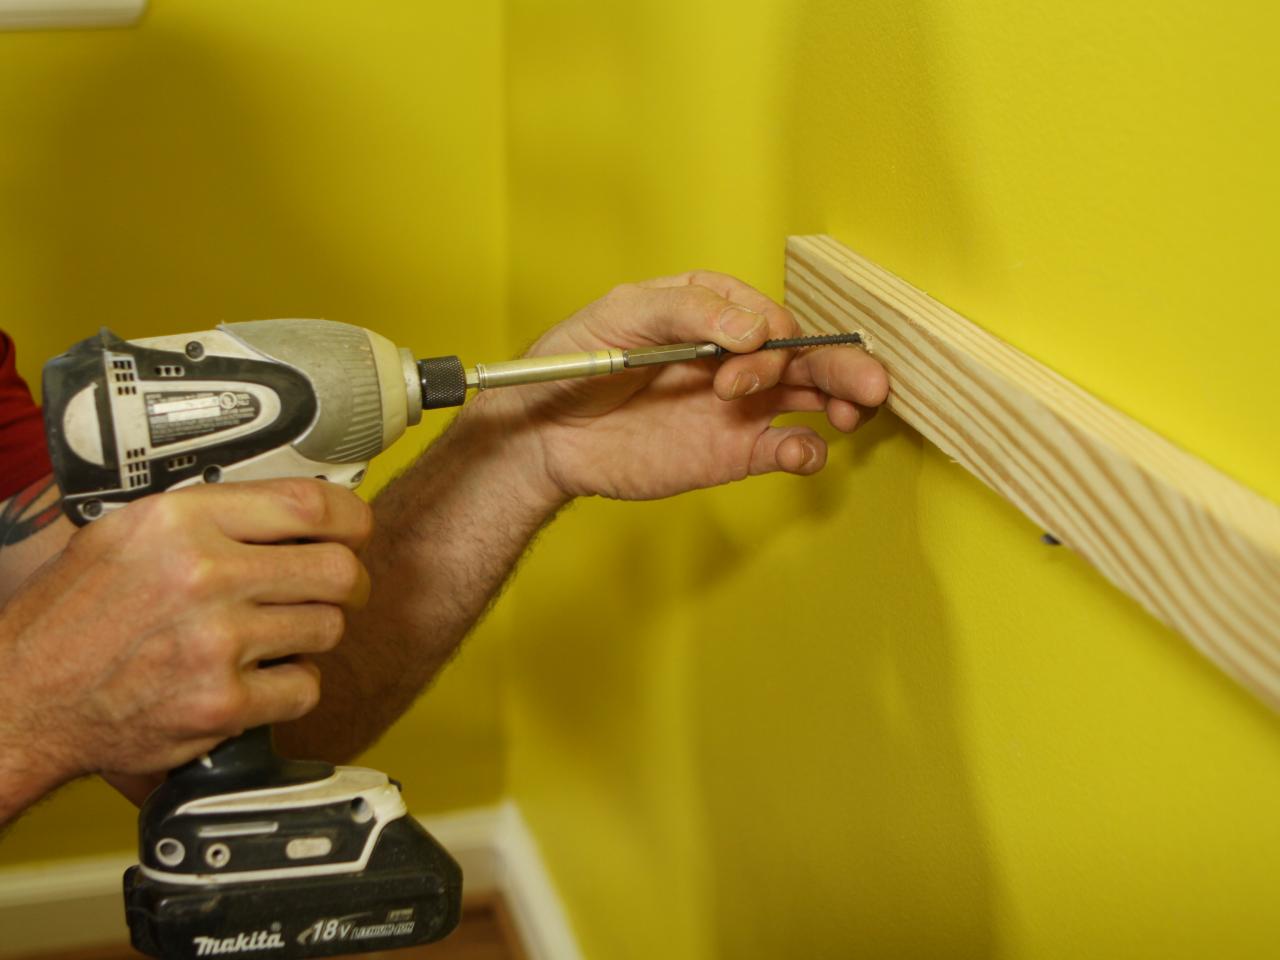
Create and Install Cleat
Create cleat by cutting one piece of 1x3 MDF approximately two inches shorter than width of plywood top. Place cleat below marked line on wall, attaching it to the wall with drill and wood screws.

Attach Desk to Cleat
Place desk directly on top of cleat. Fasten plywood top to cleat with wood screws driven through cleat into the underside of plywood.


