How to Install a Dead-Bolt Lock
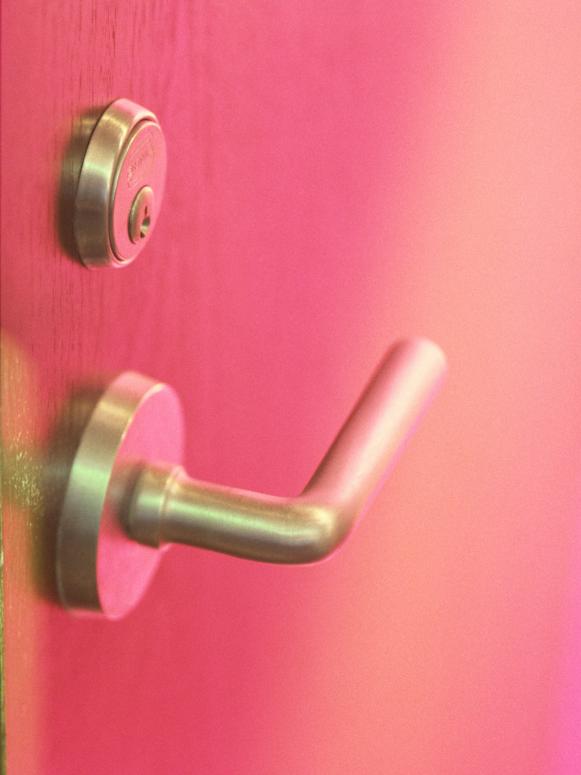
For burglar-proofing, it's a must-have.
How to Install Dead Bolt Locks

Dead Bolt Locks

When selecting a dead bolt, go with the kind with key entries on both sides. And never leave the key in the lock, because the burglar can simply break the glass window panels of the door and reach in to turn the key. Choose a safe and accessible place nearby to store the key, such as in a drawer or on top of the door frame.

When selecting a dead bolt, go with the kind with key entries on both sides. And never leave the key in the lock, because the burglar can simply break the glass window panels of the door and reach in to turn the key. Choose a safe and accessible place nearby to store the key, such as in a drawer or on top of the door frame. Here's how to install a dead bolt:

Materials and Tools:

dead-bolt kit

hole saw

power drill

7/8-inch spade bit

pencil

chisel

screwdriver

Steps:

  1. Use the template that came with the dead-bolt kit to determine the setback of the lock -- the location of the lock on the door frame in relation to the doorknob. A good vertical distance to locate the lock is 6 inches above the knob.
  2. Mark the location with a pencil and use a hole saw to drill a hole 1½ inches in diameter.
  3. Drill through the door. Chances are the saw won't be deep enough to drill all the way through. If not, use a bit to drill far enough to expose the hole on the opposite side. Then use the hole saw from the back side to finish the hole.
  4. Use a 7/8-inch spade bit to drill a hole in the center of the door edge.
  5. Drill an additional 3/8-inch into the back of the side hole.
  6. Place the bolt in the hole along the edge of the door.
  7. Trace around the mounting plate with a pencil and chisel out the area so it fits flush with the surface. Mount the plate in place with two screws.
  8. Insert both sides of the dead-bolt cylinders in the door, making sure the driver bars are engaged and secured in place with screws.
  9. Locate the center of the bolt location along the doorjamb and drill two overlapping 7/8-inch holes 1 1/8-inch deep.
  10. Trace around the edge of the mounting plate and chisel out the dimensions about ¼-inch deep for a flush fit. Secure the plate in place with screws.

Next Up

How to Pressure Wash Your Driveway

Erase years of wear and tear from your driveway in just a few simple steps with a pressure washer.

How to Install Gutters

Protect against water damage to your foundation, basement and driveway with these instructions.

How to Replace a Heating-Vent Cover

While you're at it, you can reduce the bulk with a slimmer model. Just follow these instructions.

How to Repair a Damaged Roof

We simulated the damage of a tree falling on a roof by dropping a piano from a crane. Such an accident can cause major structural damage. Consult a professional if there are any reframing needs due to building codes.

How to Replace Blown-in Insulation

If leaks are showing up on your ceiling, it's time to fill the insulation gaps.

Fireplace Maintenance and Safety

Tend to your chimney with care with these expert tips.

How to Paint the Exterior of a House

HGTV.com walks you through the steps of painting the exterior of a house, from prep work through the finishing touches.

Build a Closet for Your Garage

Stop the sprawl by creating a vertical storage space with these step-by-step instructions.

Dress Up Windows With Tree Cuttings and Ornaments

Designer Dan Faires dresses up exterior windows for the holidays with bundled tree cuttings and all-natural, easy-to-make ornaments.

How To Build a Stone Planter

Dress up your porch or patio with a stone planter box.

Go Shopping

Get product recommendations from HGTV editors, plus can’t-miss sales and deals.

Follow Us Everywhere

Join the party! Don't miss HGTV in your favorite social media feeds.