


How to Replace a Window
When it's time to replace an outdated, inefficient window, it can be hard to know where to start, so we’ve got everything you need to know to get the job done.
Kamron Sanders

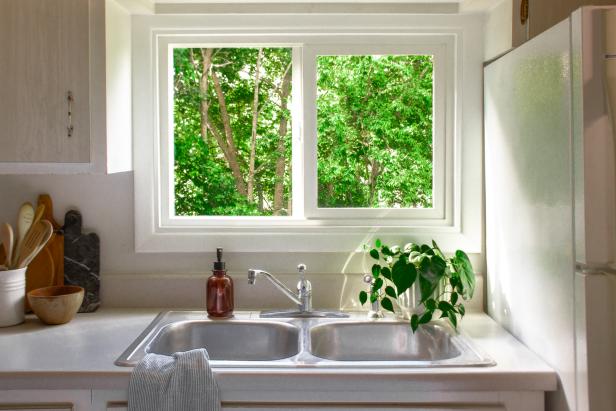
If you own a home, replacing a window will likely become a task for your to-do list at some point. Old, single-pane windows can drastically raise your utility bills, while an outdated, unsightly window can be the weak link in an otherwise beautiful space. While replacing a whole home’s worth of windows may not be something you can knock out in a weekend, replacing a single window can be done in a day and make a world of difference.
Tools + Materials
- window
- shims
- wood screws
- drill + bit
- flat bar
- hammer
- level
- safety glasses
- gloves
- expanding foam for windows and doors
- cloth
- caulk gun
- latex caulk
- interior and exterior trim
- exterior-grade silicone caulk
- trim nails
- nail set
Note: Materials vary depending on the application, and this list should serve only as a guide.
Step 1: Measure and Buy Window
Start by finding a window that fits your space. Because every window is different and many are custom built, this isn’t always easy. Replacement windows are stocked in a variety of sizes, with many made to slide into an existing frame, but there is no guarantee you will find the size you need. Custom windows are an option, but these can be expensive and often lead to long wait times, so it is wise to plan ahead. In some cases, it may be necessary to modify the existing frame or find another creative solution. The window we replaced was not available as a stock replacement window but was available as a new construction window. We were able to recycle the existing brick molding and metal flashing from the old window, saving money and time. (Brick molding is a special type of trim made specifically for doors and windows. It's not made of brick, usually wood, vinyl or PVC.)
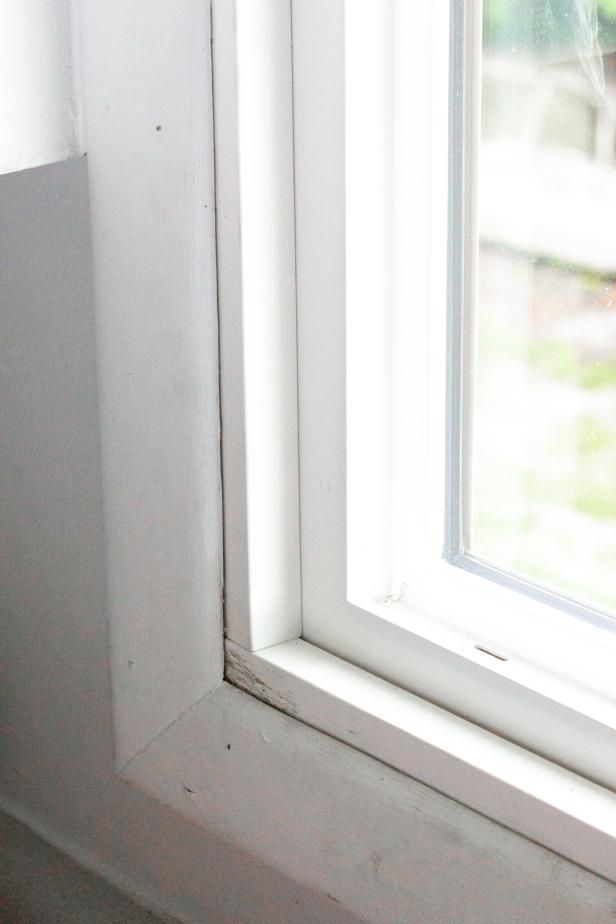
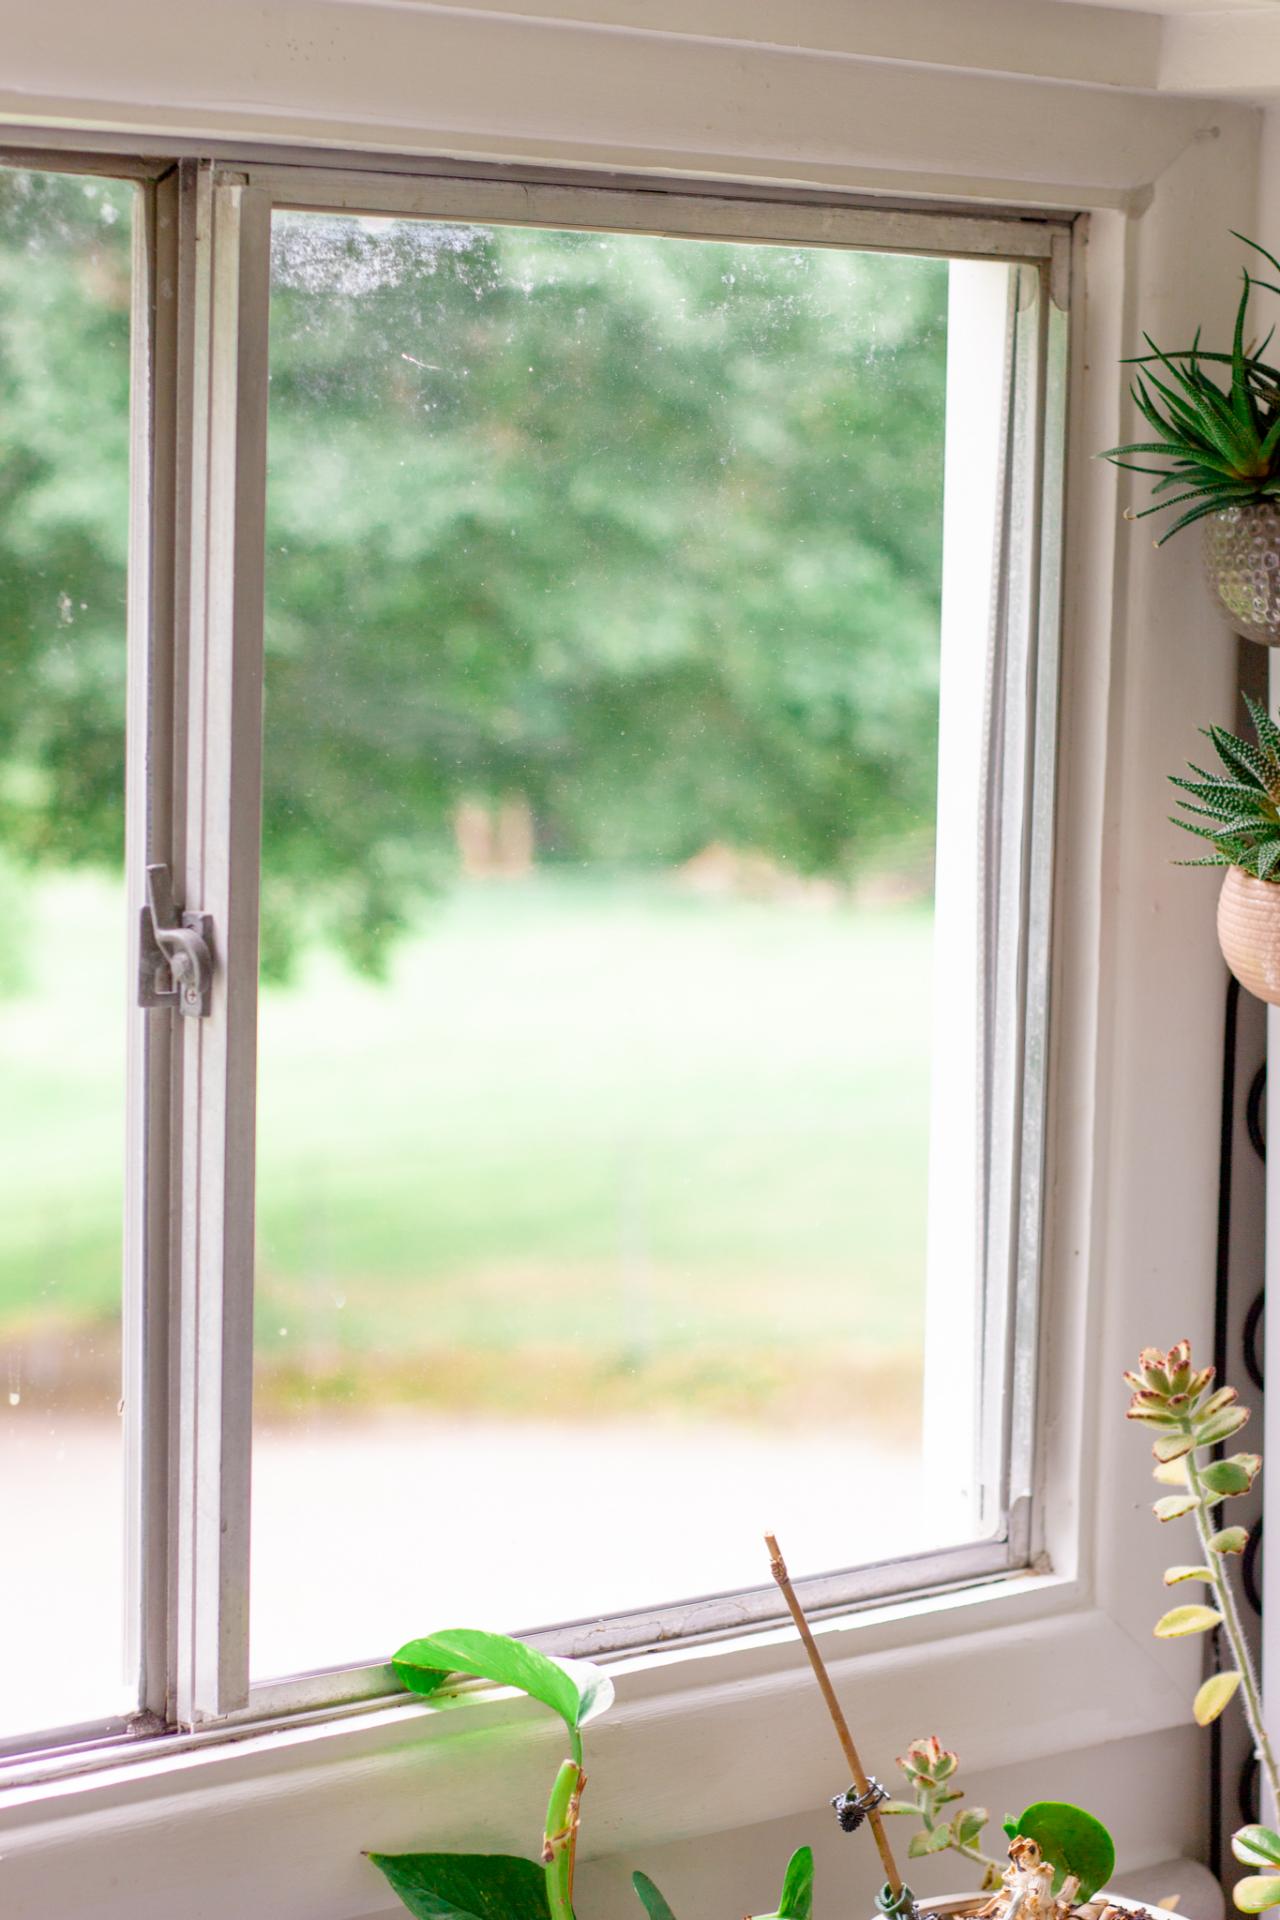
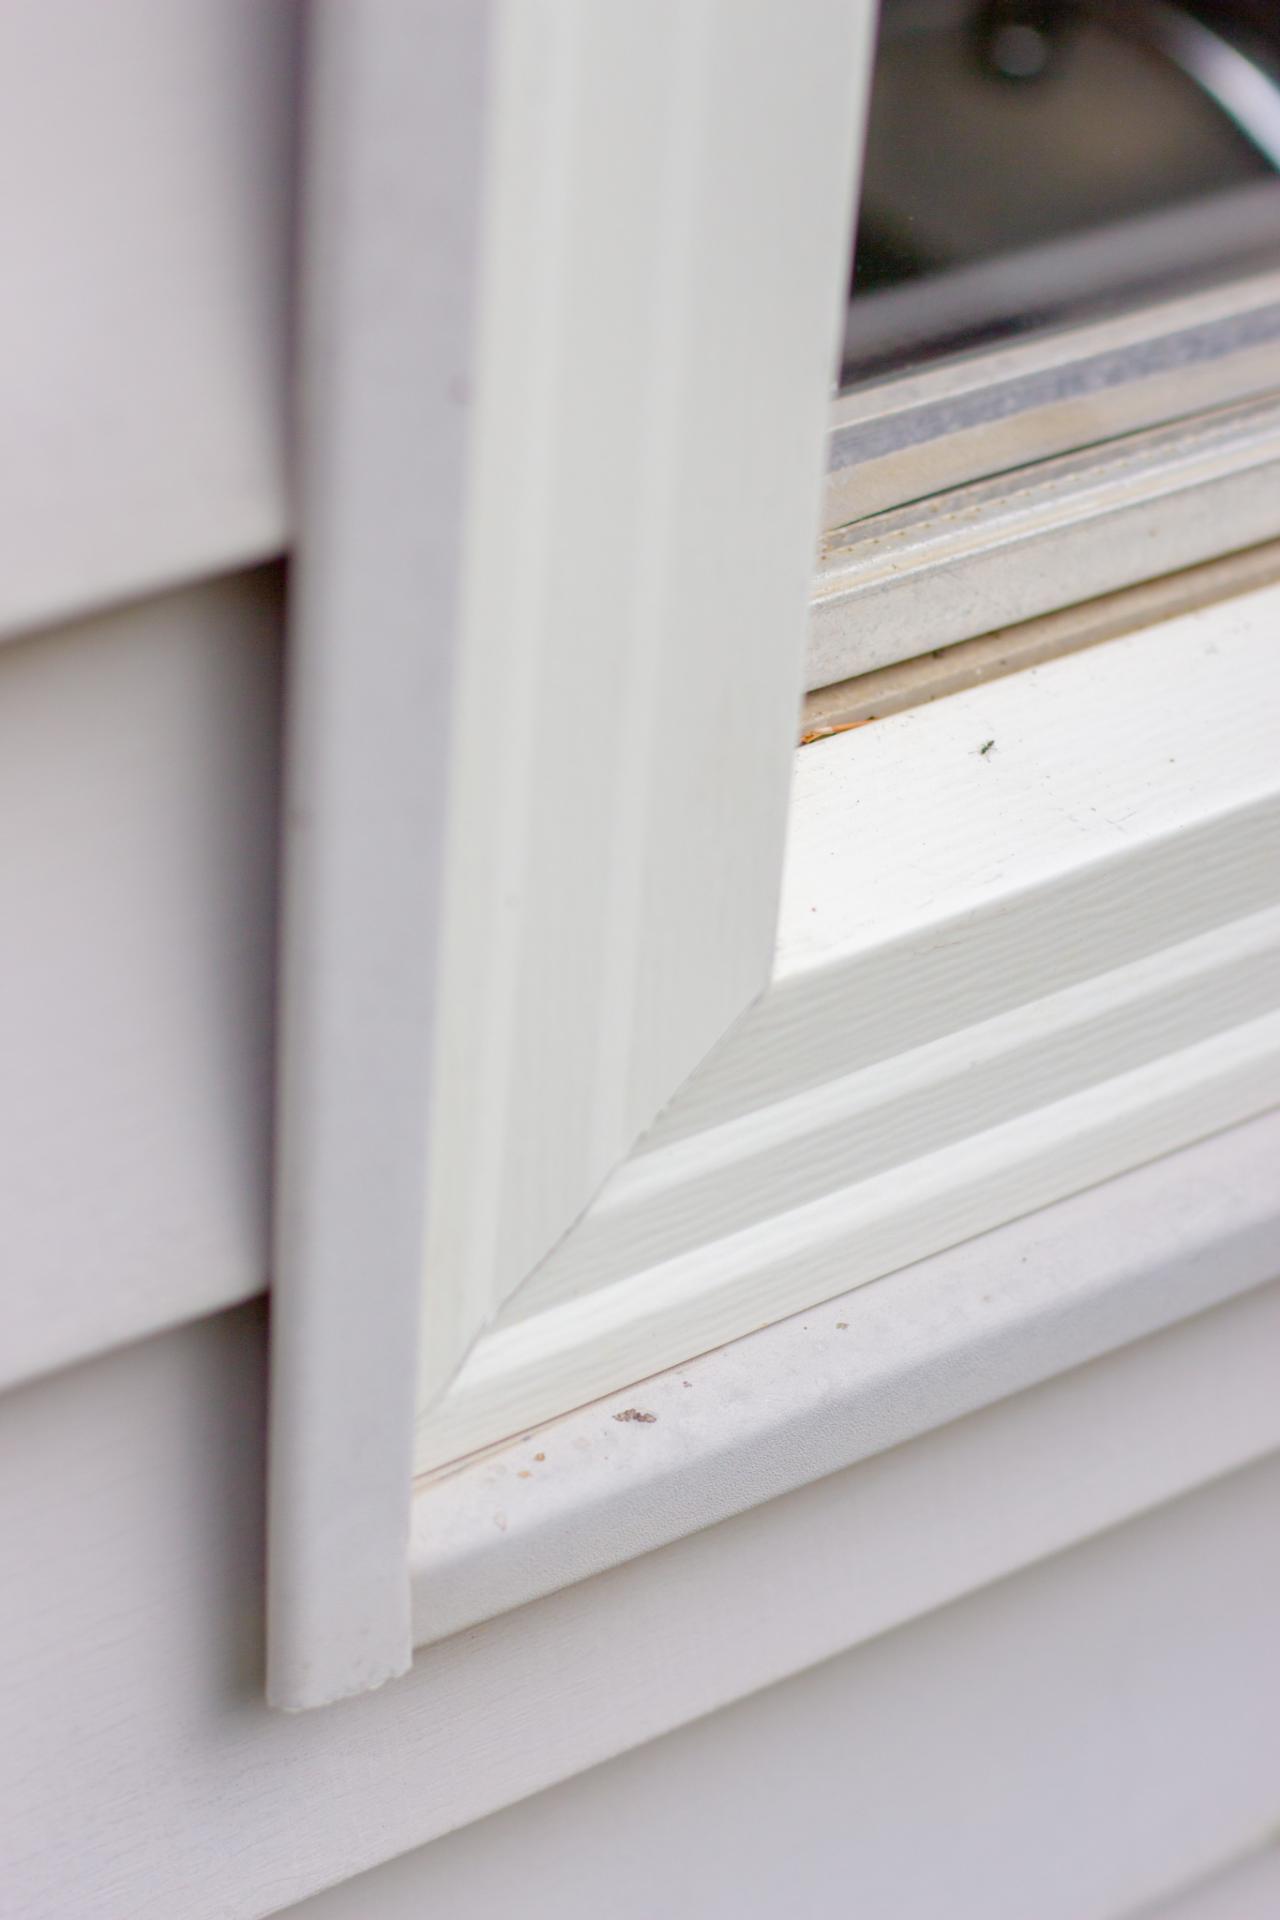
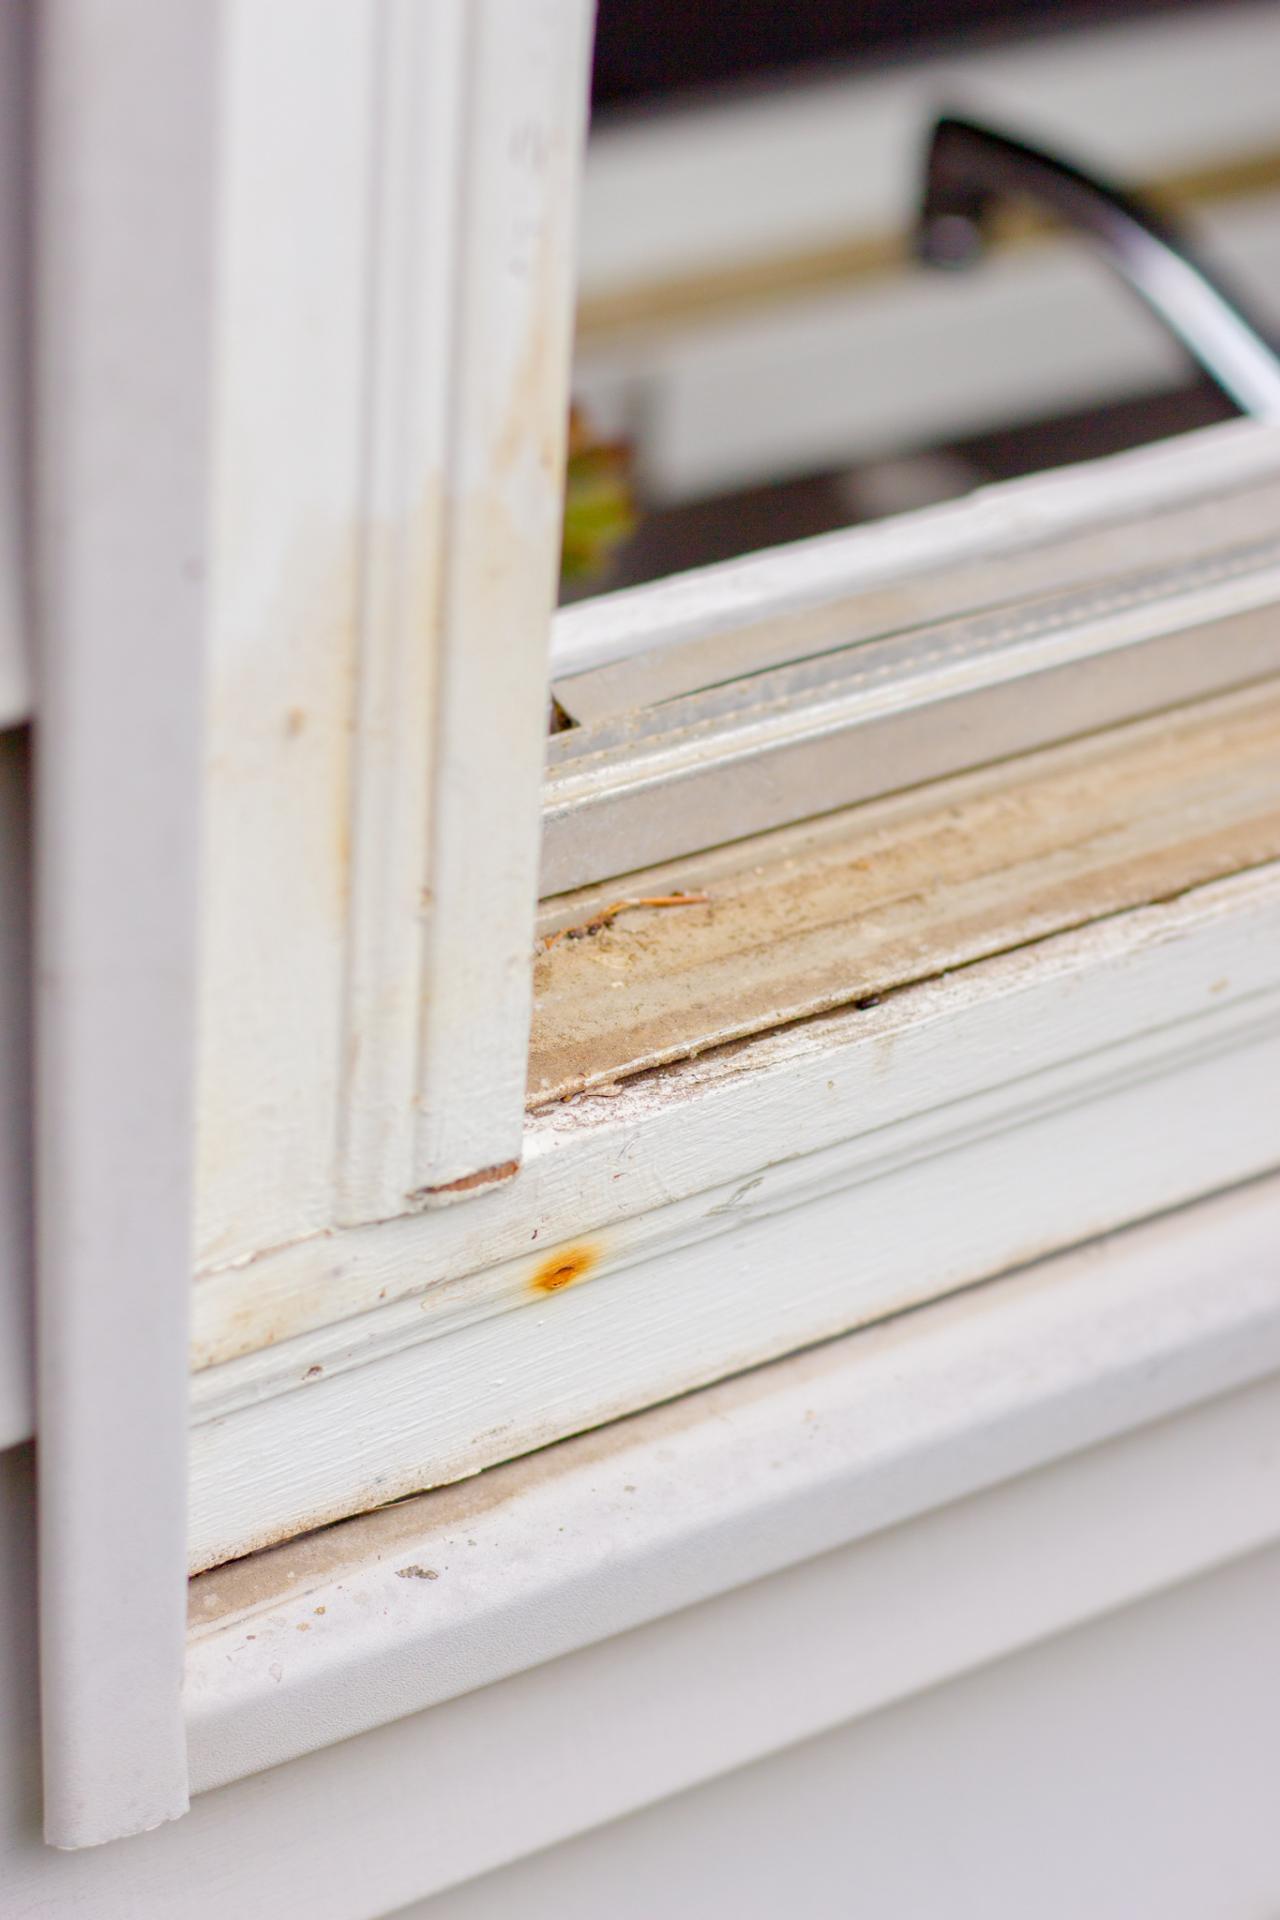
Before buying a window, measure the frame dimensions (Image 1). Pay attention to the exterior trim and make a list of what will need to be replaced (Image 2). Lastly, note the position of your window. Vertical windows are not made to function as horizontal windows and vice versa.

Kamron Sanders

Kamron Sanders
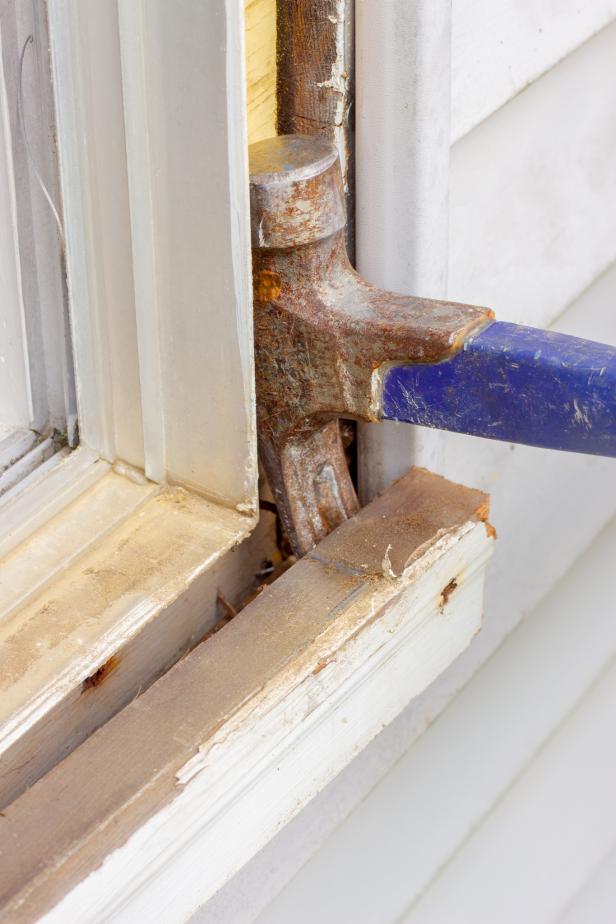
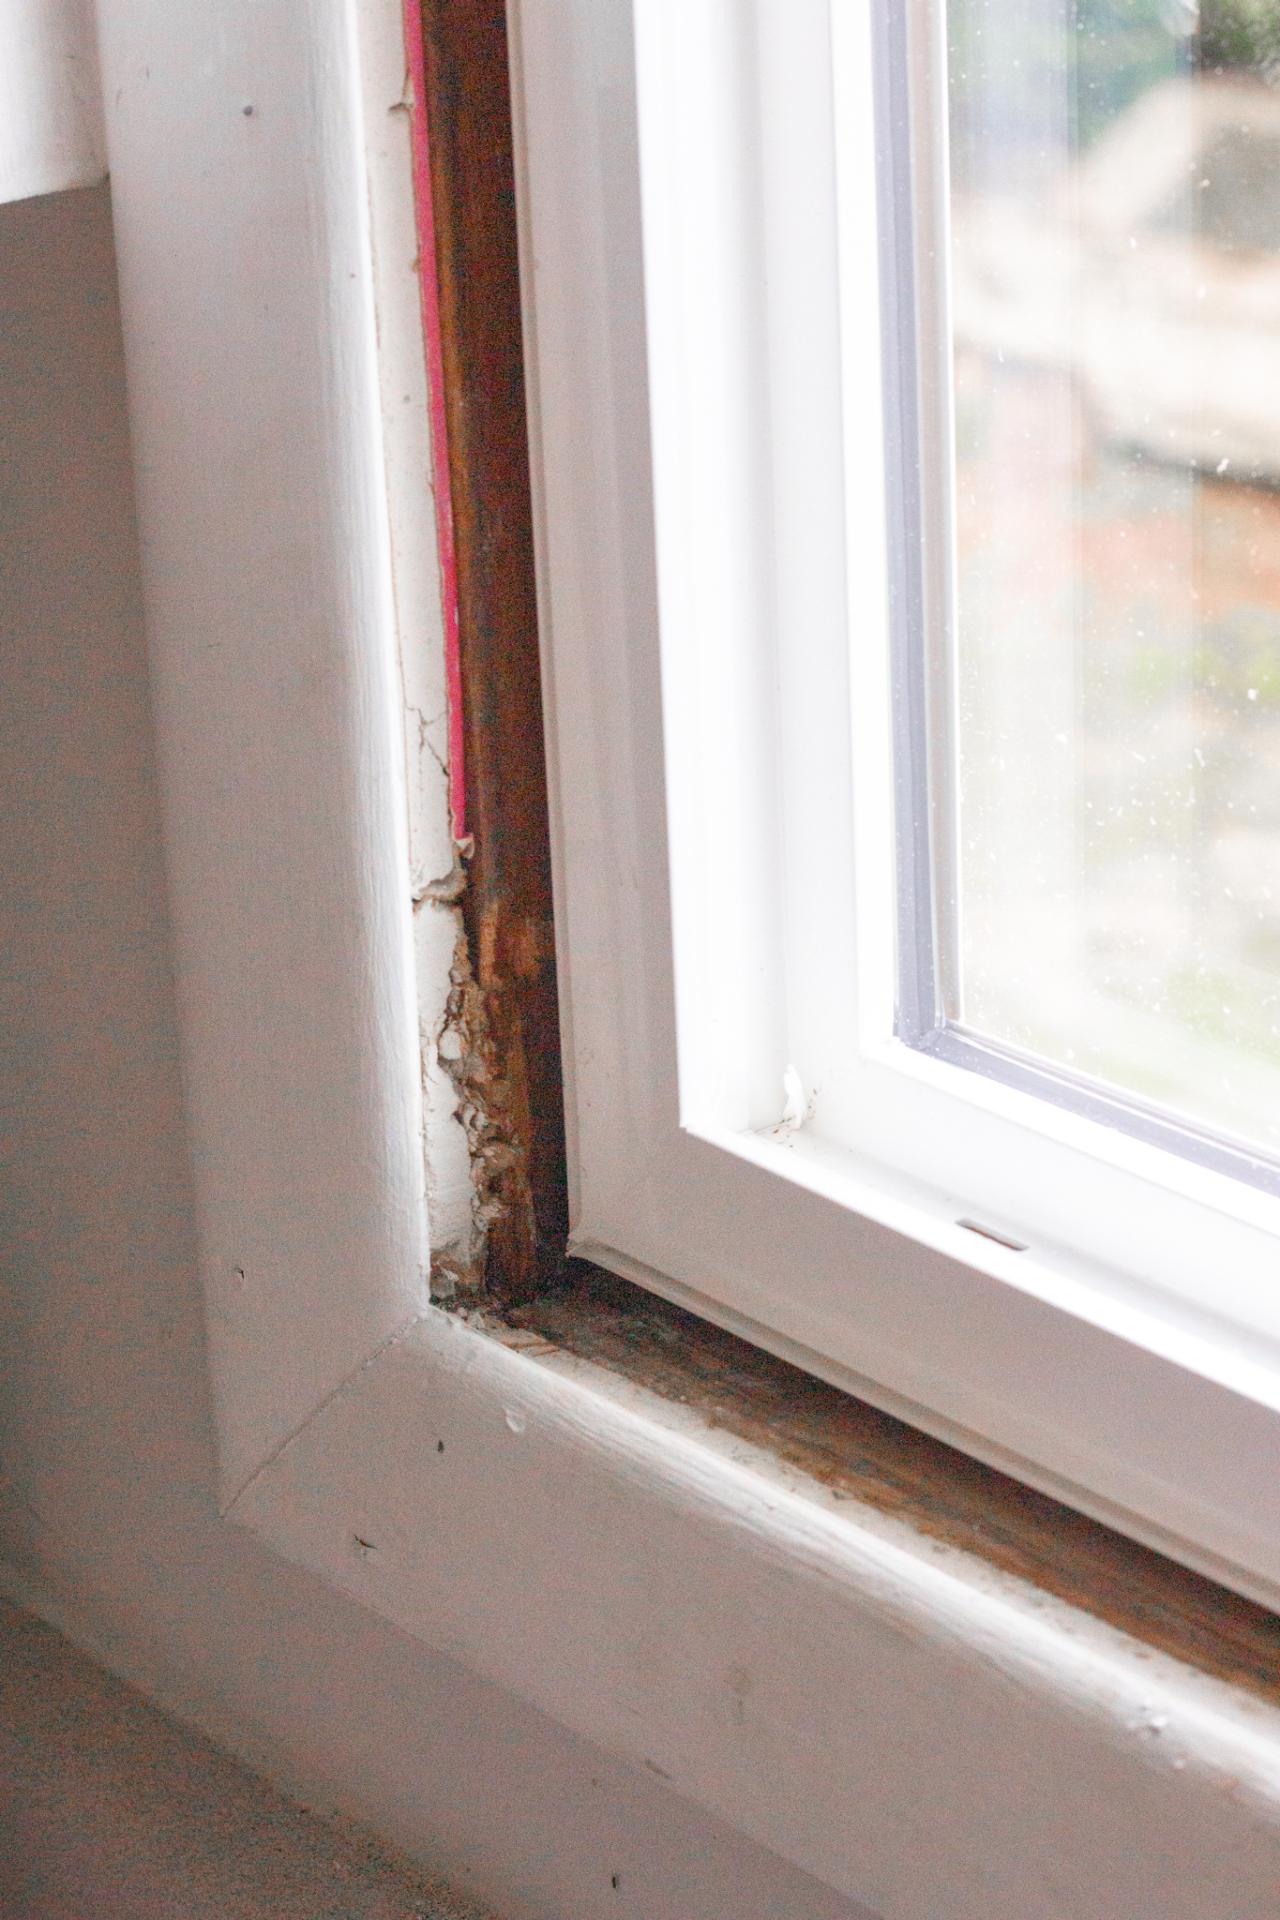
Step 2: Remove Old Window
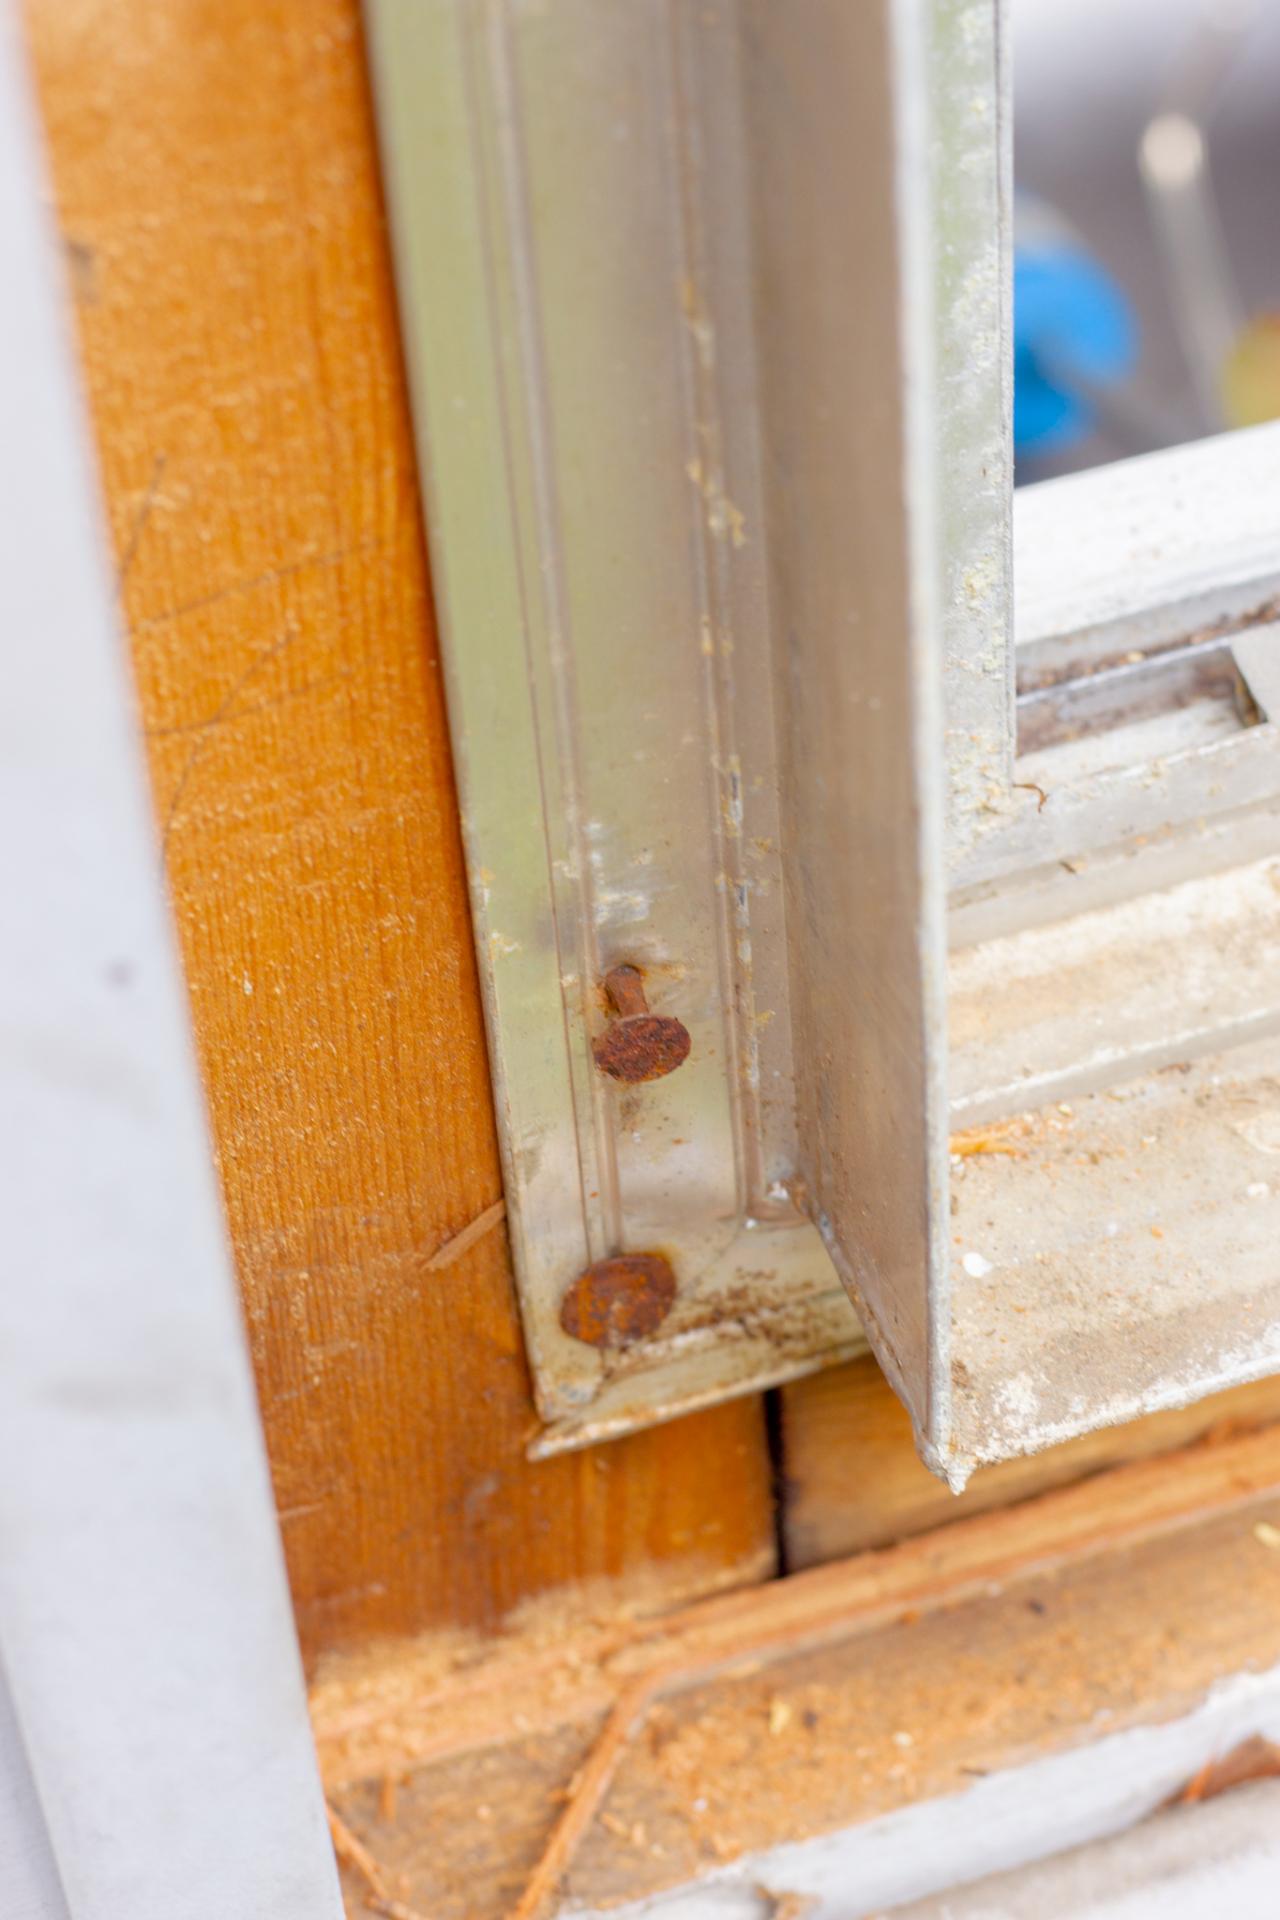
Now that you’ve found your new window, it is time to remove the old one. In most cases of conventional construction, the window will be removed from the outside, but because every window is different, the necessary steps may vary. Begin by using a hammer and flat bar to remove any flashing, trim and brick molding (Images 1, 2 & 3). Once these materials are removed, start on the window. Use a flat bar to pry at the nail points until the window releases (Images 4 & 5). Once out, inspect the surrounding wood frame to make sure everything is solid before installing the new window.
Pro Tip: When removing the flashing, trim, brick molding and the window itself, be careful to avoid damaging these materials. In the event that your new window doesn’t fit, you may need to reinstall these materials until you find a window that works. In many cases, the surrounding materials can be recycled, as long as they are in good shape.

Kamron Sanders

Kamron Sanders
Kamron Sanders

Kamron Sanders

Kamron Sanders
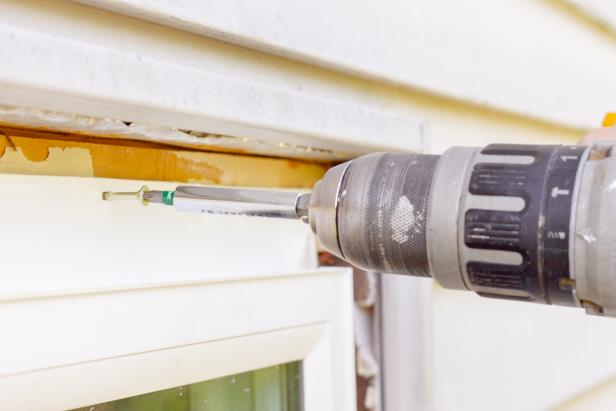
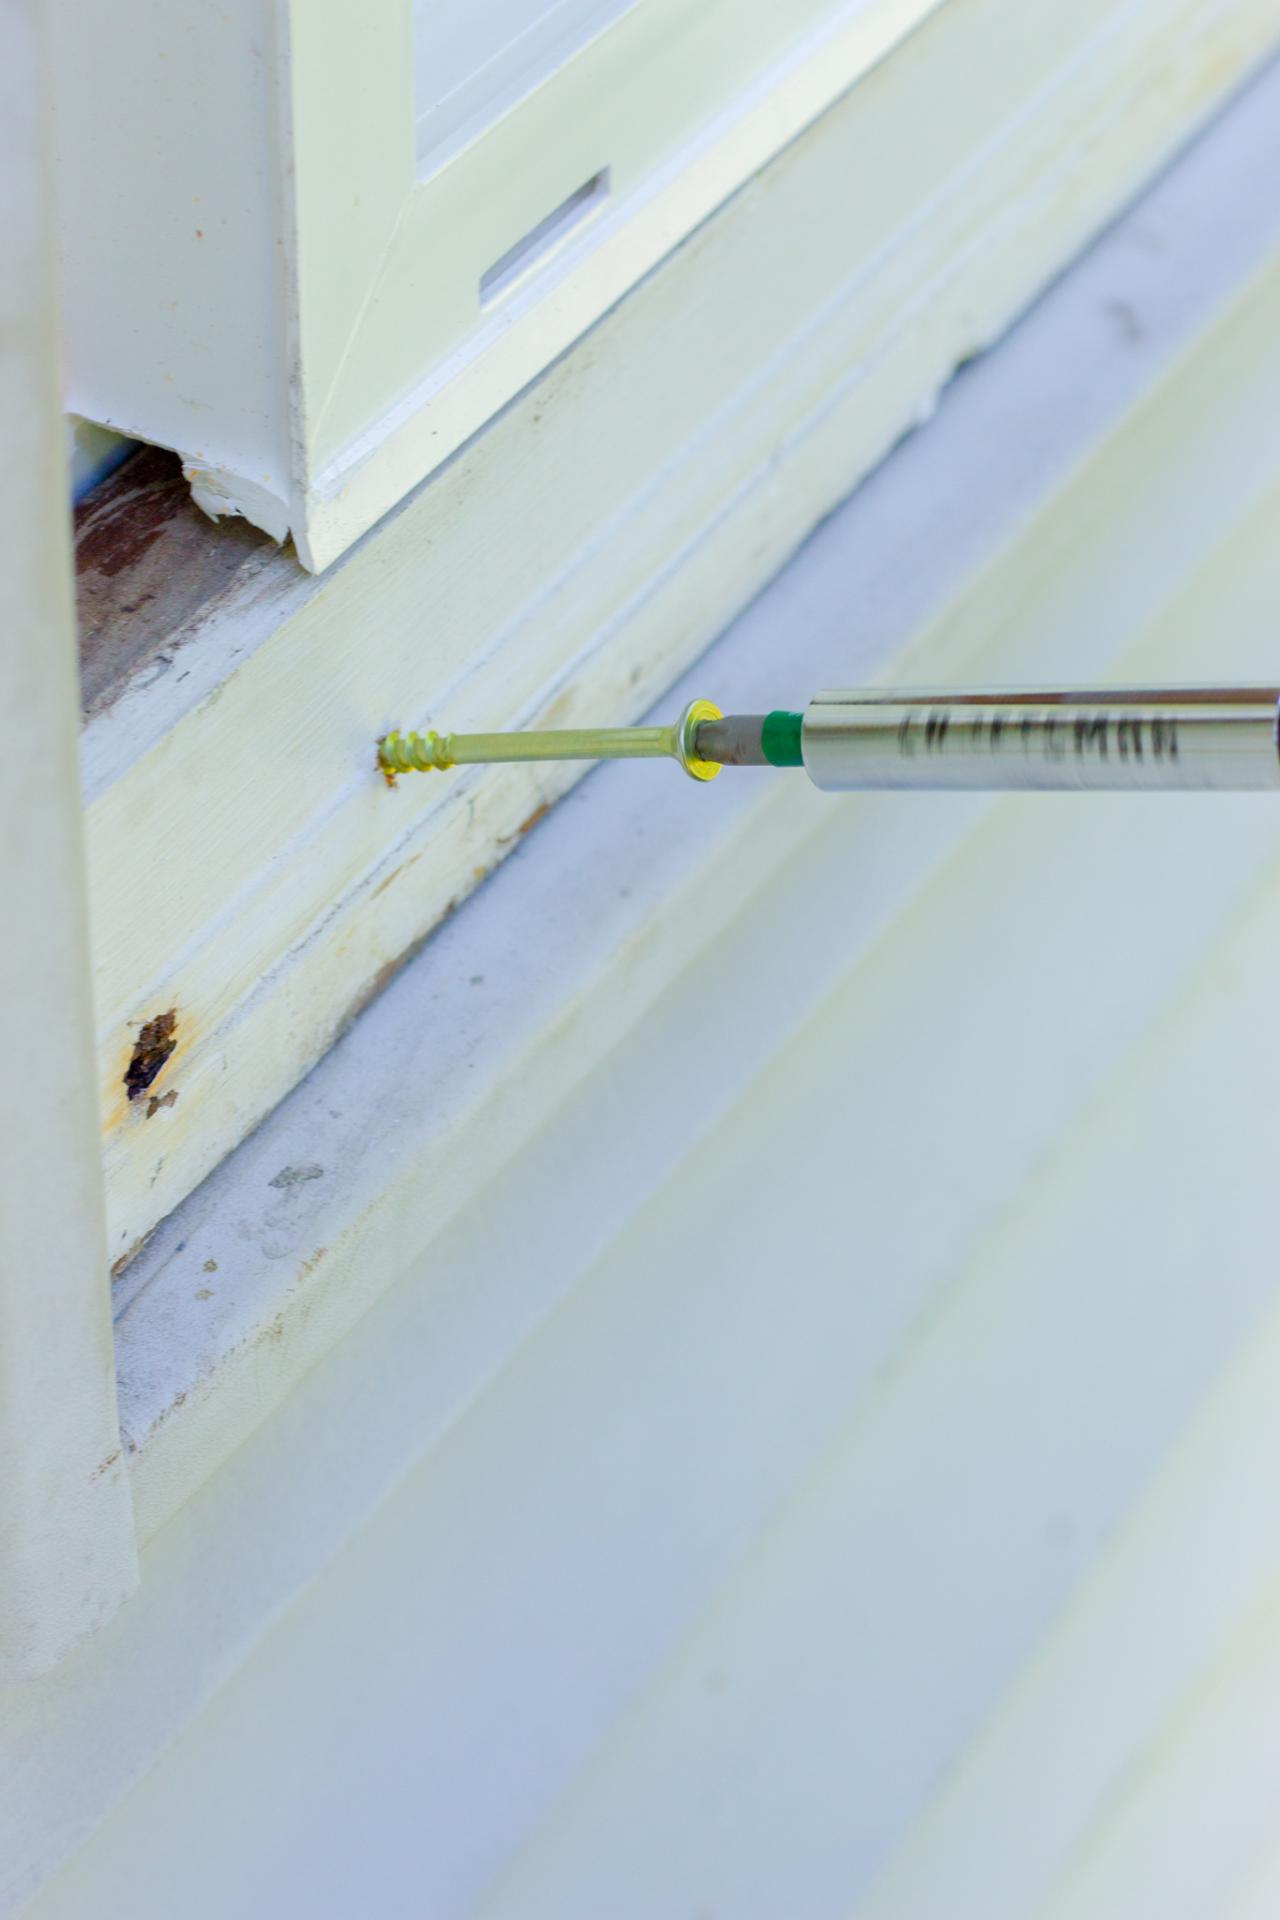
Step 3: Install New Window
Before sliding the window into place, remove the screen and sashes. This eases manipulation of the frame and helps prevent any damage to the materials. Place the window frame into the opening and use a level to check for level and plumb. Slide wooden shims around the frame where necessary to hold the frame in place. Once you’re satisfied with the way the window sits, secure with screws along the flange. Before moving forward, reinstall the sashes to make sure the window functions properly. If this isn’t the case, it may be necessary to remove the screws and adjust the shims accordingly. Once installed, insulate large gaps using expanding foam for windows and doors and seal small cracks using silicone.
Kamron Sanders
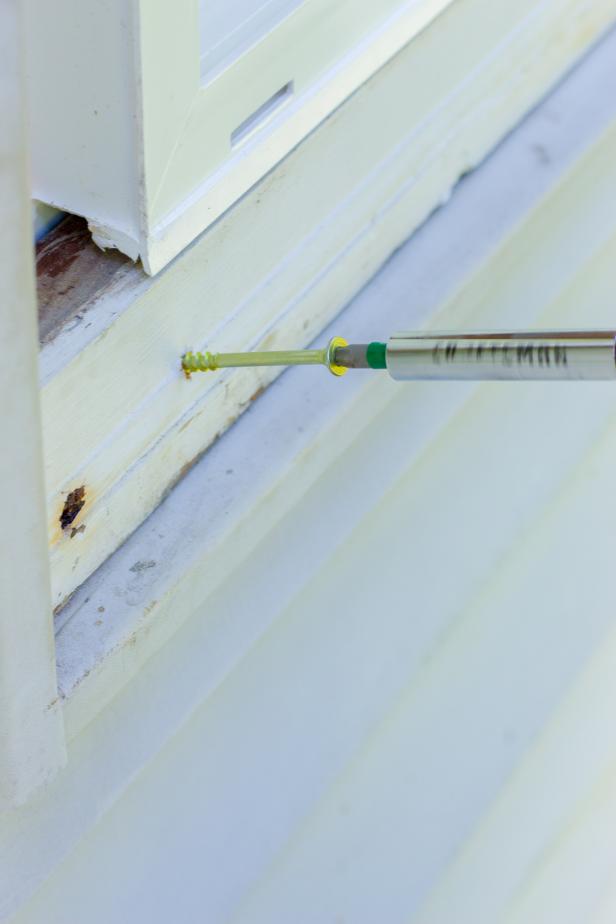
Step 4: Install Exterior Trim
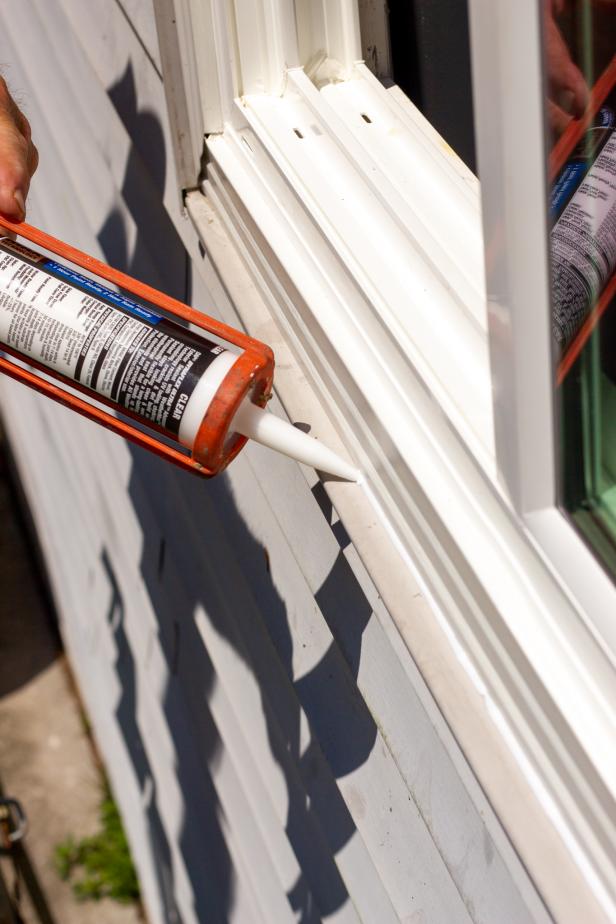
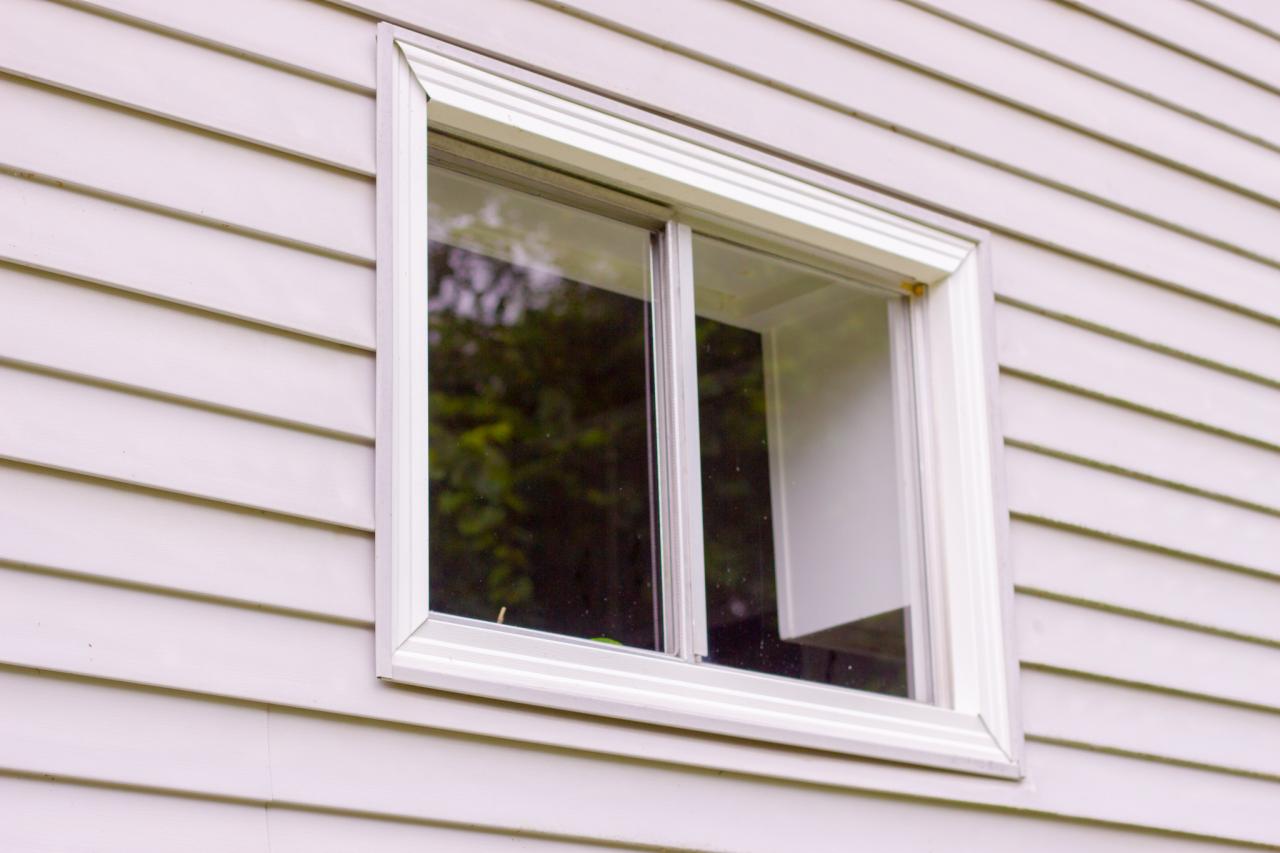
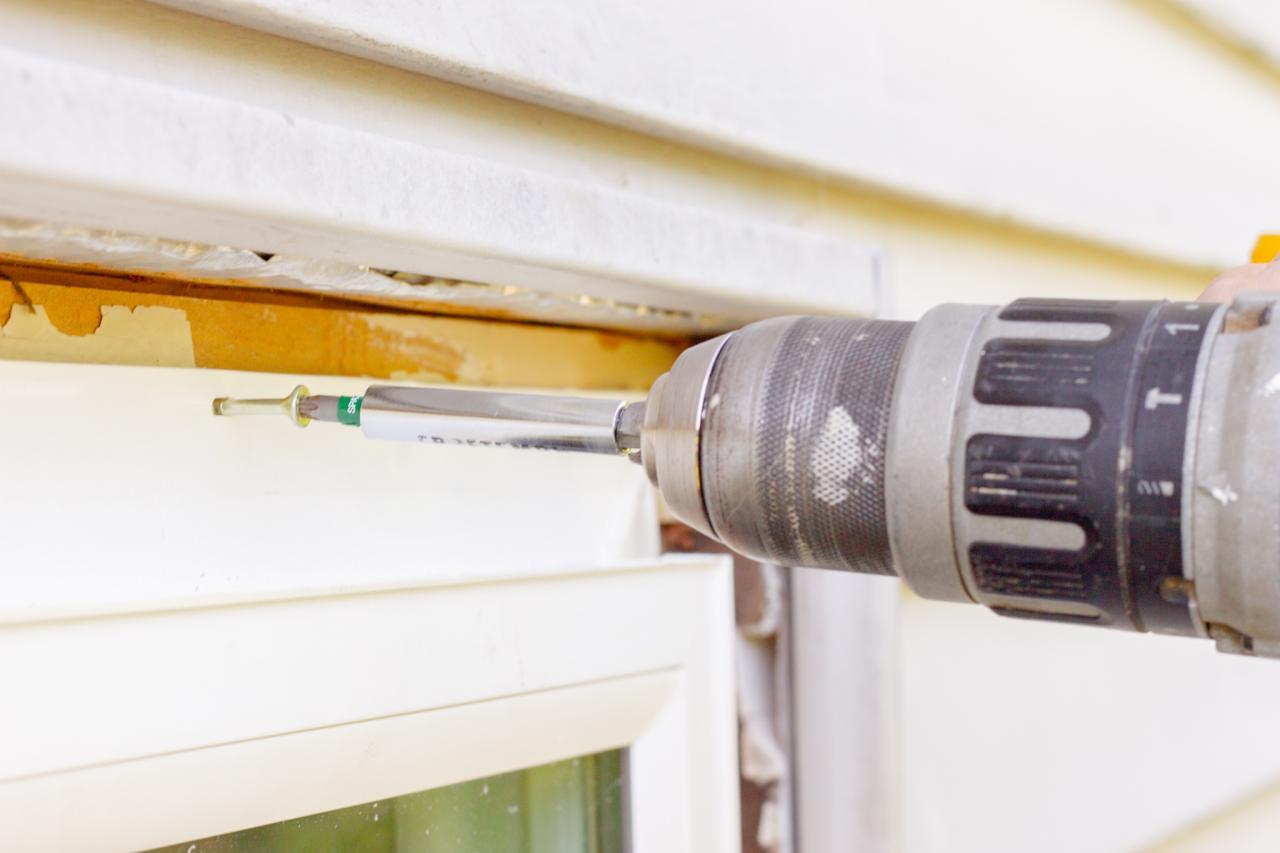
Install exterior trim according to your home’s style and needs. In our case, we recycled the brick mold and metal flashing from our old window, but every home is different and requires different exterior finishes (Images 1 & 2). Once your trim is installed, apply exterior-grade silicone around the trim to prevent moisture and pests from entering, but be sure to leave the weep holes unobstructed (Image 3). These tiny holes allow moisture to pass through the frame, keeping the window from collecting water in the tracks. Prime and paint the molding with exterior-grade paint if necessary.
Kamron Sanders

Kamron Sanders
Kamron Sanders
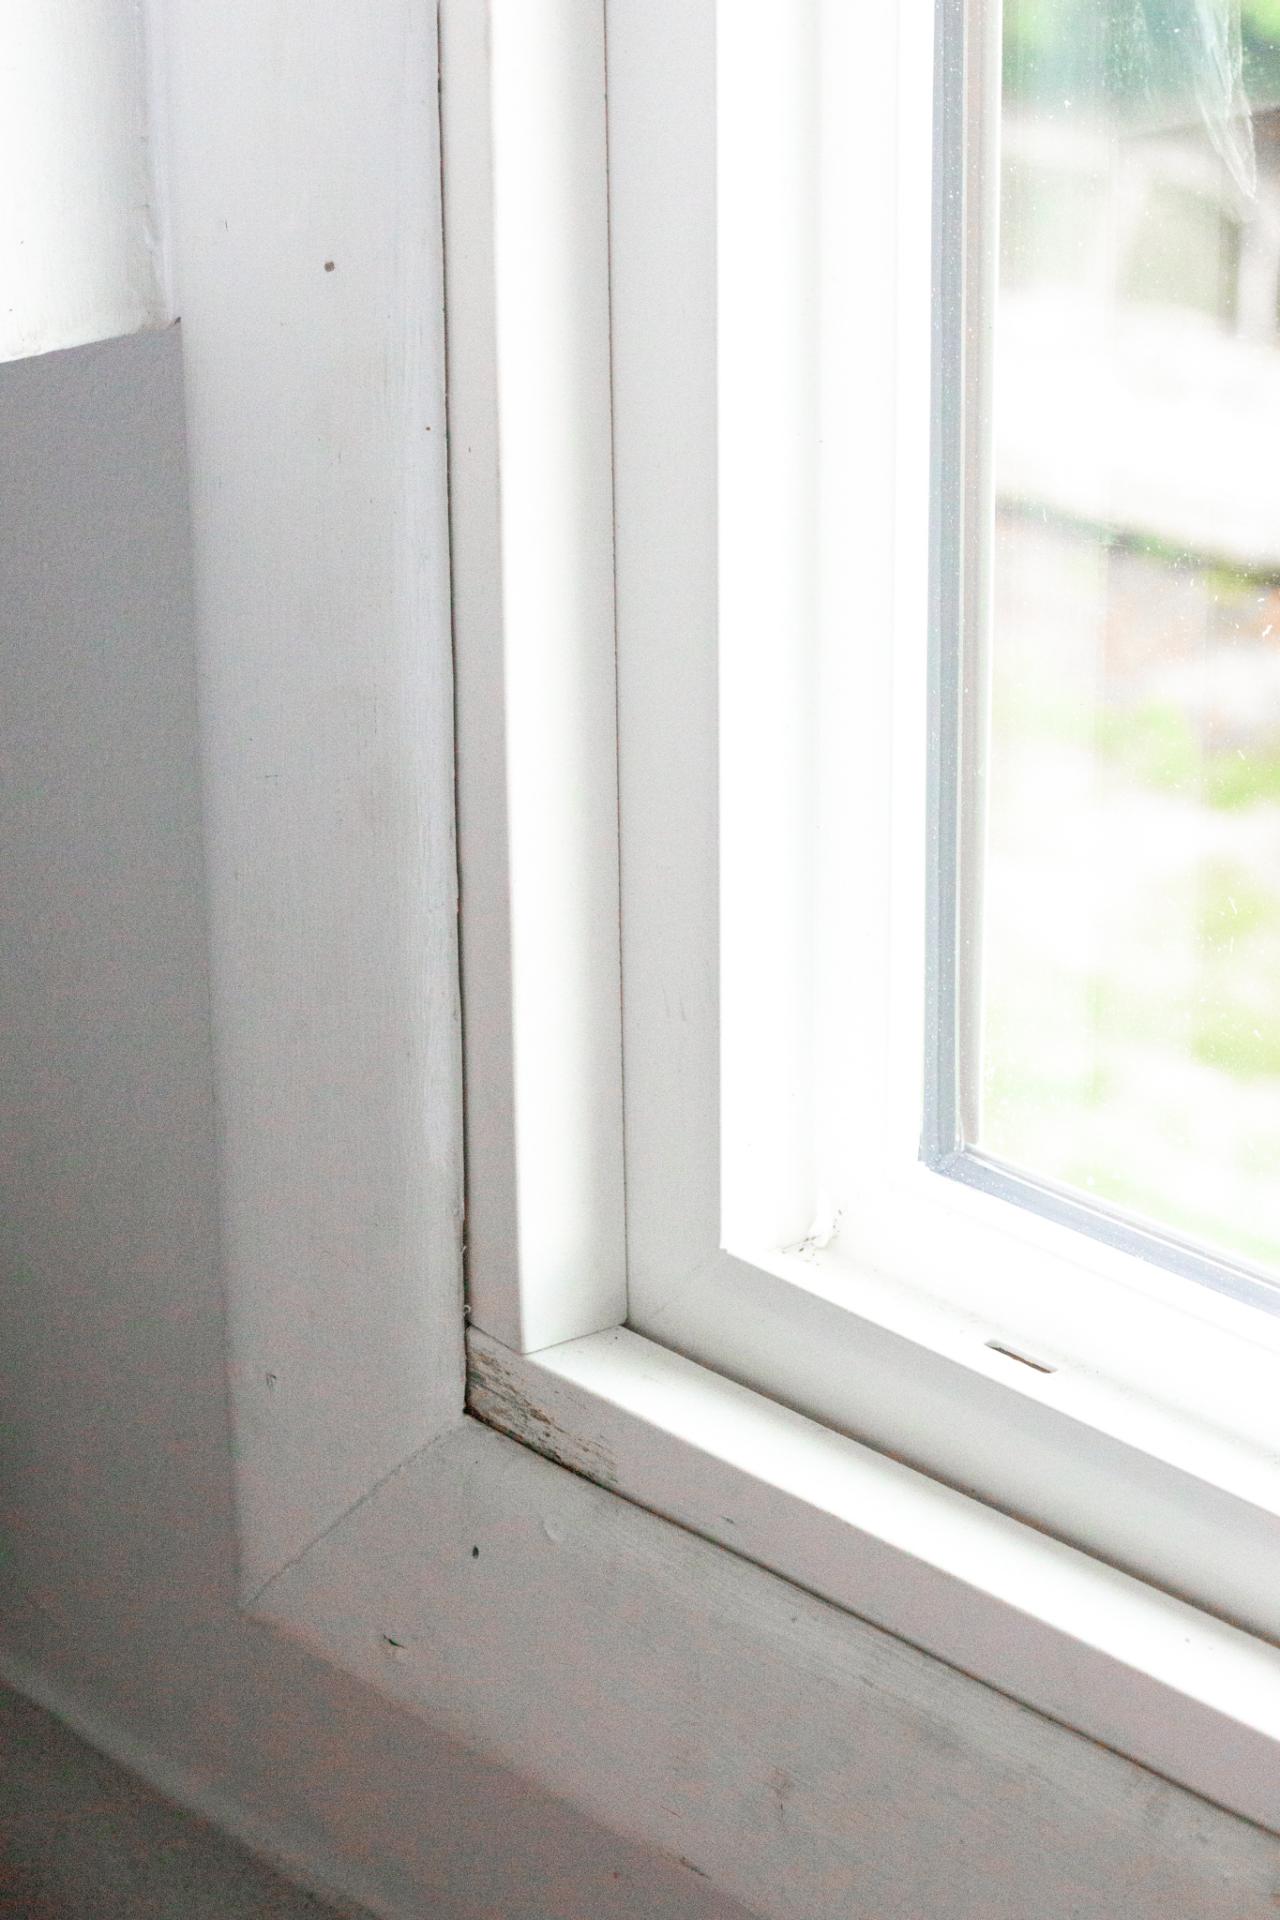
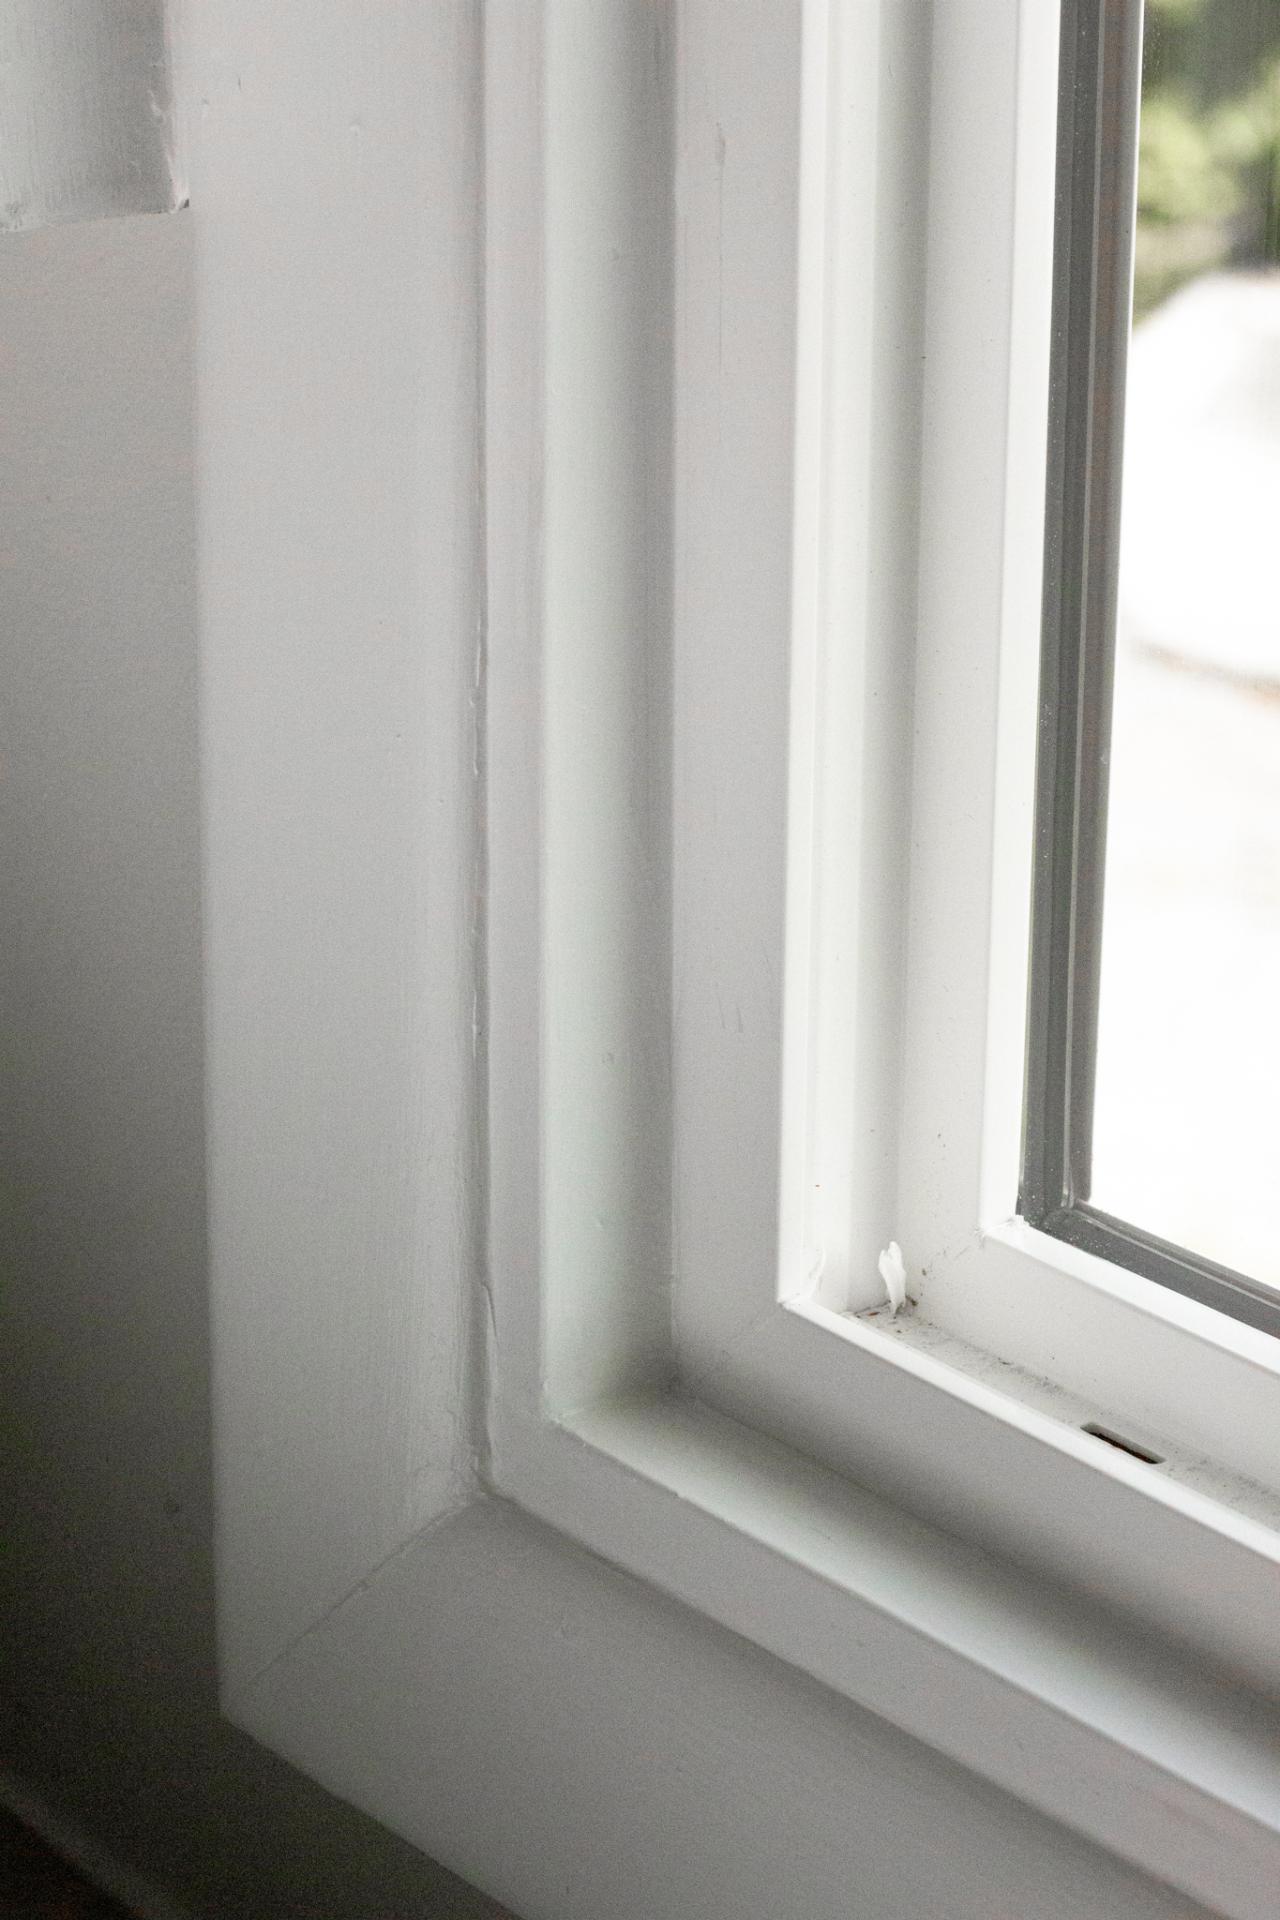
Step 5: Install Interior Trim
Install any interior trim that had to be removed to replace the window and caulk using siliconized latex caulk (Images 1, 2 & 3). Once the caulk is dry, just paint and admire your new, energy-efficient window.

Kamron Sanders
Kamron Sanders

Kamron Sanders


