


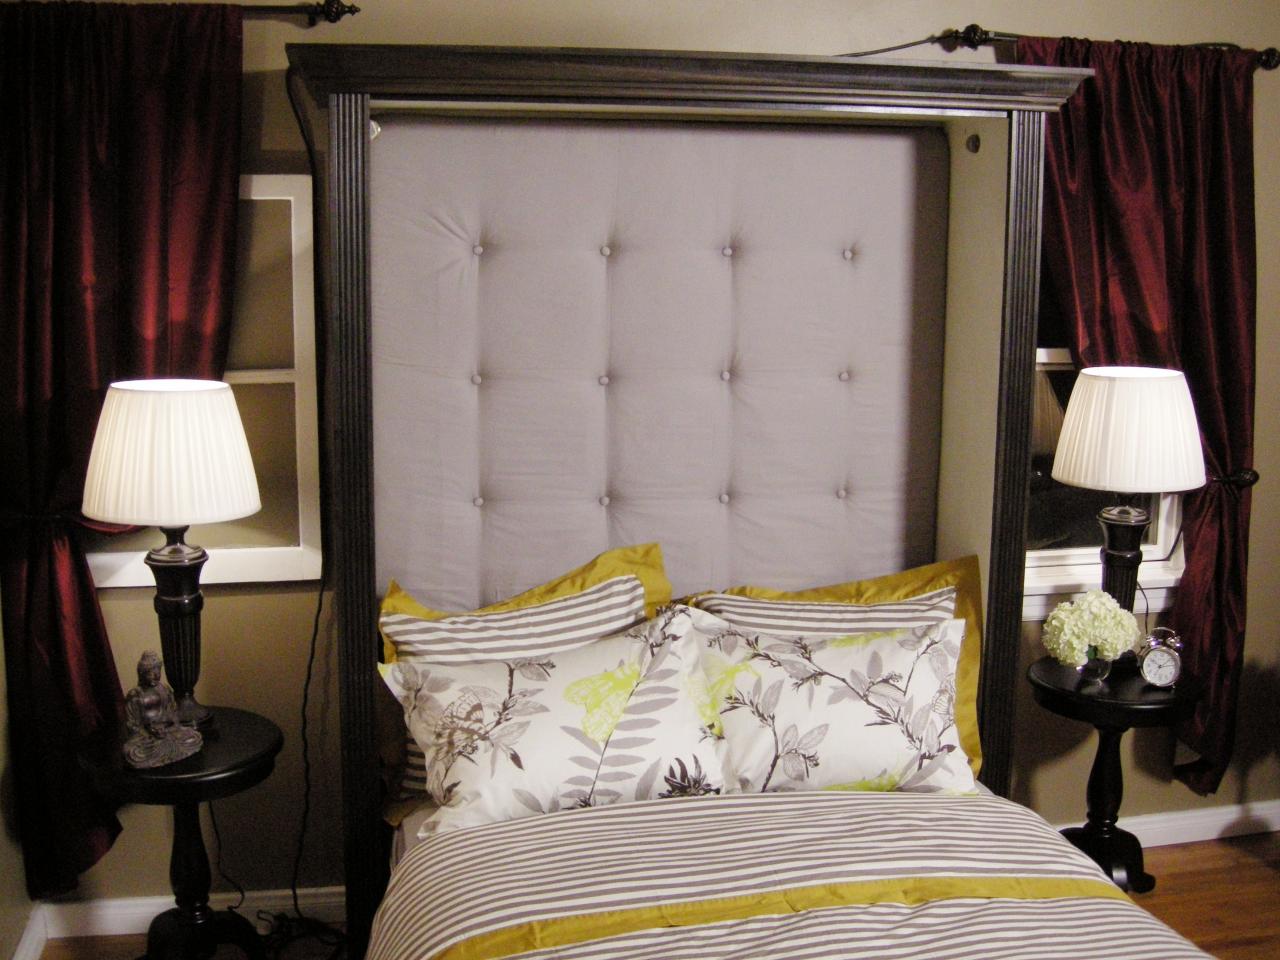
How to Make a Tufted Headboard

Tools and Materials:
3/4” medium-density fiberboard (MDF) 54” x 48”
1/4” MDF trim
3-inch thick upholstery foam
batting
Brad nailer and 1-3/8” pin nails
scissors
wood glue
fabric
button making kit
upholstery needle and thread
pneumatic upholstery stapler and staples
table saw and miter saw
drywall square
screw gun
1/2” drill bit
measuring tape
safety glasses
Steps:
1. On a table saw, cut the MDF to the size of your headboard. Cut the trim to fit around the perimeter of the headboard to give it more strength.
2. Attach the trim along the edges of the MDF using wood glue and pin nails.
3. Starting 6 inches up from the longer side of the MDF, mark out a grid for the buttons. We spaced ours every 12 inches so we’ll have 16 evenly spaced buttons.
4. Using a 1/2” drill bit, drill holes at the marks for each of the buttons.
5. Cut the upholstery foam just larger than the headboard. Lay the foam on a clean work surface then stack two layers of batting on top of it. The batting should hang off the foam by about a foot all the way around. Drape the fabric over the batting. Flip all three layers upside down and lay the MDF down, centered on top of the layers (trim side up).
6. Working from opposite corners, pull the fabric taught and secure it to the MDF trim with upholstery stapes. Continue securing the fabric all the way around the trim. Cut excess fabric with scissors.
7. Follow the manufacturer’s instructions on your button kit to create the buttons.

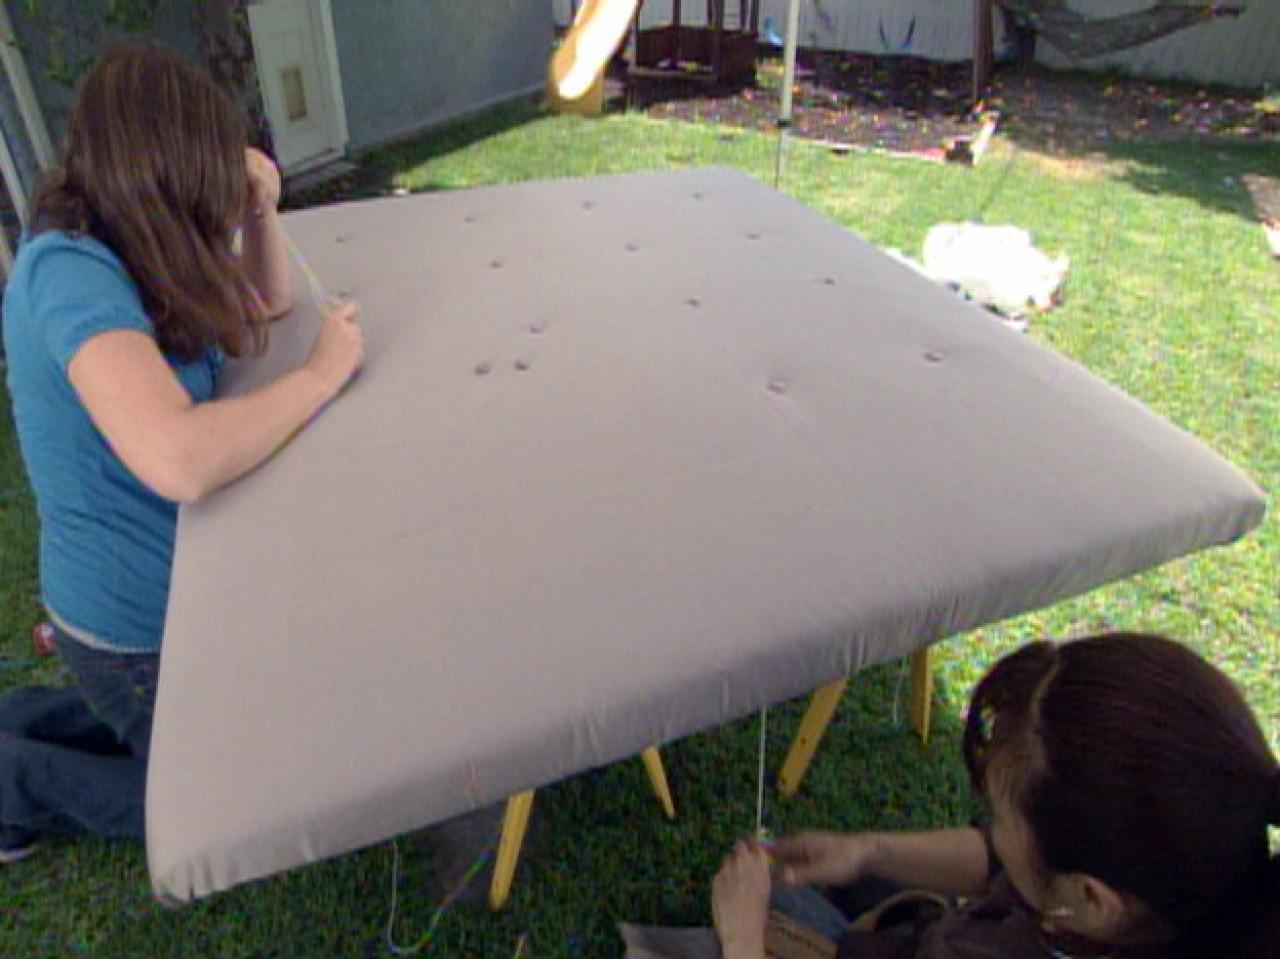
8. Thread a large upholstery needle and punch it through the hole in the back of the headboard. Thread a button onto the needle and punch it back through the hole. Leave the thread extra long and cut it. Repeat this with all of your buttons.
9. Take the excess thread hanging off of the back of the headboard, pull it taught. Pull it slowly so as not to break the thread or damage the fabric. Secure the thread with an upholstery staple. Repeat the process for all the buttons. Check the front of the headboard periodically to ensure that the tufts are all equal depth.


