


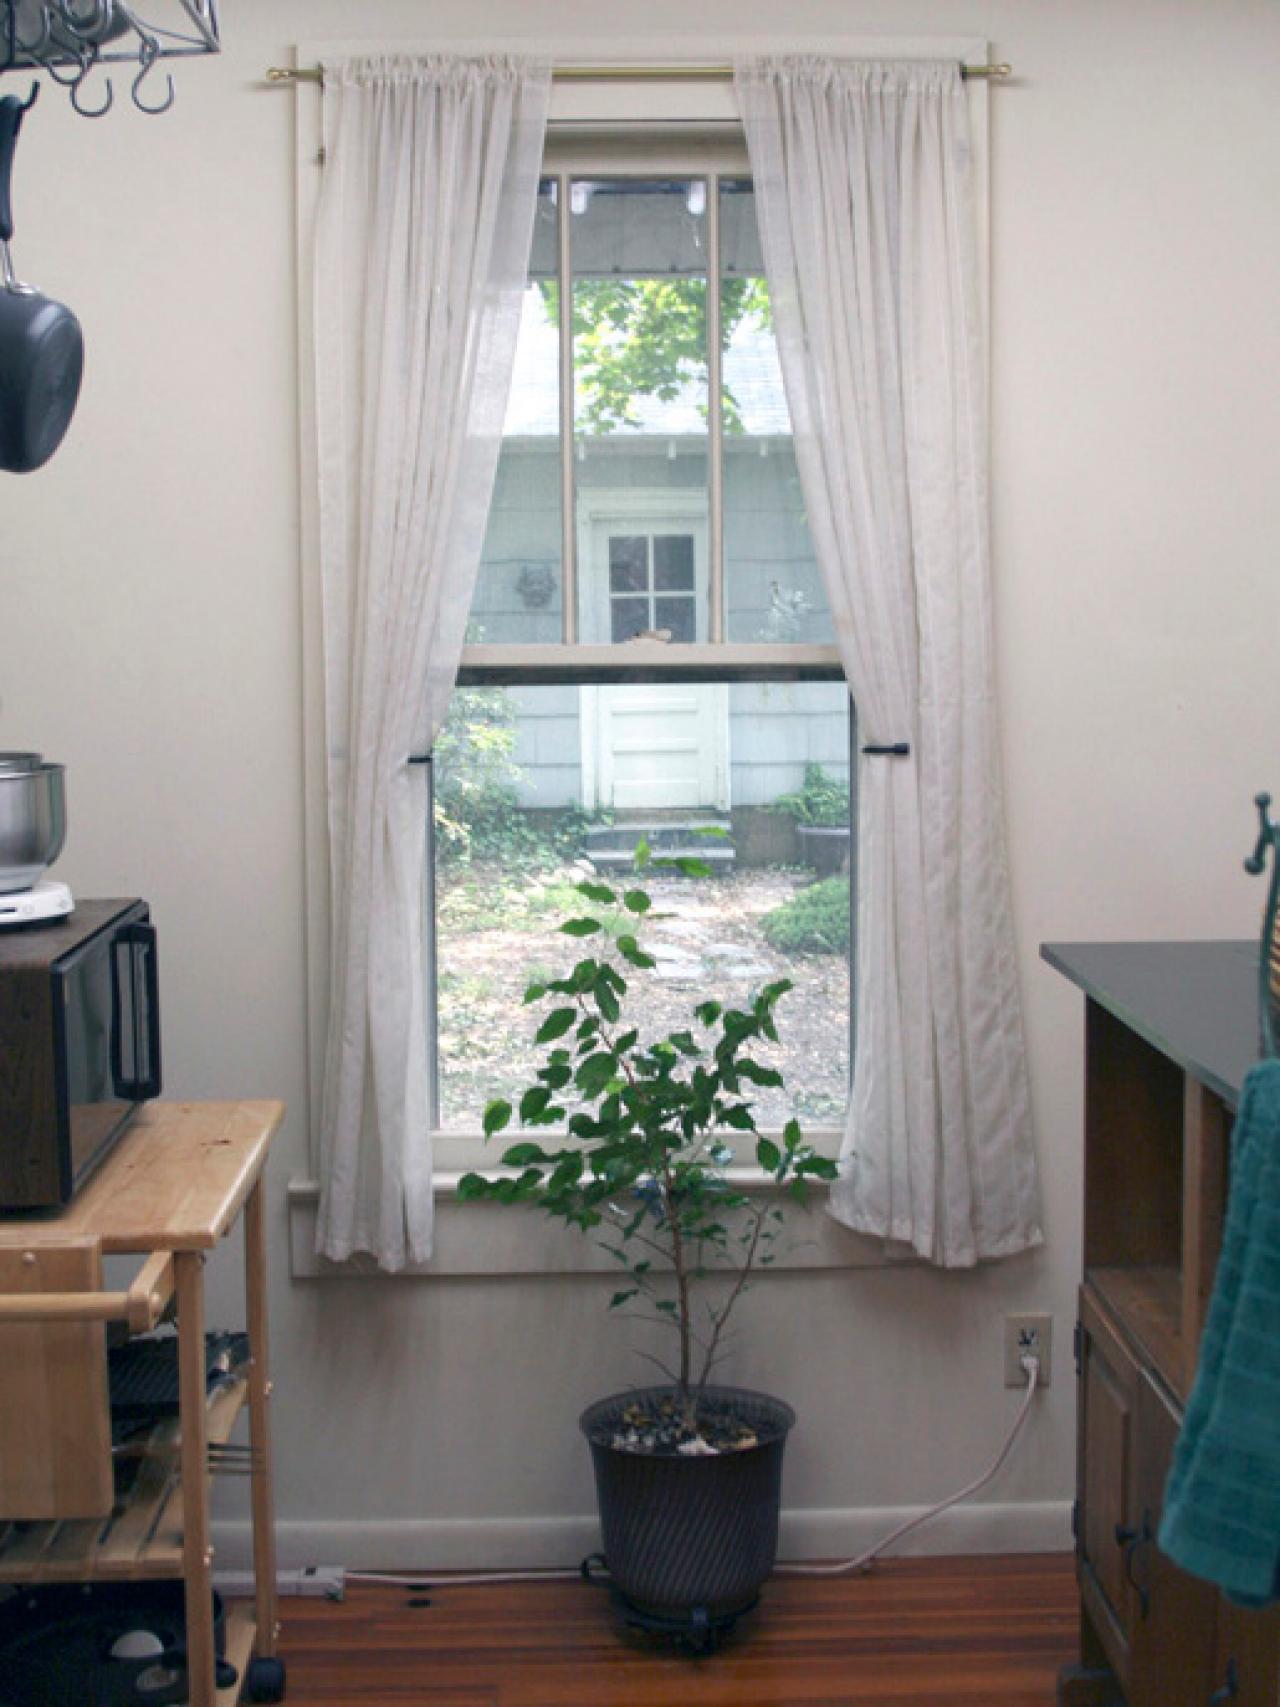
Expanding a Window to a Door

Exclusive directions from Don't Sweat It host Steve Watson for how to expand a window in your home into an entrance.

Materials and Tools:
nails
2x4s
1x6s
pre-hung door kit
door hardware
pre-cut stringers
step treads
paint or stain
220-grit sandpaper
hammer
prybar
circular saw
reciprocating saw
screwdriver
level
pneumatic nail gun (optional)
paint or stain brushes

Steps:
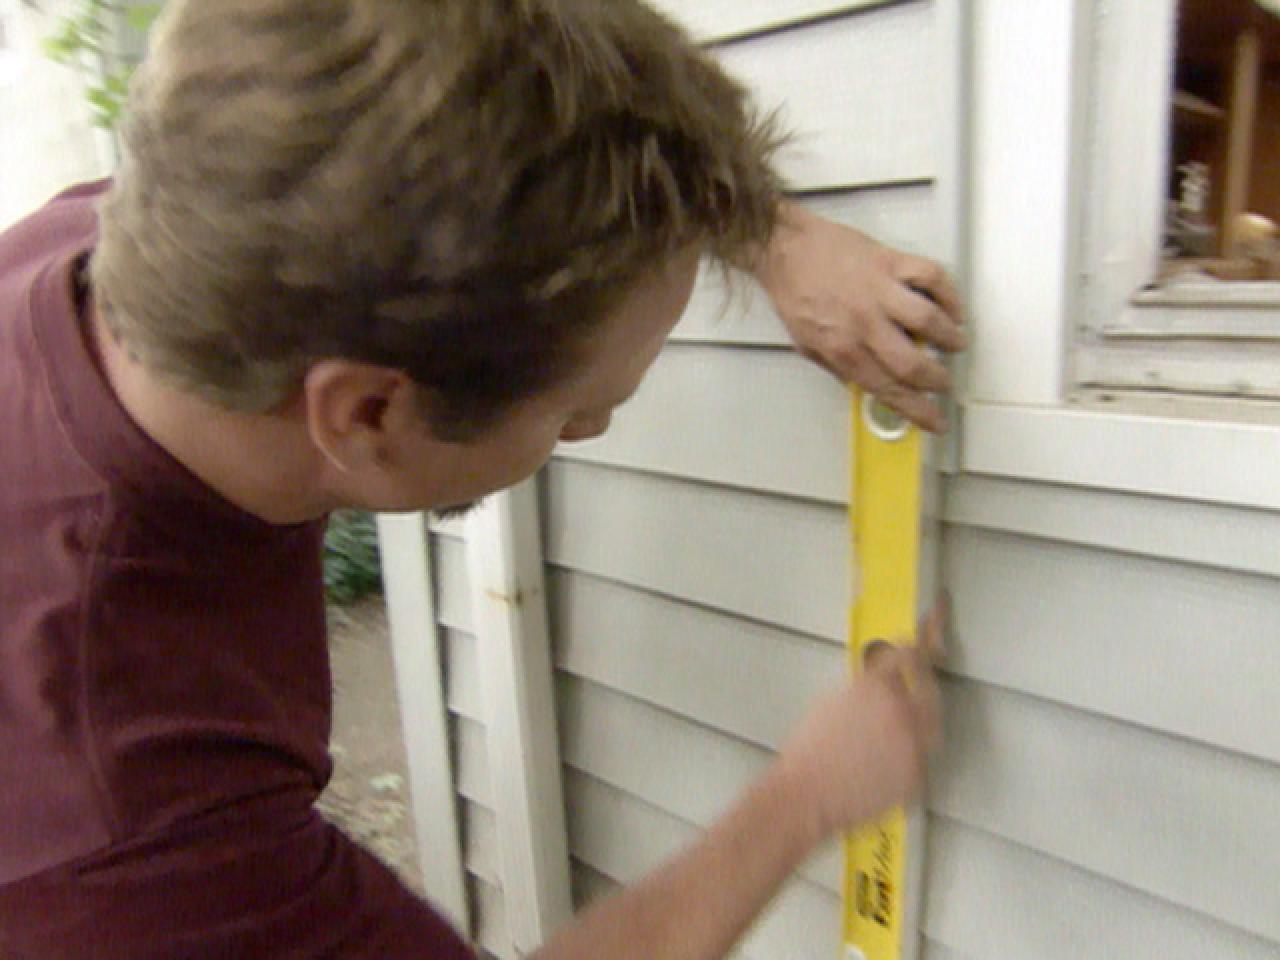
1. Draw lines down the exterior wall, directly below the edges of the window to have a guide to cut by. Start demolition from the outside in order to check for any electrical wiring or other obstructions.

2. If cutting through vinyl siding, place the circular saw blade on backwards to prevent excessive damage. Cut through the siding, following the lines drawn on the wall.

3. Remove the vinyl siding and any insulation or wood siding underneath.
4. Once the studs are exposed, check for any electrical wiring or other obstructions.

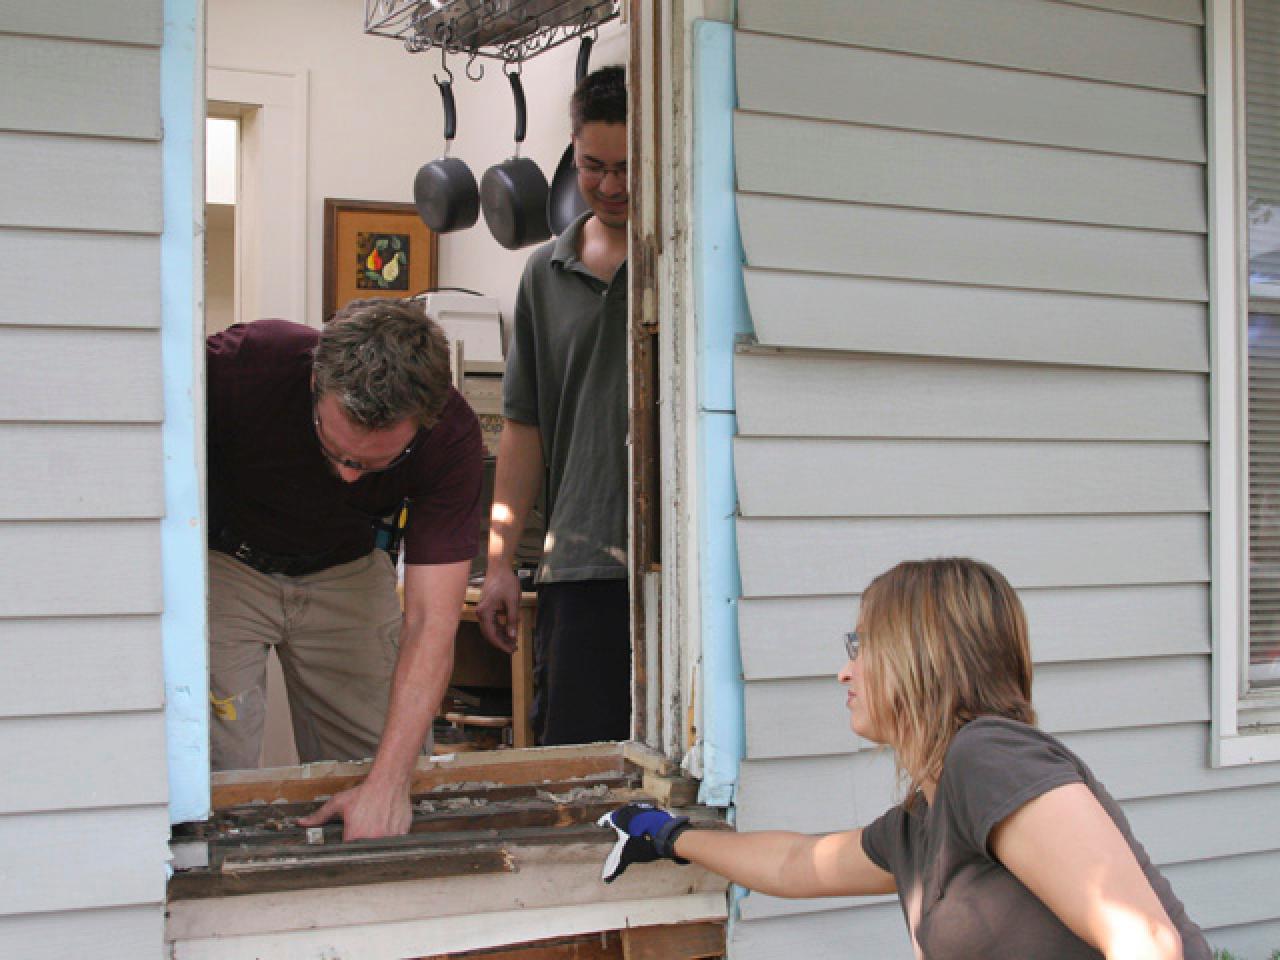
5. Remove the window casing and window from the wall using the prybar and hammer.

6. Using a reciprocating saw, cut along the studs all the way down to the floor.

7. Remove the remaining wall.
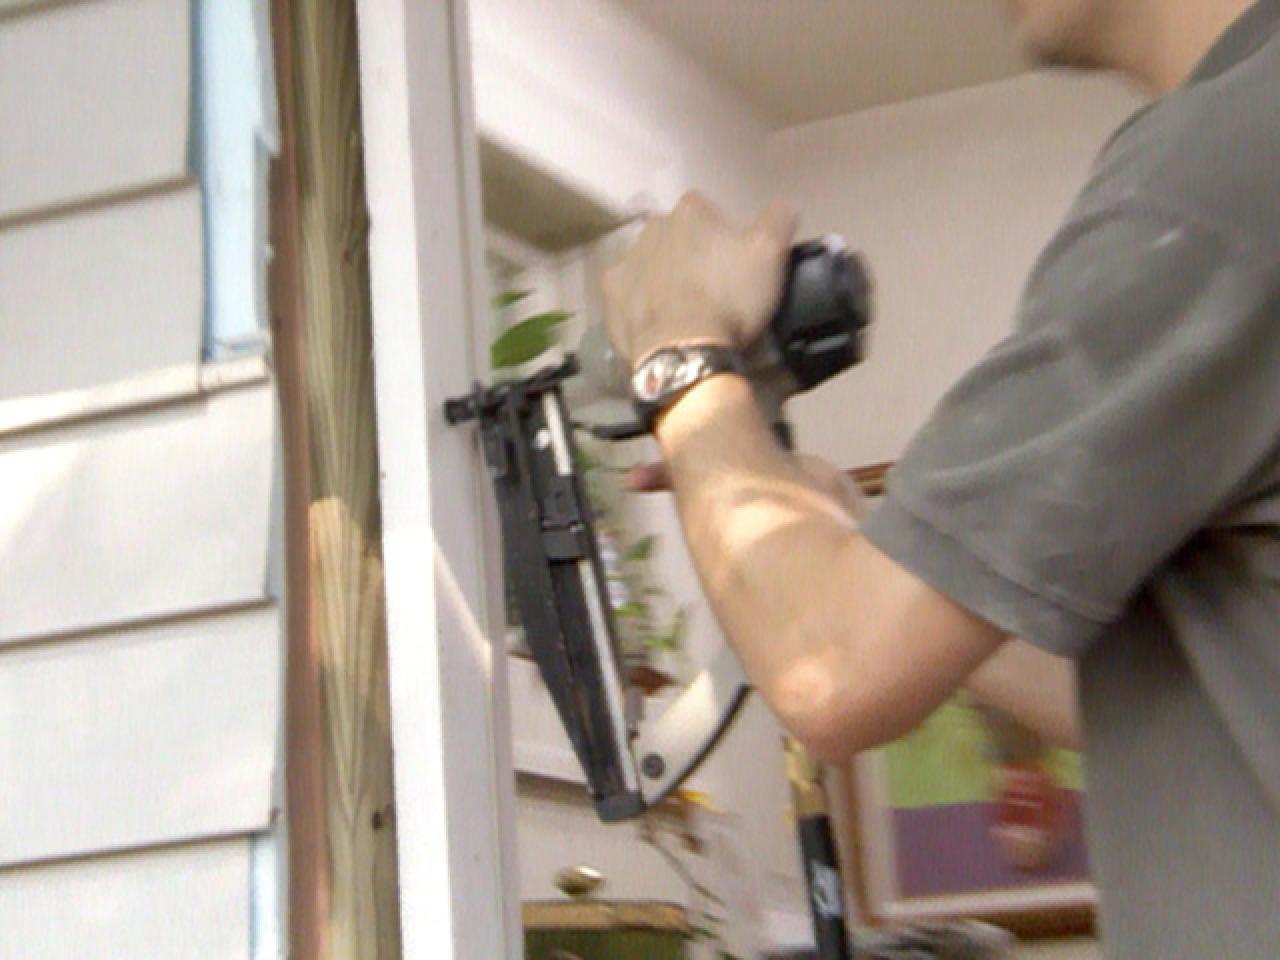
8. Measure dimensions of the opening and cut 2x4s to build a frame that will hold the door. Nail all the frame pieces with a nail gun into the sides of the opening.

9. Slide the new door in place and nail it to the frame. Install the hardware on the door, according to the manufacturer's instructions.

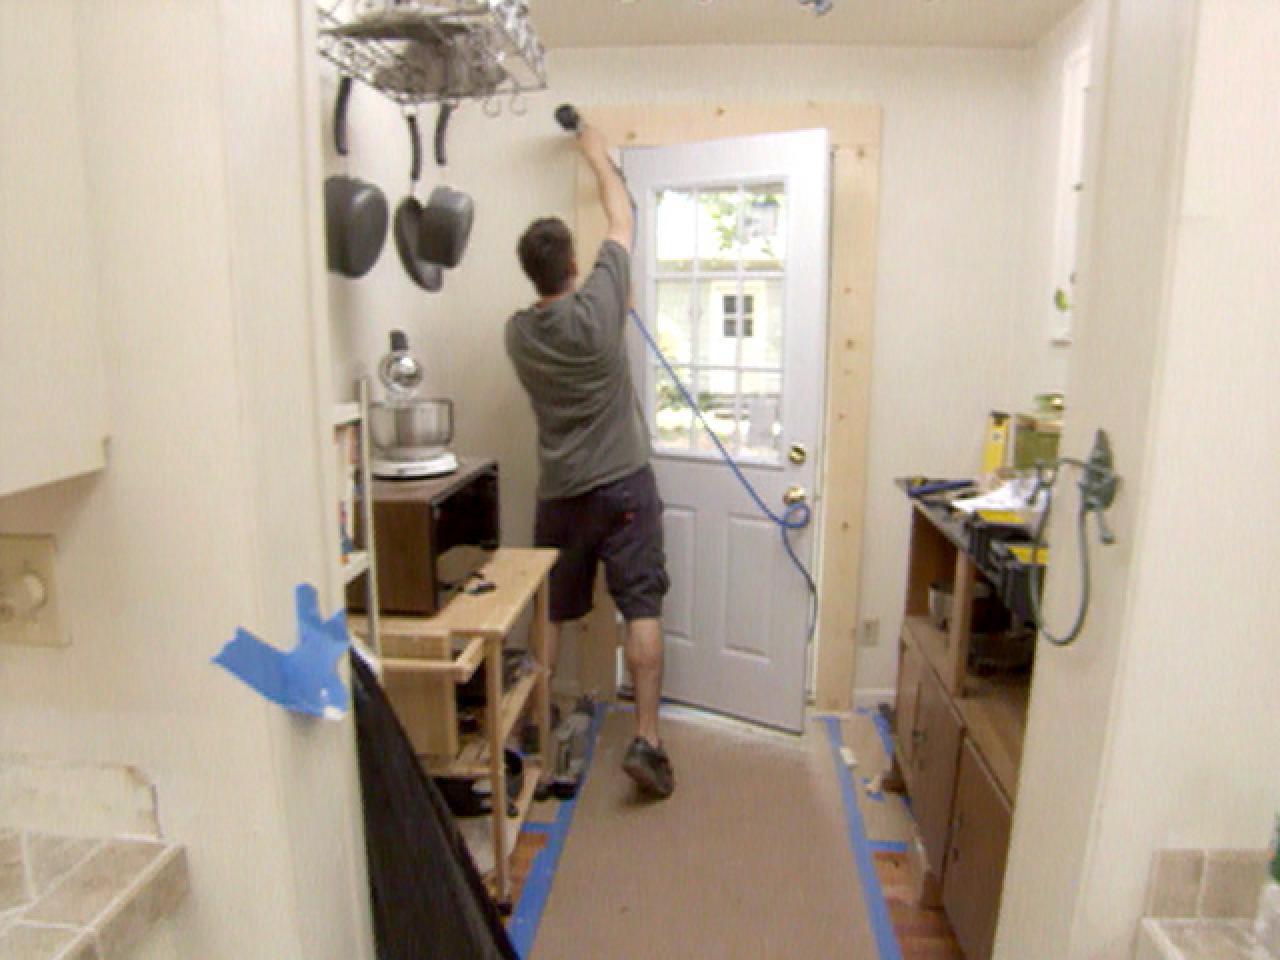
10. Finish off the interior of the door by nailing 1x6s to the sides and top.
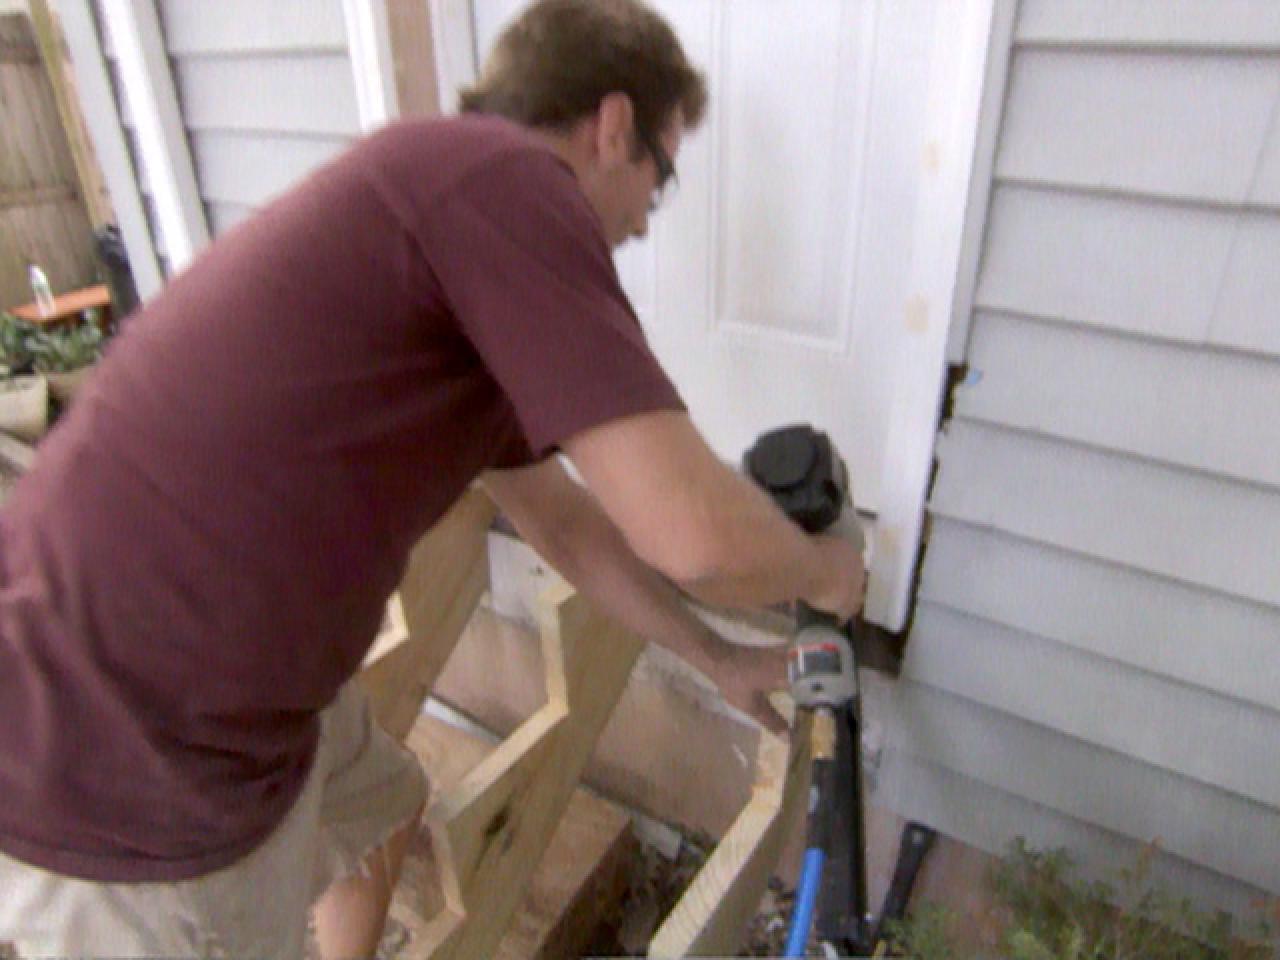
11. Put a frame up on the outside as well, using materials to match your house.

12. If necessary, build steps to lead up to the door. Measure the step tread in order to figure out the spacing of the pre-cut stringers. Once determined, nail the stringers into the wall for support.

13. Nail the step tread into place.
14. Sand the entire trim and steps, remove dust. Paint or stain as desired.


