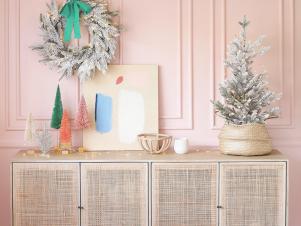
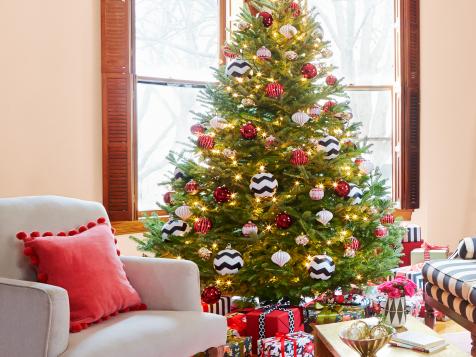
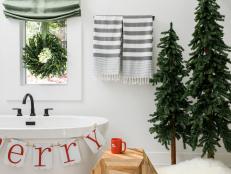
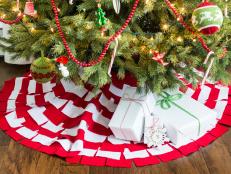
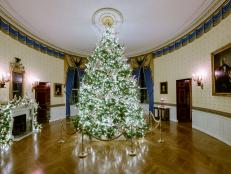
100 Beautiful Christmas Tree Decorating Ideas 101 Photos
Trim your tree in style with easy DIY projects, design tips and unique color palettes.

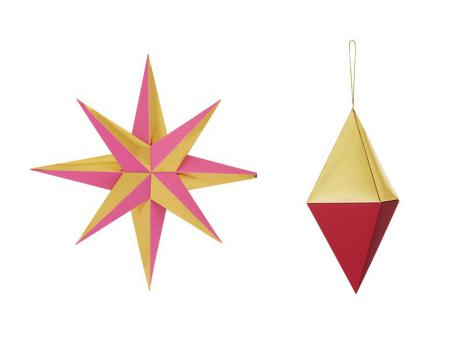
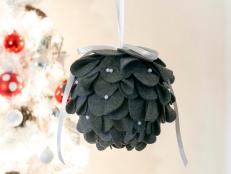
72 Easy Handmade Holiday Ornaments 86 Photos
Add a personal touch to your Christmas tree this holiday season with our DIY ornaments.

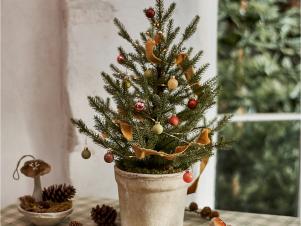
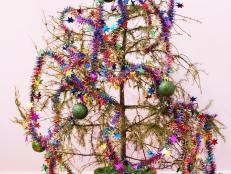
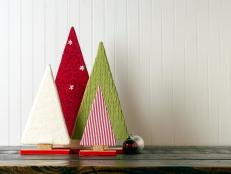
46 Creative Christmas Tree Themes 47 Photos
Whether you’re looking for a modern purple tree or a nature-inspired rustic tree, we've got Christmas tree ideas to brighten your decor and reflect your style.
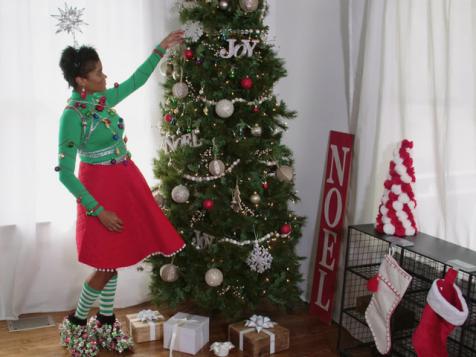
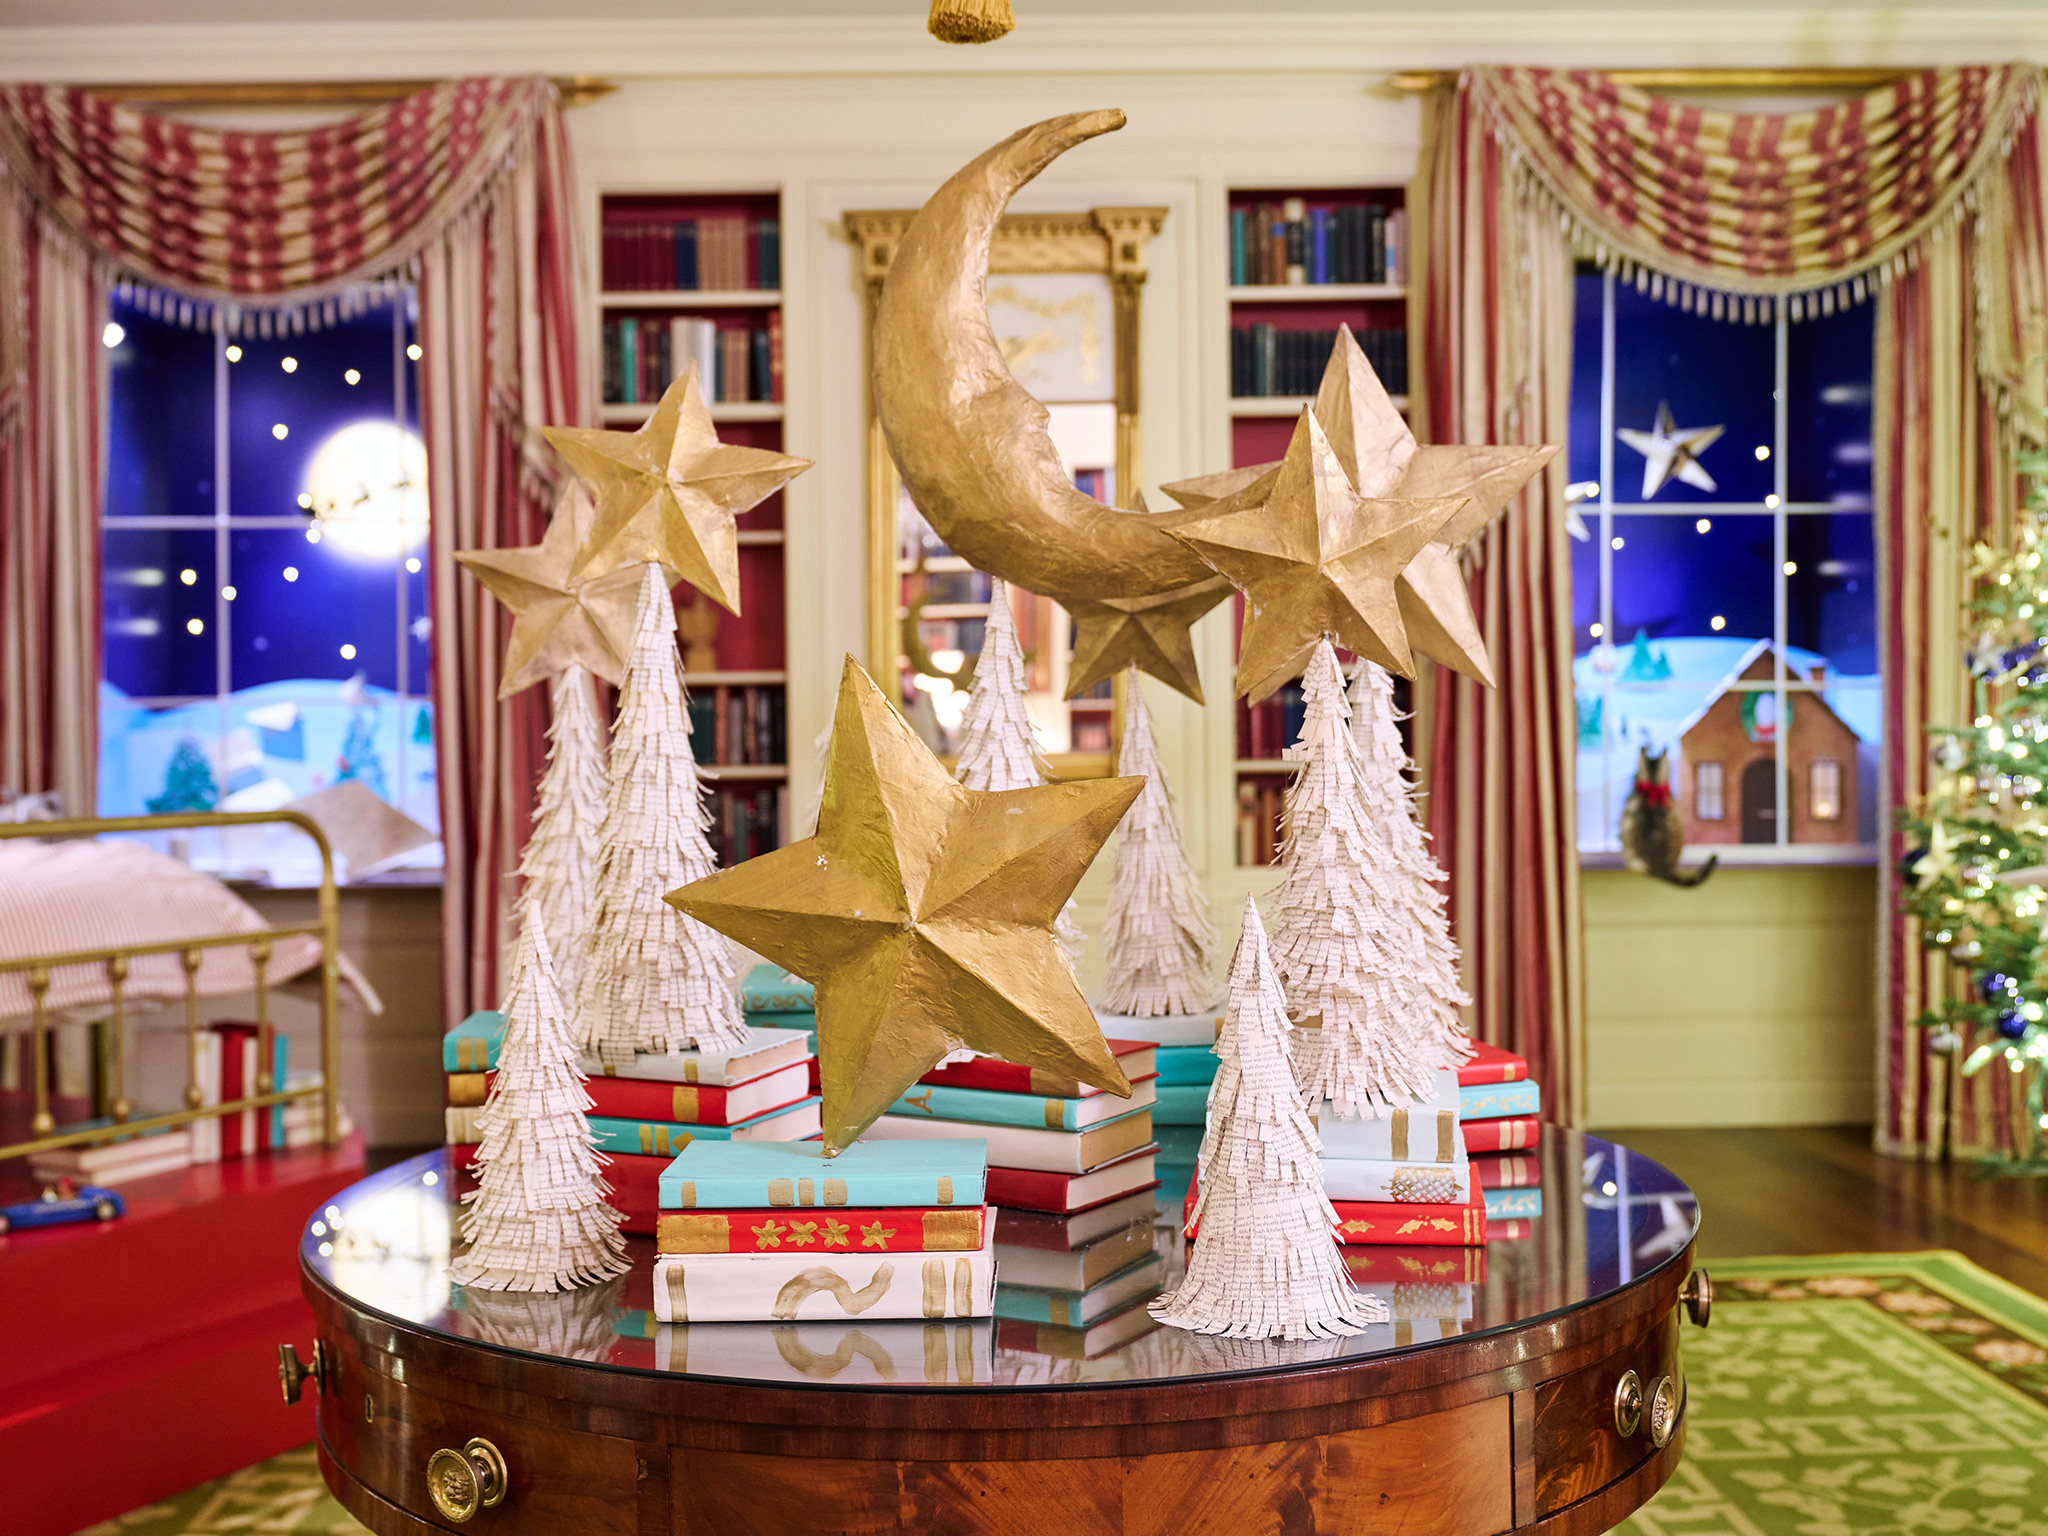
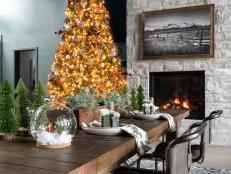
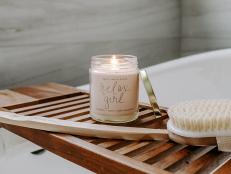
Our Cheeriest Christmas Decor
From trees to wreaths and mantels, prepare to deck the halls for the holiday!


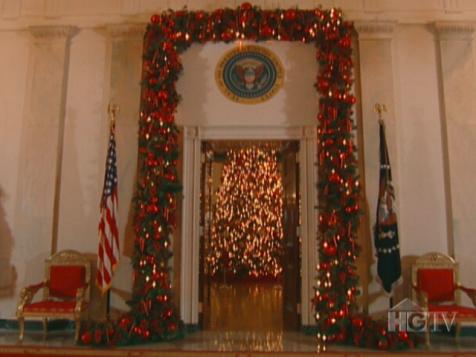
Holiday Decorating Ideas From HGTV's Top Designers 25 Photos
When it comes to decorating for the holidays, HGTV stars pull out all the stops. See how your favorites have decorated their homes for the holidays!
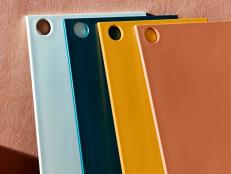
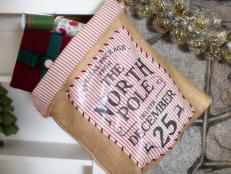
Handmade Christmas Gift Ideas
DIY these personalized gifts for your loved ones.


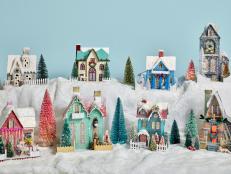
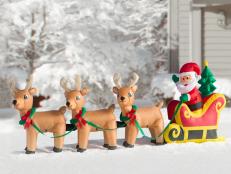
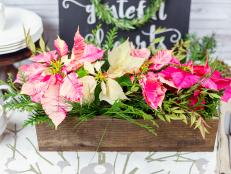
Our 80+ Favorite Handmade Holiday Decorating Ideas 101 Photos
Make your home festive — both indoors and out — with our definitive list of easy-to-create Christmas decorations, crafts and centerpieces.
Check Off Those Christmas Lists
These gift guides curated by HGTV editors will make your shopping a cinch.


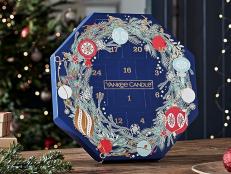


25 Thoughtful Christmas Gifts Under $50
Seriously, you can't beat these presents for these prices.
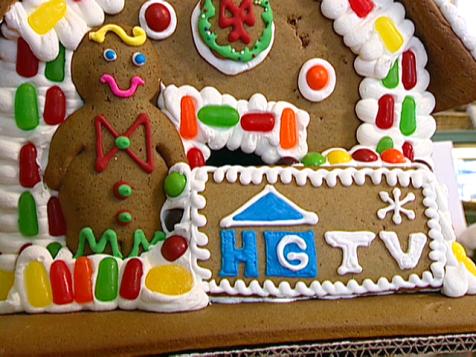
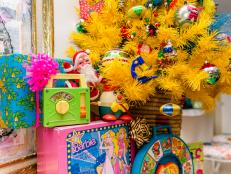
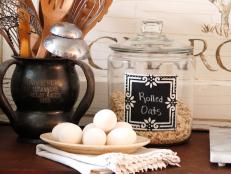
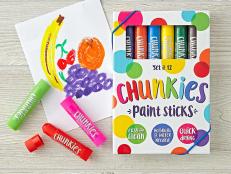
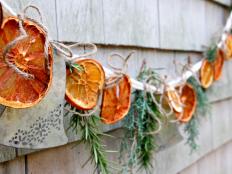
Christmas Craft Ideas
Make your holiday unique with handmade decorations and gifts.


65 Christmas Crafts for Kids 83 Photos
Build kids' anticipation for the big day with our fun project ideas for crafters big and small.
Christmas Party Prep
Plan for holiday parties and overnight guests with our entertaining tips.


Try These No-Fuss Holiday Hosting Tips 14 Photos
Host a beautiful and thoughtful holiday gathering while keeping your sanity.