1 / 35
Photo: Jeff Herr
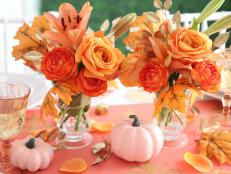
Dress Every Space for the Holidays
There’s ephemeral delight in decorating for celebrations: as the days grow shorter and holidays approach, making a home full of warmth and light is a kind of special-occasion domestic magic. As it happens, the key to maintaining that je ne sais quoi all year long is also the key to making your space uniquely spectacular: adapt the stuff you love best with holiday accessories and it’ll still feel special when you transition into the next season. Take a stroll down our block of designer decorations — beginning with this wish-we-were-there fireside living room in James Farmer’s North Carolina cottage — and bring the best ideas home with you.