


Welcome to our site. We've made loads of changes and may have misplaced a few things. We've been cleaning up, so try searching for what you are looking for.
Something broken? Tell us.
You Might Also Like...
Design Ideas
Watch for These Trends
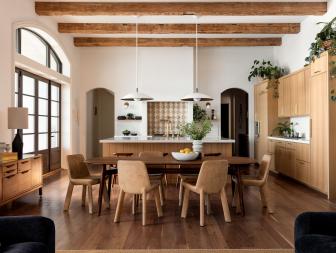
2024 Home & Garden Design Trends 69 Photos
See what's on the home and garden design trend forecast for 2024 and how you can implement these ideas into your own space.

30 Best Up-and-Coming Small Cities in America 31 Photos
These fast-growing small cities in the US should be on your radar.

85 Clever Dollar Store Hacks 85 Photos
From budget-friendly decor projects to clever storage hacks, take your space to the next level without spending a fortune.

68 Inviting Home Exterior Color Palettes 68 Photos
From classic to bold, showcase your style with inspiration from these exterior paint color schemes that offer serious curb appeal.
.jpg.rend.hgtvcom.336.252.suffix/1689089332147.jpeg)
Alison Victoria Turns a Warehouse into Her Dream Home 12 Photos
The renovated industrial warehouse project is the Windy City Rehab host's most ambitious undertaking yet.