


How to Make a Modern Tablet or Cookbook Stand
This handy wooden stand is a great beginner woodworking project for anyone wanting to surprise their favorite chef, baker, techie or hostess with a beautiful and functional custom handmade gift.

Stylish Wooden Cookbook or Tablet Stand
Everyone could use an extra hand in the kitchen, especially when they're whipping up a new recipe. Beginner woodworking skills and our step-by-step instructions will help you turn lumber into a thoughtful gift for your favorite chef.

Materials Needed:
- 7/8" thick new or reclaimed wood
- eye protection
- measuring tape
- combo square
- miter saw
- wood glue
- 2 aluminum bar clamps
- orbital palm sander
- medium- and fine-grit sanding discs for sander
- drill
- driver bit with countersink and drill bit
- 1-1/4" self-boring wood screws
- all natural hemp oil or wood finish of your choice
- natural bristle brush or lint-free cloth
Cut Wood to Size
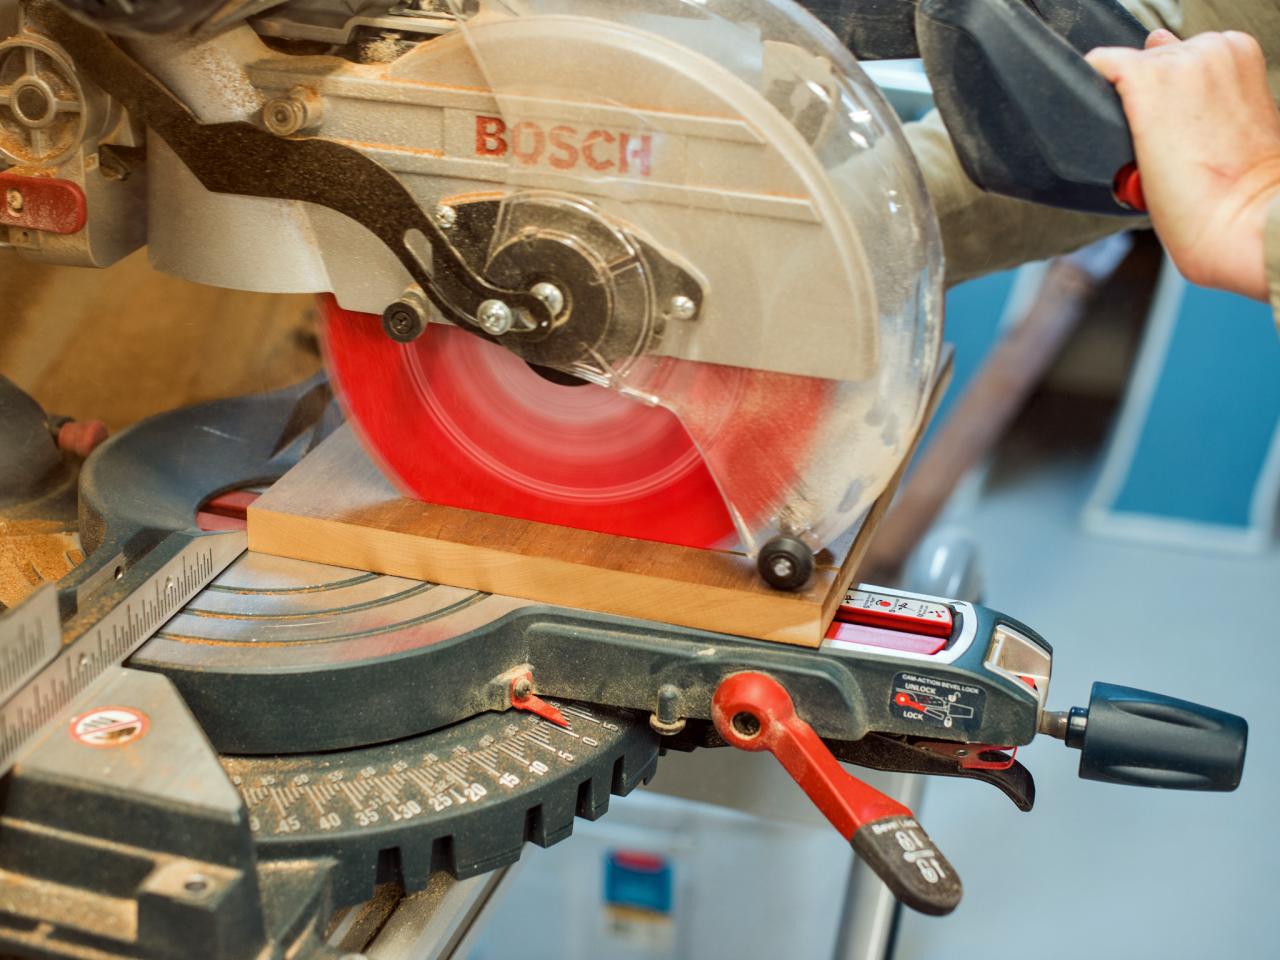
Using a miter saw, cut wood to the following dimensions:
11" wide x 12-1/2" high (back)
two 11" wide x 2-1/4" high (bottom and ledge)
9" wide x 12" high (cut to make stands)
Note: New or reclaimed lumber can be used for this project. Wear eye protection while using power tools. Tip: When working with reclaimed wood, make sure it is free from nails or screws that might get caught on the saw blade.

Cutting Wood With Miter Saw
Using a miter saw, cut wood to the following dimensions: 11" wide x 12-1/2" high (back) two 11" wide x 2-1/4" high (bottom and ledge) 9" wide x 12" high (cut to make stands)
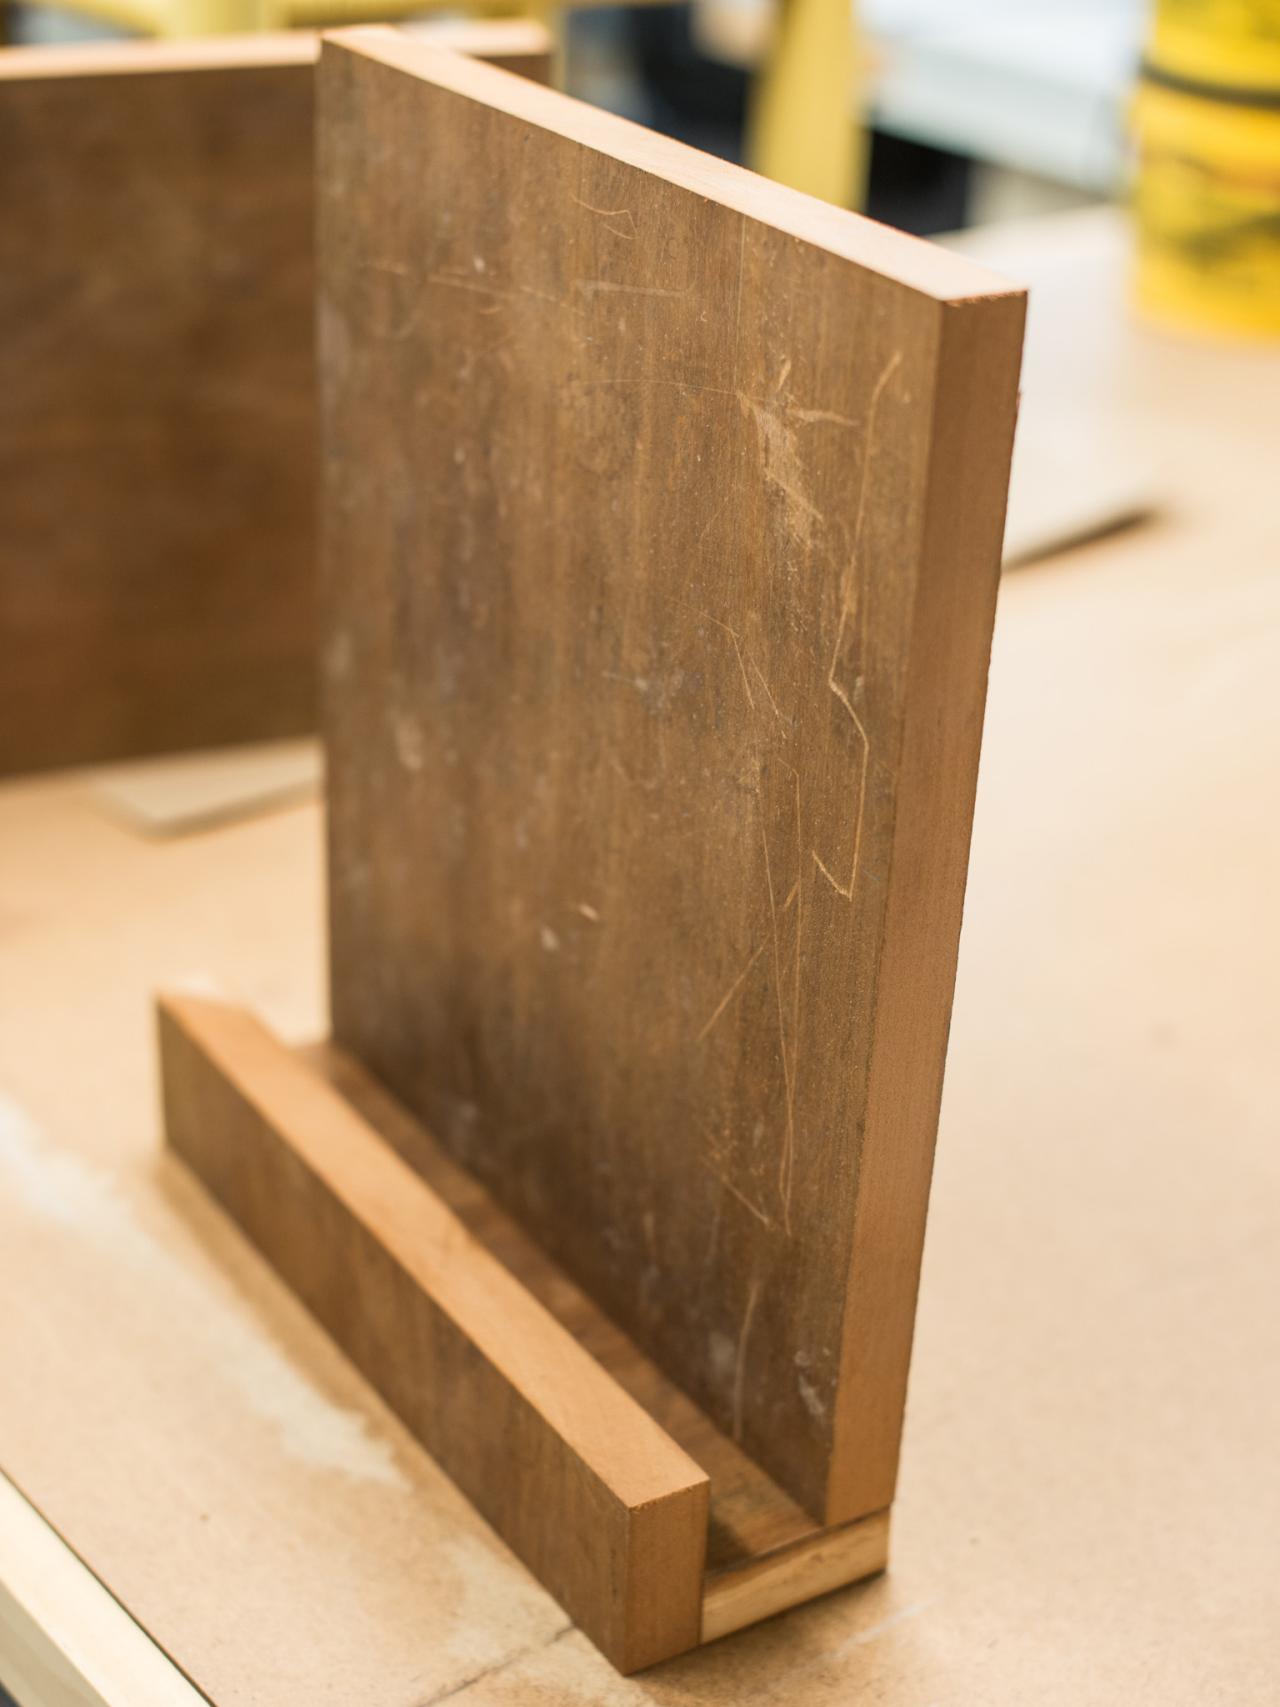
Dry Fit Pieces Together
Position pieces together to ensure a proper fit. Back piece will rest on bottom and ledge will sit in front. At this point, make any desired adjustments to wood.

Wood Pieces for Project
Position pieces of cookbook stand together to ensure a proper fit. Back piece will rest on bottom and ledge will sit in front. At this point, make any desired adjustments to wood.
Glue Ledge
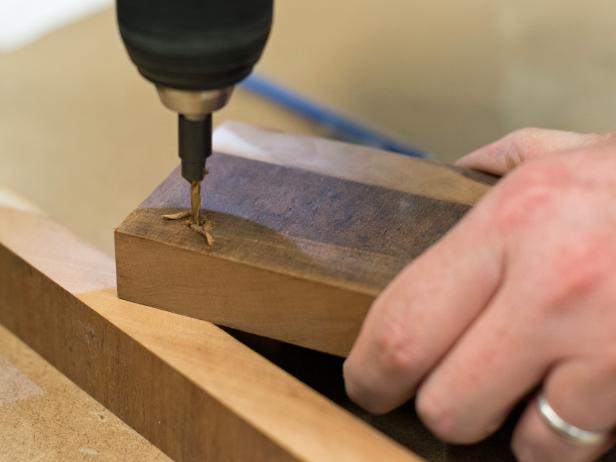
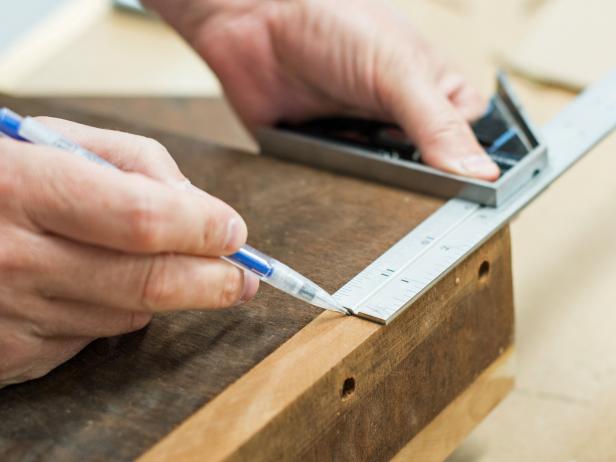
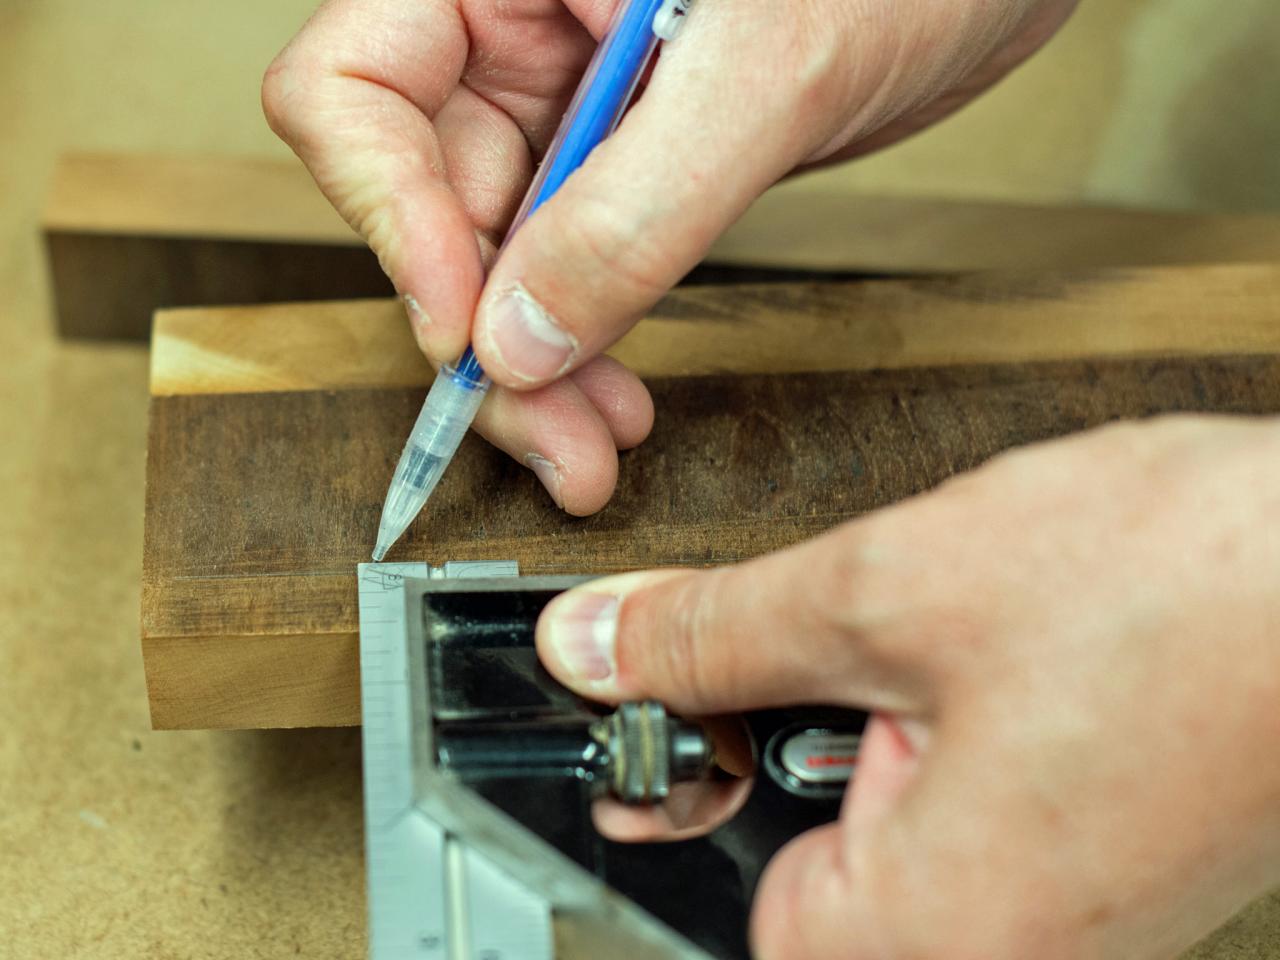
Use wood glue to affix ledge to bottom. Apply wood glue to both surfaces, fit together so edges are flush then gently clamp in place with two aluminum bar clamps. Allow glue to dry and remove from clamps. Turn glued piece over, so the bottom of bottom piece is face up. Determine center point of width of back board with combo square and transfer that measurement to bottom piece. Mark with pencil (Image 1). Use countersink drill bit slightly smaller than diameter of screws to drill four evenly spaced pilot holes along marked line (Image 2).

Marking Wood With Pencil
Determine center point of width of cookbook stand's back board with combo square and transfer that measurement to bottom piece. Mark with pencil.
Drilling Hole in Wood
Determine center point of width of back board with combo square and transfer that measurement to bottom piece of cookbook stand. Mark with pencil. Use countersink drill bit slightly smaller than diameter of screws to drill four evenly spaced pilot holes along marked line.
Attach Bottom Piece to Back
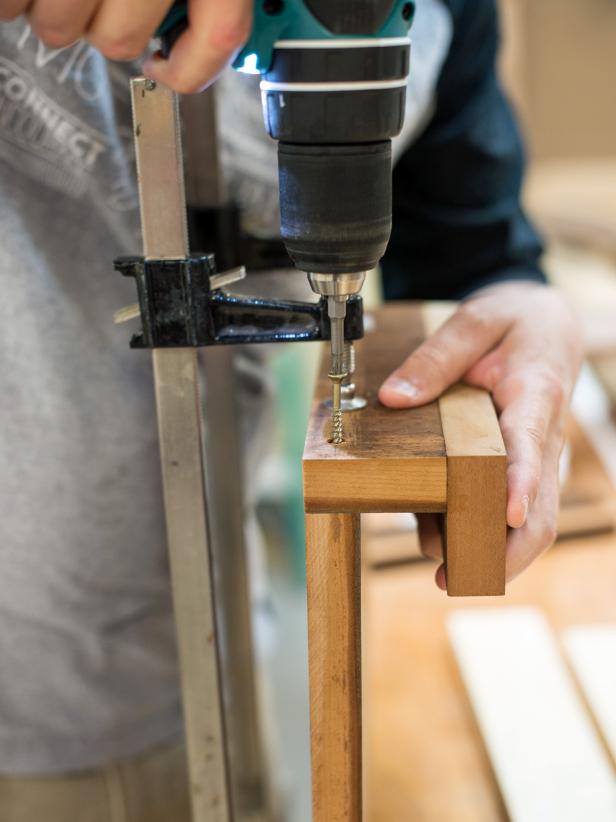
Use two bar clamps to clamp bottom piece to back (Image 1). Clamp to work surface as shown in picture, making sure that edges are flush. Equip drill with driver bit that matches screw heads then insert screws through pilot holes drilled in step 3 through cookbook stand back (Image 2). Remove from clamps.
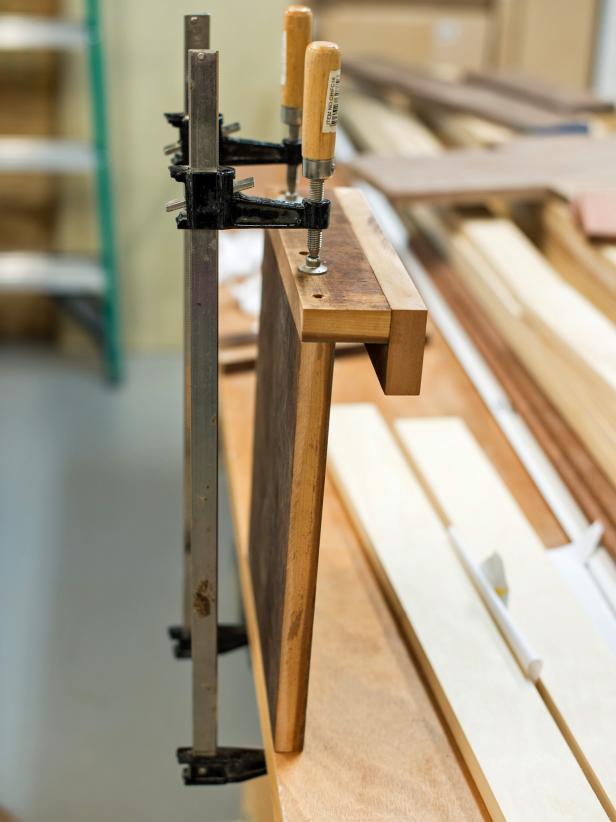
Clamping Wood
Use two bar clamps to clamp bottom piece of cookbook stand to back. Clamp to work surface as shown in picture, making sure that edges are flush. Equip drill with driver bit that matches screw heads then insert screws through pilot holes through cookbook stand back.
Cut Stand Supports
Use miter saw to cut two triangular supports that are 4-3/4" at the base and cut at a 37 degree angle (Image 1). Measure in 3" from each side of the back to determine placement of supports (Image 2). Mark with a pencil. Outside edge of support will line up with marked line (Image 3).
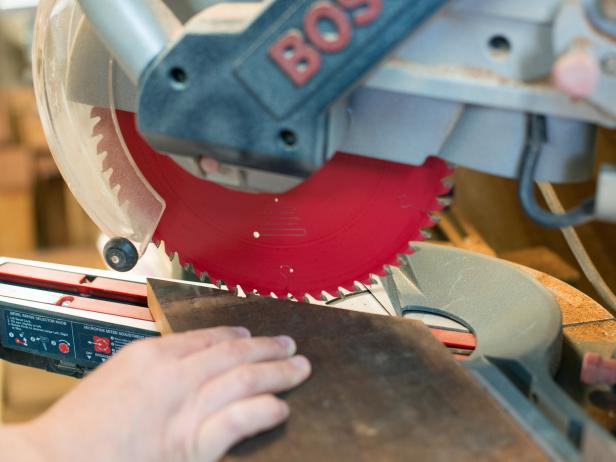

Miter Saw Cutting Wood
Use miter saw to cut two triangular supports for the cookbook stand that are 4-3/4" at the base and cut at a 37 degree angle.
Measuring and Marking Wood for DIY Project
Measure in 3" from each side of the back to determine placement of supports for cookbook stand.
Lining Up Pieces of Wood
Measure in 3" from each side of the back to determine placement of supports for cookbook stand. Mark with a pencil. Outside edge of support will line up with marked line.
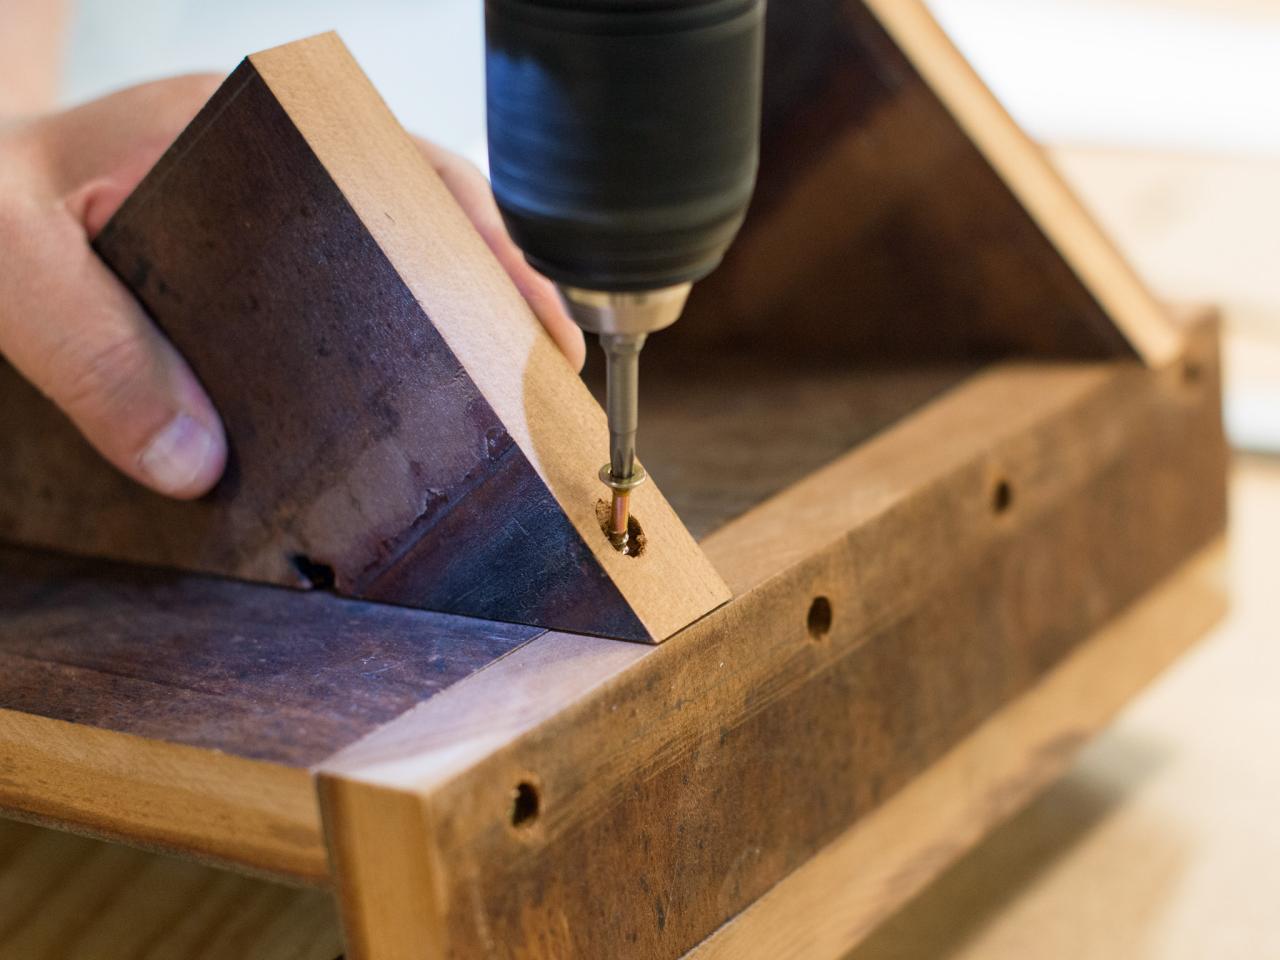
Attach Supports to Back
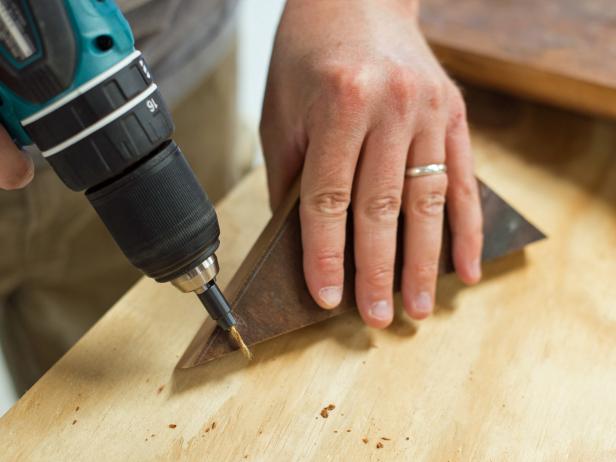
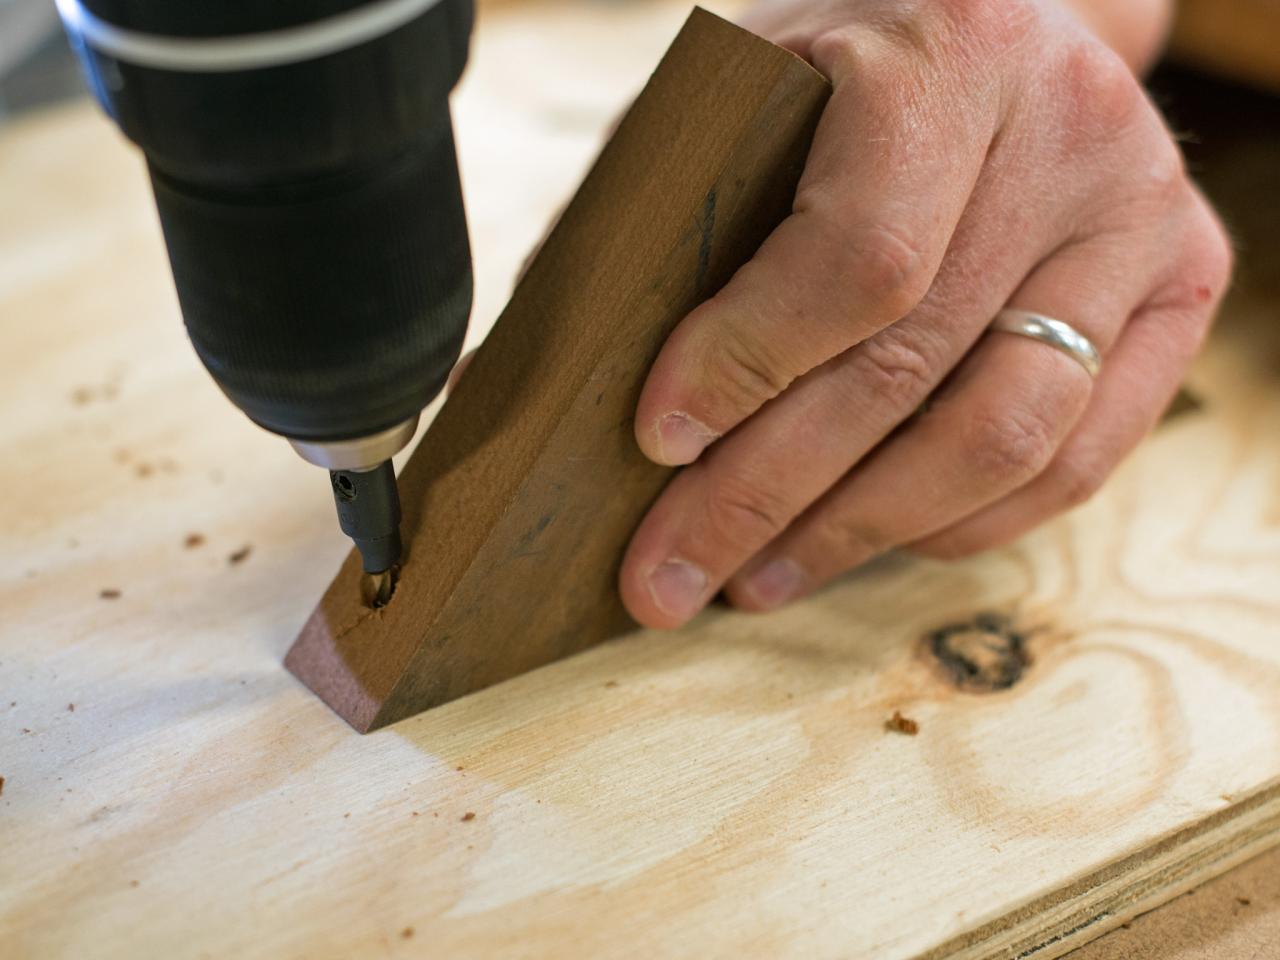
Fit drill with countersink bit again. Hold bit up to edges of support to determine proper placement of screws to attach supports to back of stand (Image 1). Drill pilot holes where top and bottom of support meets back (Image 2). Switch to driver bit, hold support in place and insert wood screws in pilot holes (Image 3). Repeat with second support.


Preparing to Drill Holes in Wood
Fit drill with countersink bit. Hold bit up to edges of cookbook stand support to determine proper placement of screws to attach supports to back of stand.
Drilling Hole in Wood
Hold support for cookbook stand in place and insert wood screws in pilot holes with driver bit. Repeat with second support.
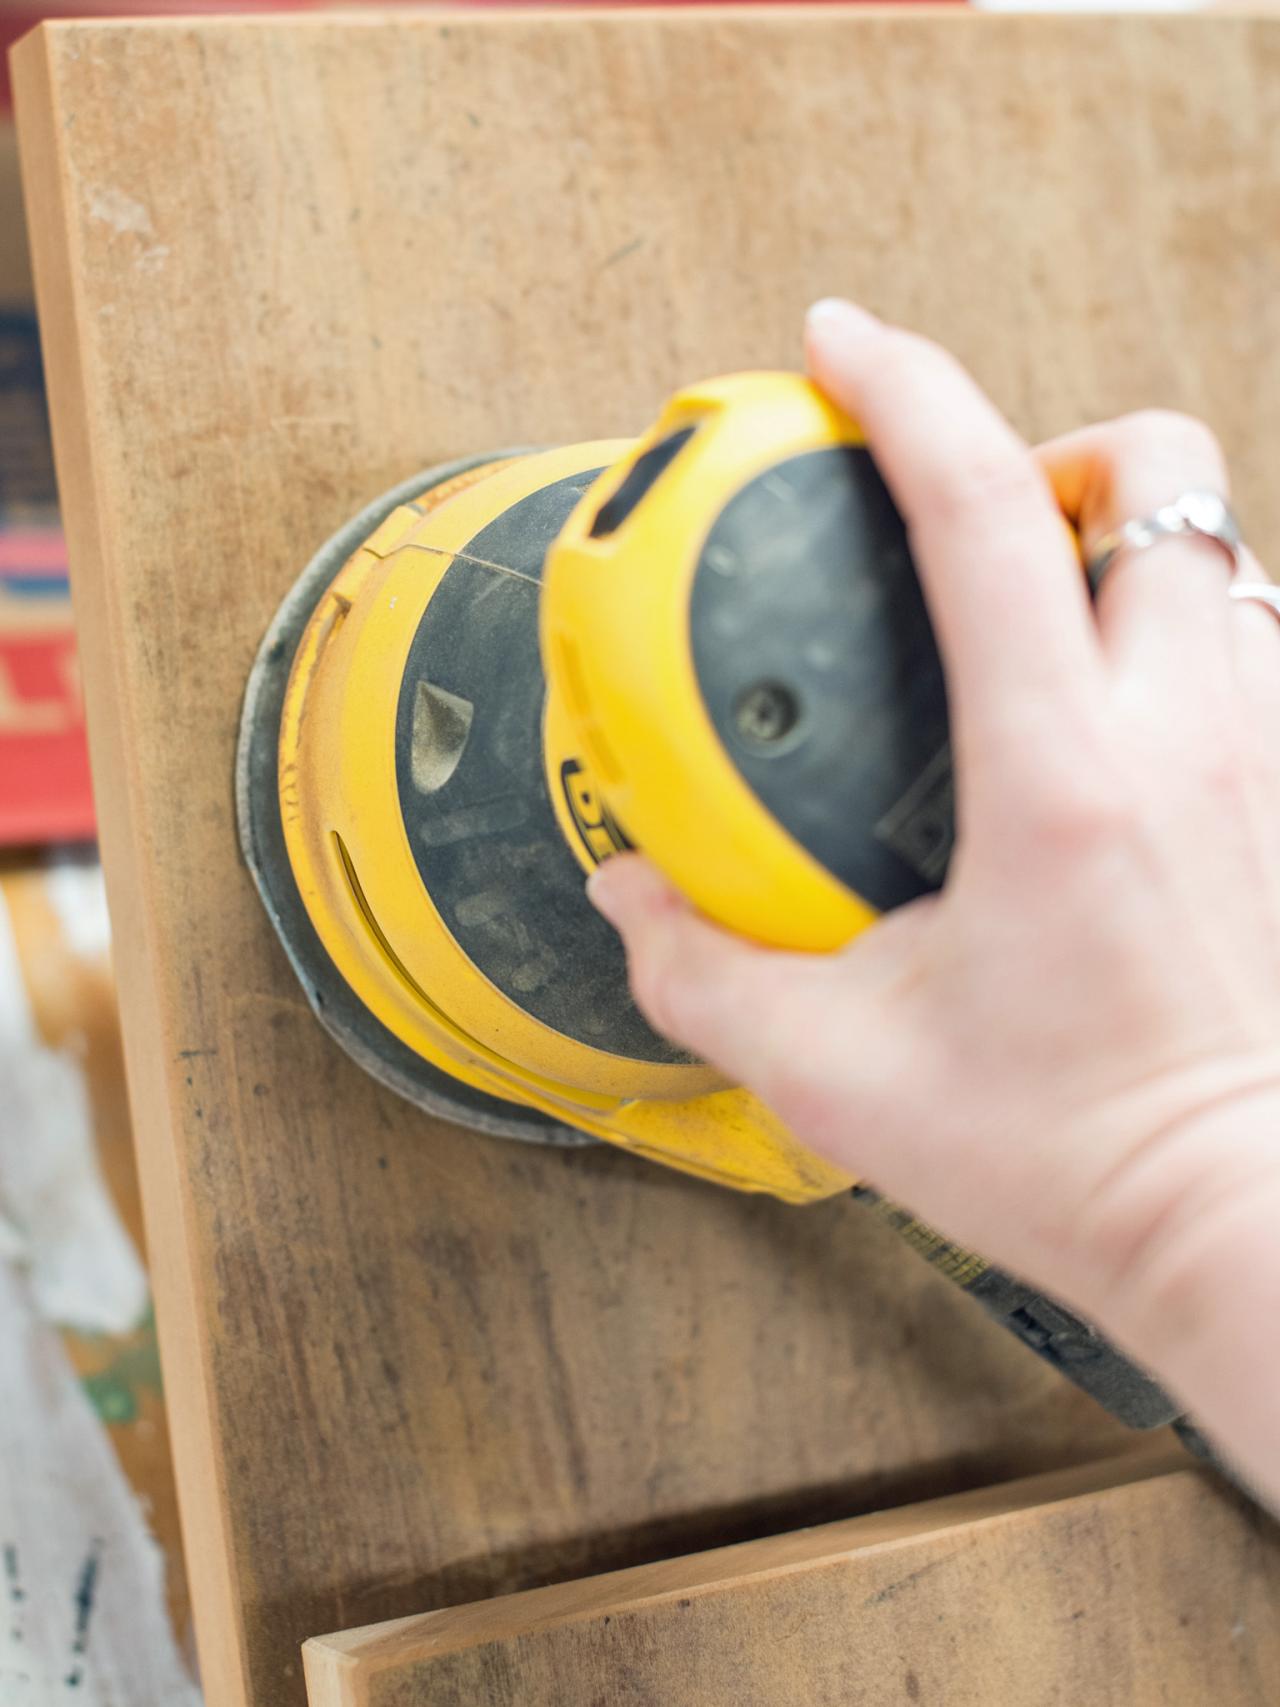
Sand Cookbook Stand
Use an orbital palm sander with a medium-grit sanding disc to smooth wood surface and knock down edges. Finish with a fine-grit sanding disc to further smooth surface.

Smoothing Wood With an Orbital Sander
Use an orbital palm sander with a medium-grit sanding disc to smooth wood surface of cookbook stand and knock down edges. Finish with a fine-grit sanding disc to further smooth surface.
Finish Wood
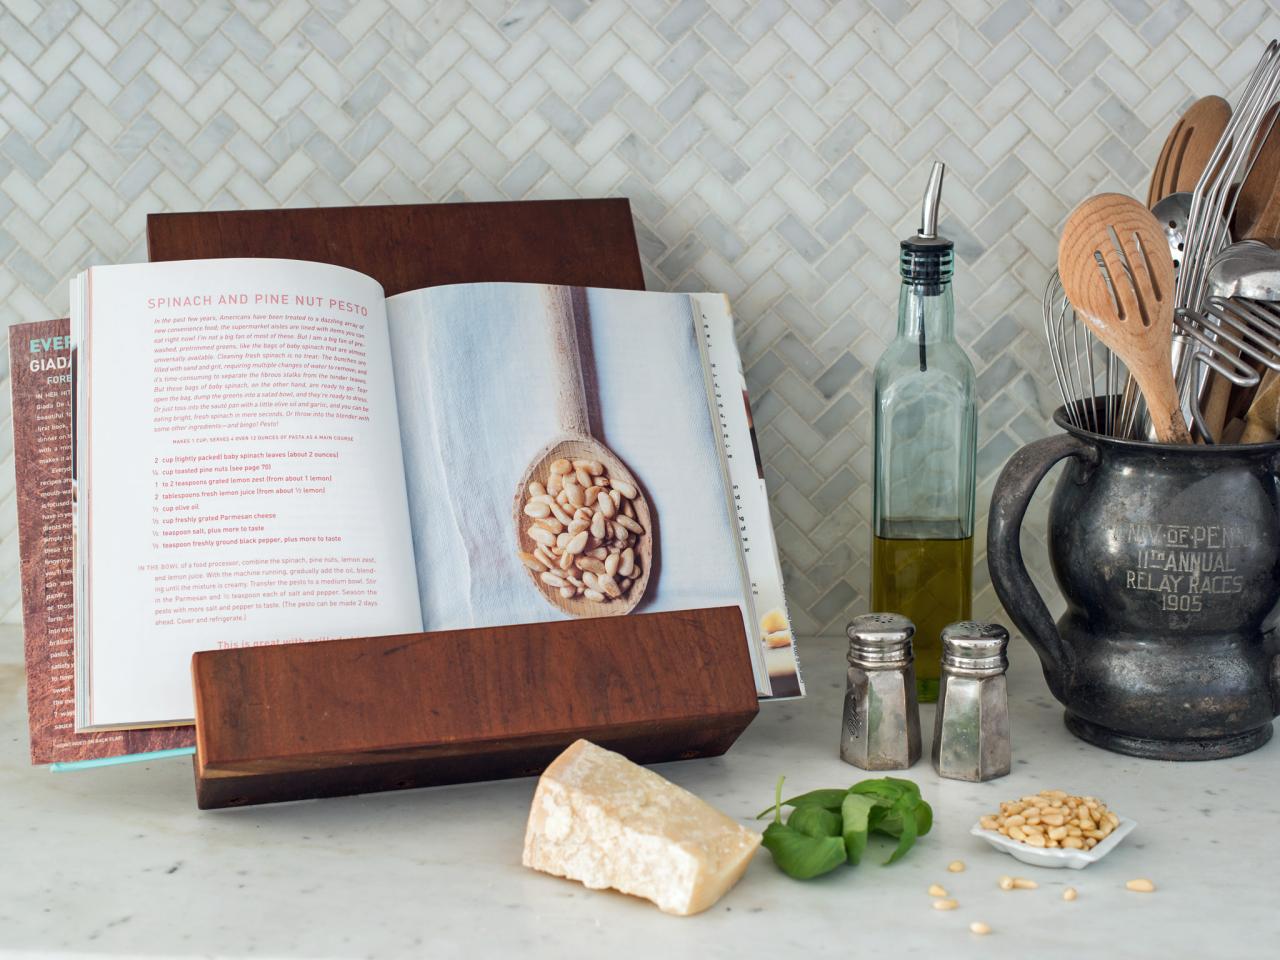
Apply wood finish with a natural bristle brush or lint-free cloth. In this project, all-natural hemp oil was used to bring out the beauty of the reclaimed wood and protect it (Image 1). Tip: This cookbook stand was designed to hold most cookbooks as well as a tablet, but size and angle can be adjusted to suit personal needs and tastes (Image 2).
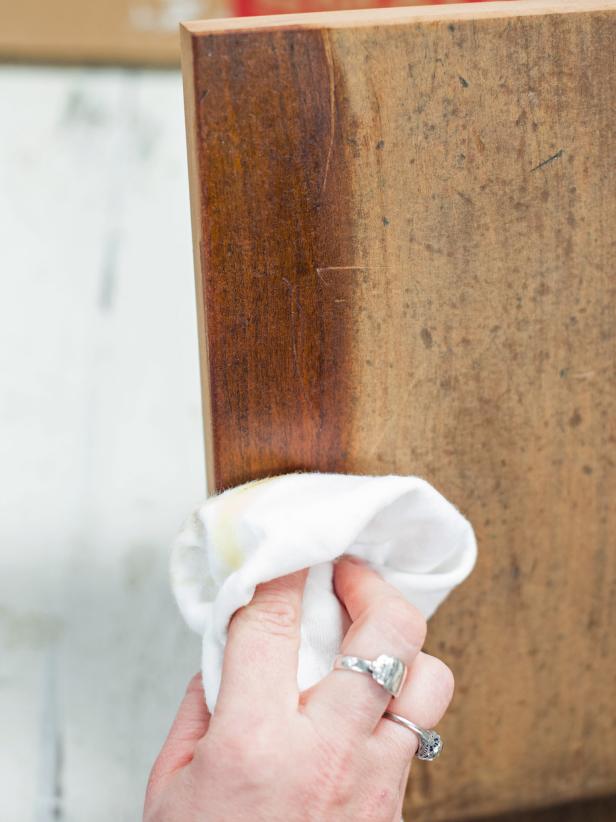

Apply Wood Finish to Stand
Apply wood finish to the cookbook stand with a natural bristle brush or lint-free cloth. In this project, all-natural hemp oil was used to bring out the beauty of the reclaimed wood and protect it.
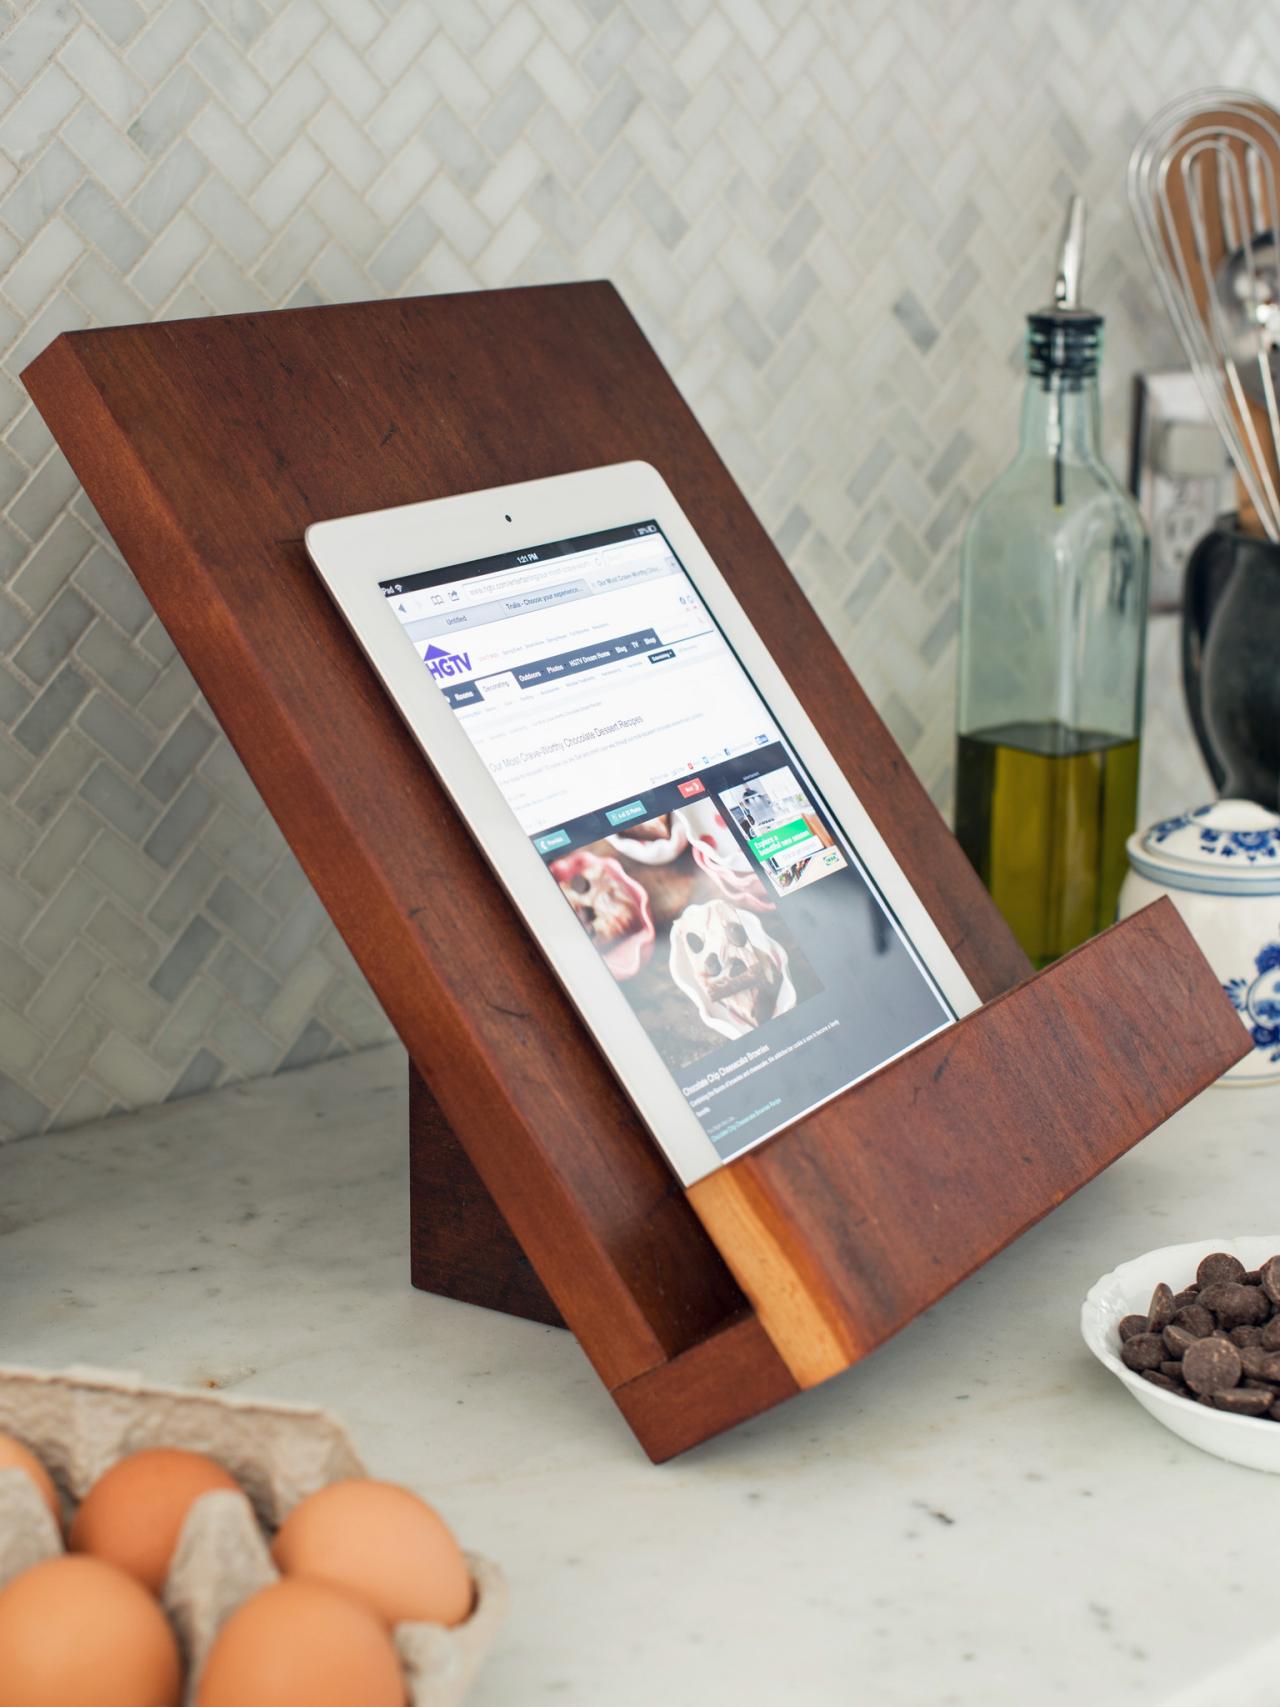
Wooden Cookbook and Tablet Stand
This cookbook stand was designed to hold most cookbooks as well as a tablet, but size and angle can be adjusted to suit personal needs and tastes.


