


How to Build a Wood and Metal Patio Fence

Tools and Materials:
chalk line, level and measuring tape
circular saw, reciprocating saw and a miter saw
hammer or nail gun with framing nails
hammer drill
5-1/2-inch lag bolts
post hole digger, rake and shovel
4-foot metal fence-railing sections with hardware
pressure-treated 8-foot 4x4 posts
pressure treated 8-foot 4x6 boards
quick-dry concrete
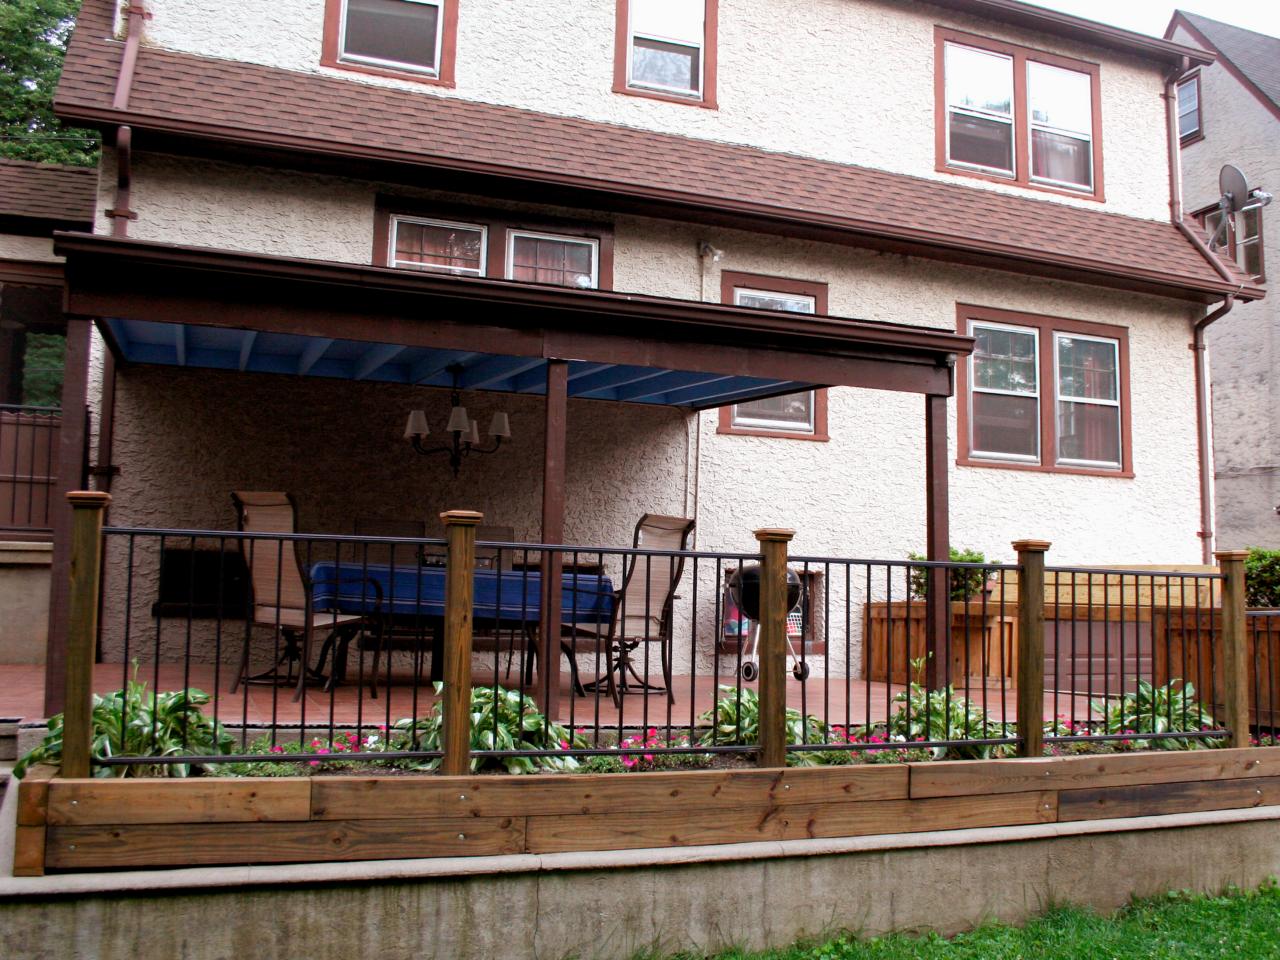
Our raised patio is surrounded by a large flower bed that sits lower than the patio. We built up the flower bed and constructed a fence to border it.
Steps:

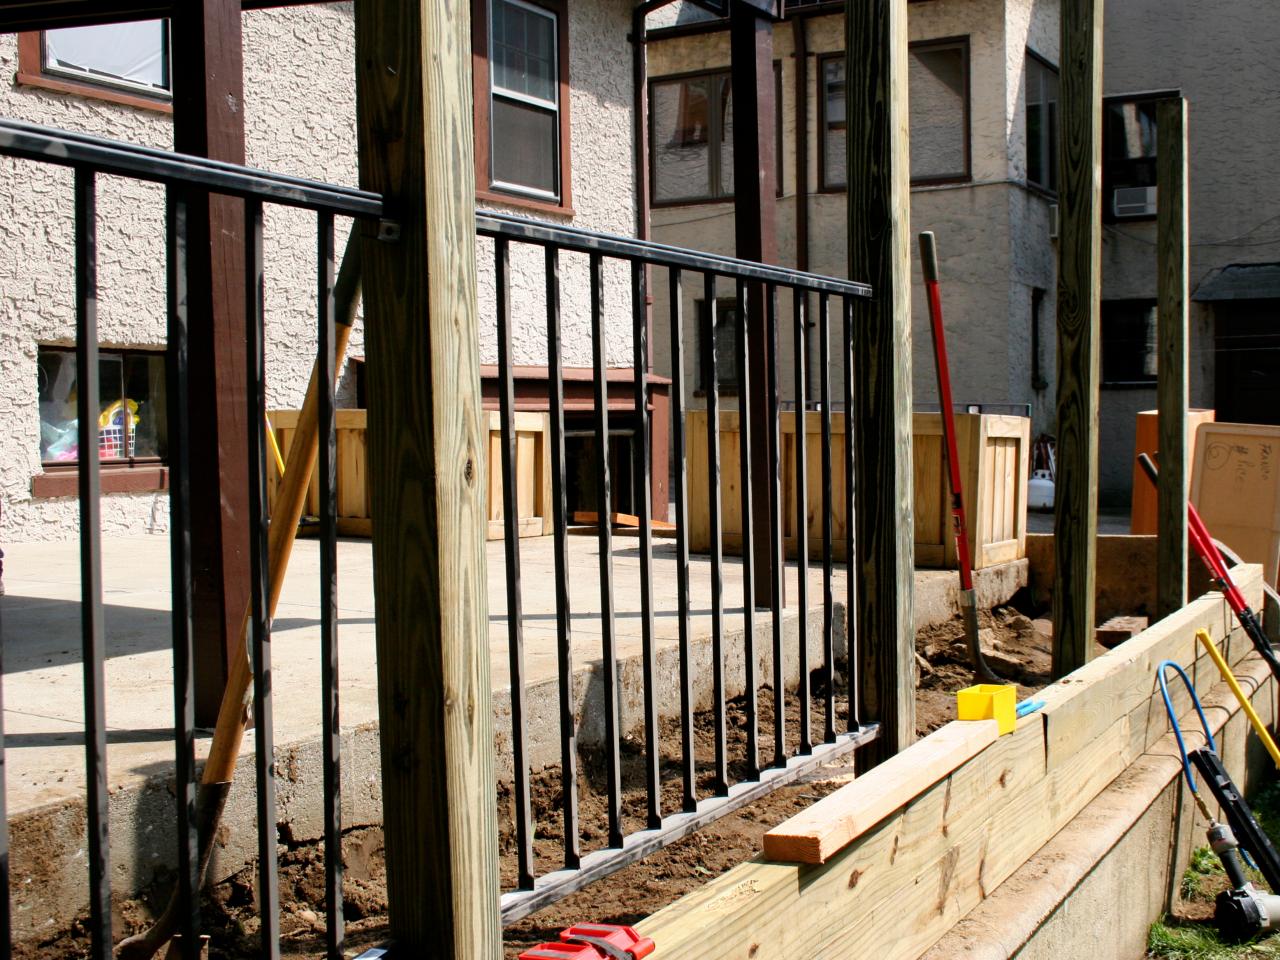
1. Determine the layout of your fence. Dig at least a 12-inch hole for the posts every 4 feet. Set posts into the holes. Level the holes with wood supports. We added a small retaining wall to elevate our flower bed and to help hold up the posts. Add 4x6 boards on edge to the top of the existing retaining wall until retaining wall is level with the patio. If you have a retaining wall, attached the wall to the posts with nails (you’ll go back later and secure more firmly with lag bolts). If not, pour the dry concrete straight into the hole leaving 3 to 4 inches of space from the top of the hole. For a 50-pound bag of concrete you will need about a gallon of water. Be sure to leave support beams in place for 4 to 6 hours or until concrete is dry.

2. Determine the height of your railing. You may want to find out what your local building codes requirements are if your fence railing is next to a steep drop off. Our railing is 4 feet above the top of our retaining wall. Mark the height of the railing on the posts and screw the tabs (rail-post hardware) into posts.
3. Fit the rail sections onto tabs between the rail posts. Use a rubber mallet if necessary to ensure rail sections are tight on the tabs.
4. Screw rail sections into tabs using the mounting holes.

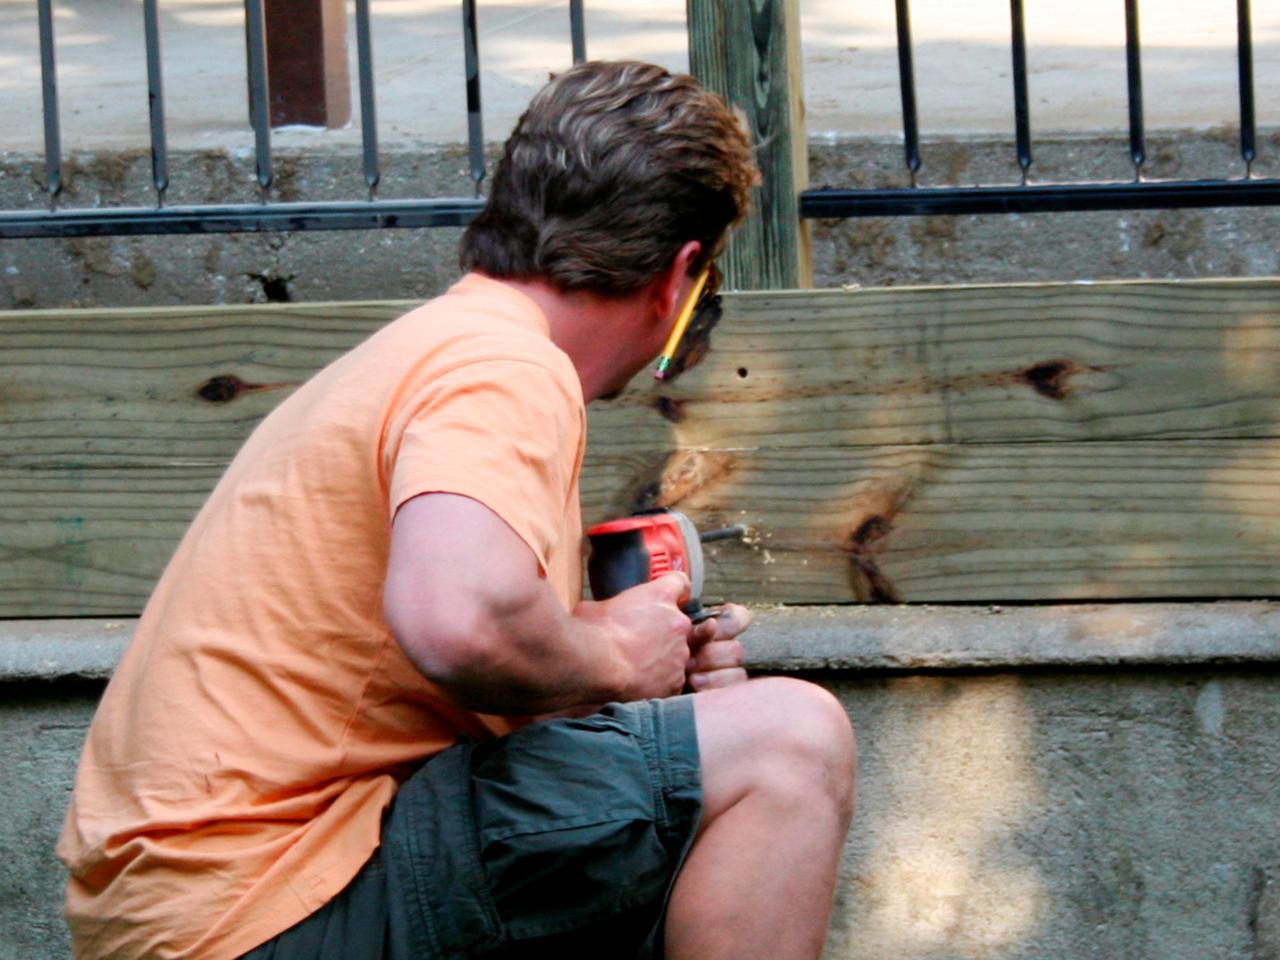
5. At the center of each post, measure up 1 to 2 inches from the bottom of the retaining wall, mark a line. Use a hammer drill to drill through the retaining wall and into each post. Insert lag bolts through each hole and tighten.
6. Use a reciprocating saw to trim posts to uniform height. Fit the post caps onto each post and screw into place.


