Make a Beachy-Chic Shell-Covered Urn
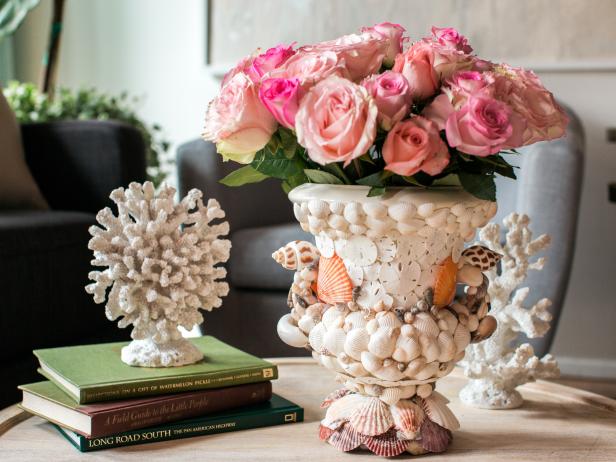
Add easy-breezy beachy style to an indoor or outdoor space by crafting this custom shell-covered container. Fill with flowers or a potted plant to create a coastal-inspired centerpiece.
Materials Needed
large neutral colored urn
assorted sea shells (collected on vacation or from your local craft store)
sand dollars in various sizes
hot glue gun and glue sticks
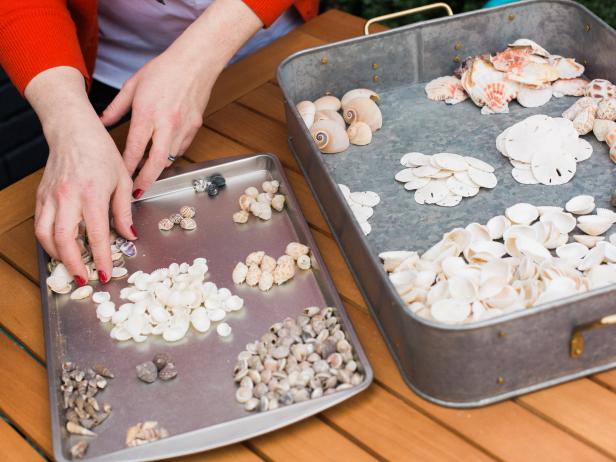
Sort Shells
Sort shells before you start, grouping like shells together as it'll be easier to create designs on the urn using one type of shell at a time.
Tomas Espinoza
Add Shells
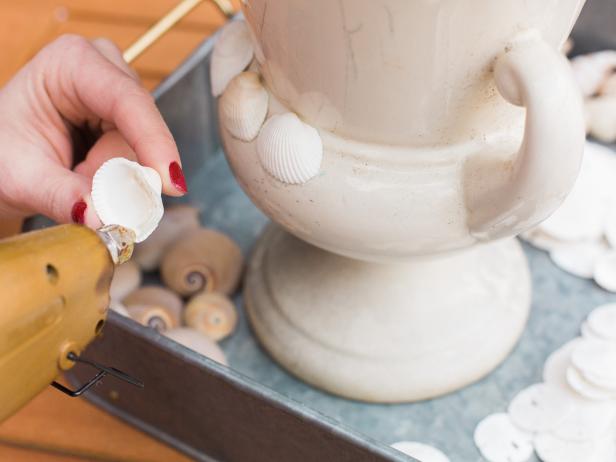
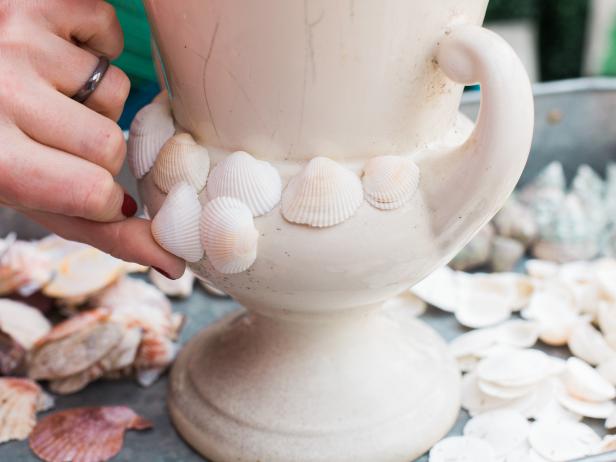
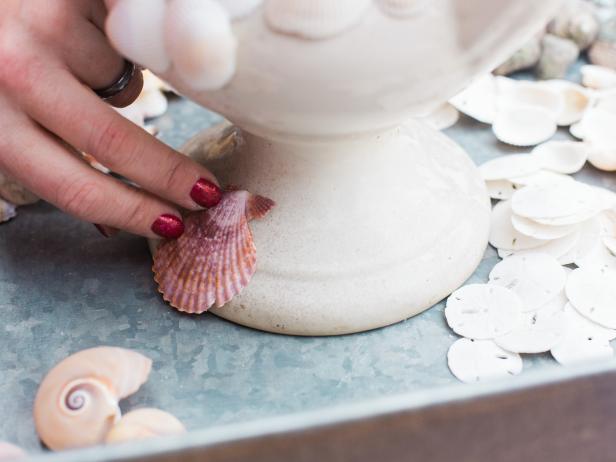
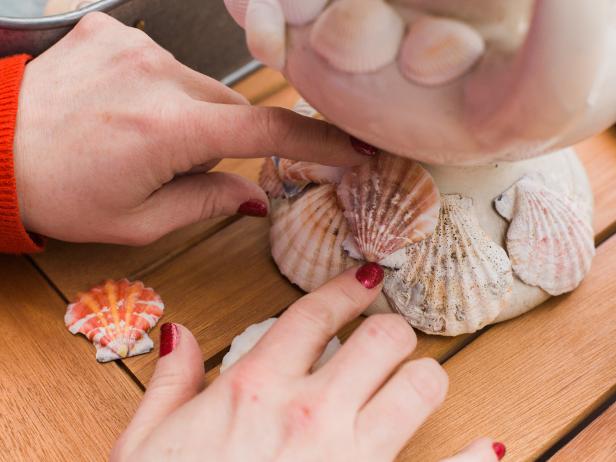
Starting in one area of the urn, attach a row of a single type of shells using the hot glue gun. Place a bead of hot glue around the back of the shell then push it into place (Image 1). It helps to let the shape of your particular container and the shell dictate your design (Image 2). At the base of the urn, leave a little space, so the shells' edges don't chip off or scratch the surface of the table (Image 3). Remember to rotate the shells in different directions, both for visual interest and better coverage (Image 4).
Tomas Espinoza
Tomas Espinoza
Tomas Espinoza
Tomas Espinoza
Add Sand Dollars
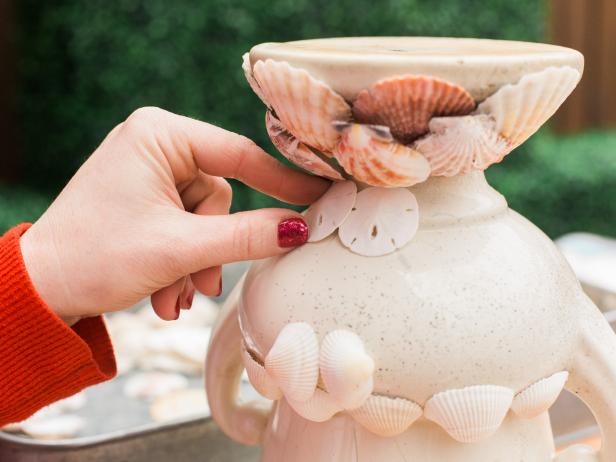
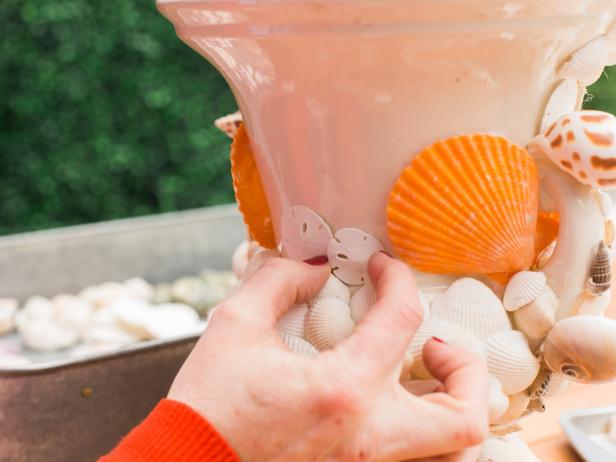
As you work, flip the urn upside down for better access to all angles of the surface when necessary. Add glue to the back of each sand dollar and push into place (Image 1), varying the sand dollars' size as you work. Tip: These flat shells work great on the container's flatter surfaces (Image 2). You can also flip the sand dollars facing in the wrong direction, depending on the shape of your container so that they lay flat — think of it like putting together a puzzle.
Tomas Espinoza
Tomas Espinoza
Fill In Empty Spaces
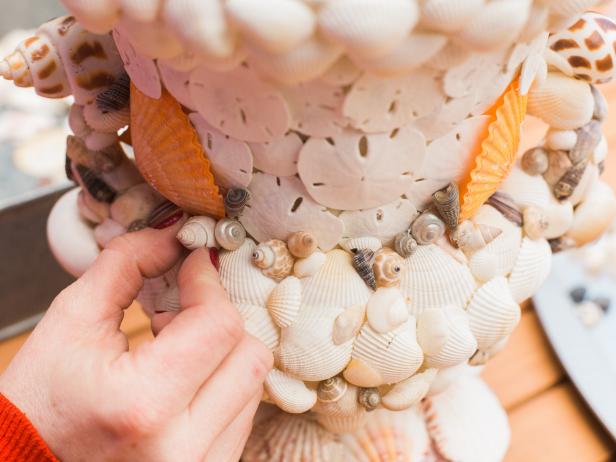
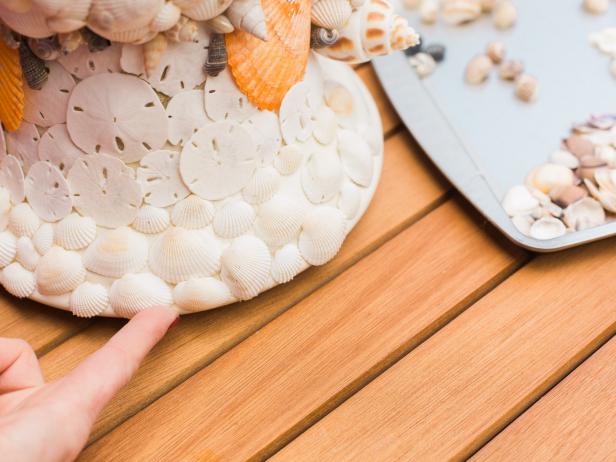
Fill in the nooks and crannies and camouflage any wayward globs of hot glue (nobody's perfect!) with the smaller shells (Image 1). Tip: This is the main reason we suggest going with a neutral colored urn so any gaps won't be as visible. Also, the smaller shells are useful as you get close to the top edge of the urn (Image 2).
Tomas Espinoza
Tomas Espinoza
Add Plants
Finally, fill completed urn with fresh-cut flowers or a potted plant.


