


How to Throw a DIY Glass Etching Party
Want to gather the gang to customize champagne flutes, beautify beer mugs or even upgrade simple glass vases? Artist Christine Tischio of TurnstyleART and Kristen Scalia of Kanibal & Co. share their smart tips for DIY glass etching with personalized stencils.


Tools and Materials
- ultra-fine point permanent markers
- adhesive stencil film
- lightbox or access to a window
- craft knives
- scissors
- etching cream
- foam brushes
- disposable gloves
- glassware of your choice
Create a Stencil

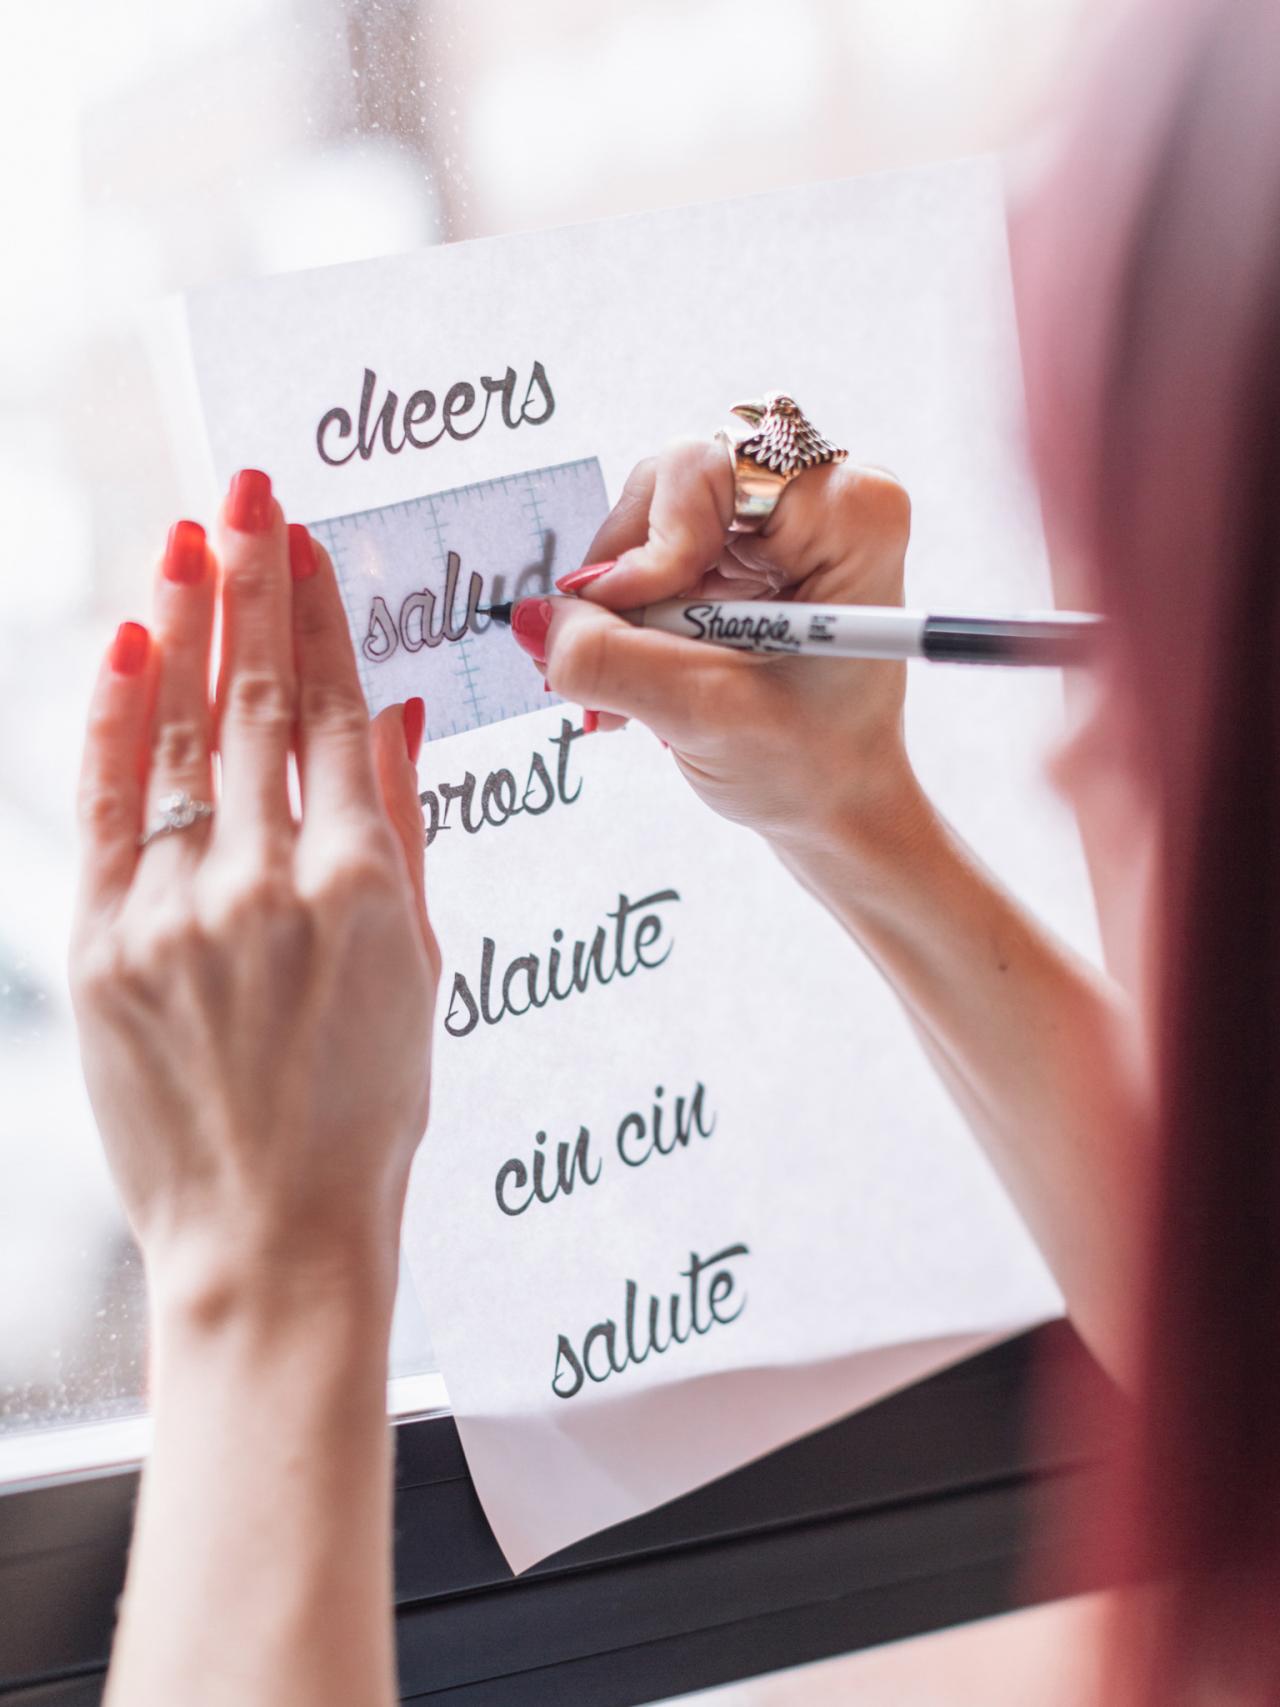
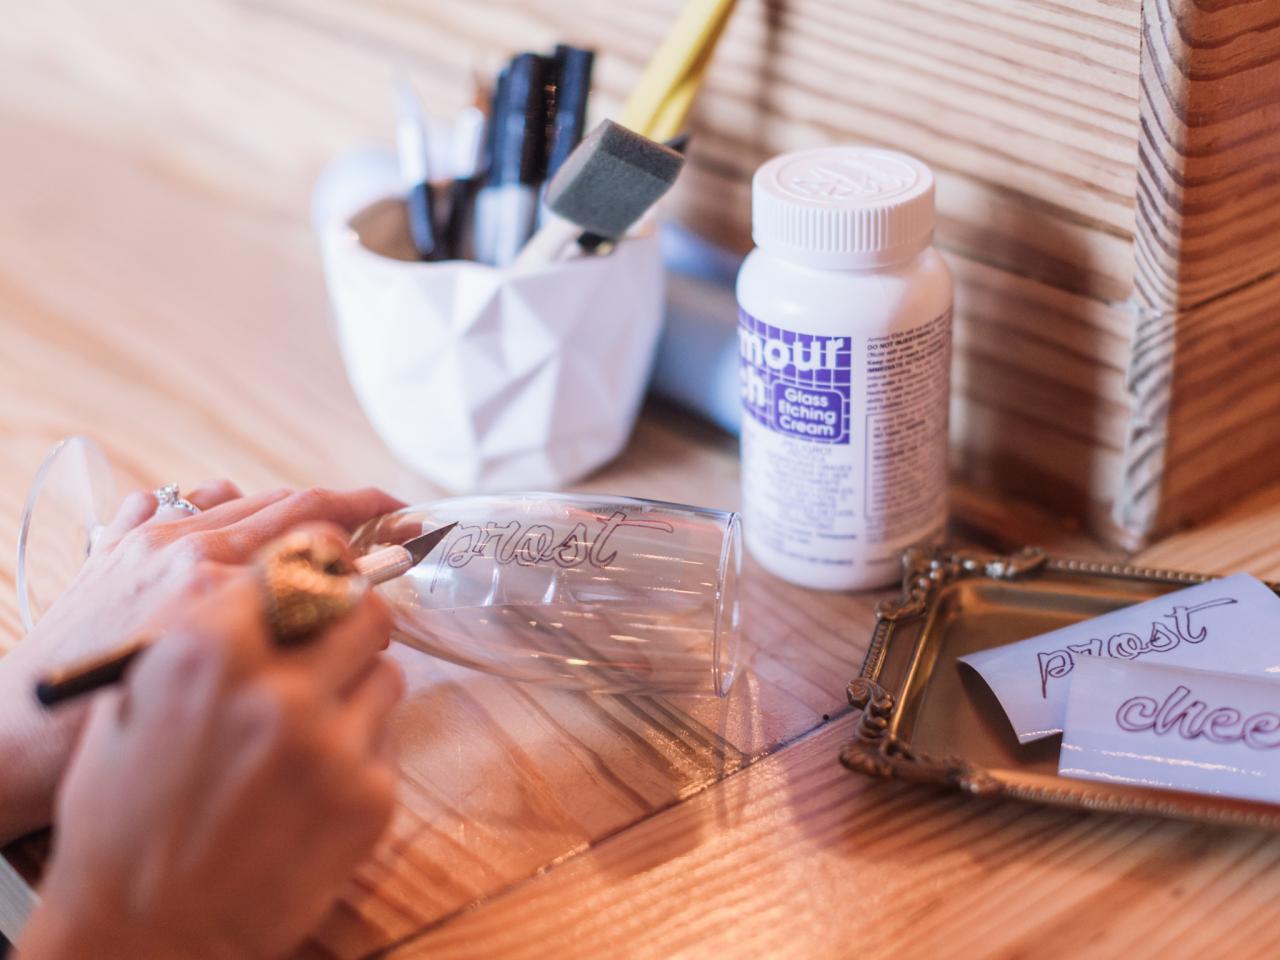
Choose a word, phrase or image you’d like to etch. You can use something found online, or if you’re feeling super crafty, you can design your own! Print or draw the design onto plain white paper, making sure it’s sized according to your glassware. Next, using a lightbox or a well-lit window, place the stencil film on top of the printed design and trace it using an ultra-fine point permanent marker. Cut the stencil film leaving approximately 1/2 inch around all sides of the design.
Place and Cut

Peel off the backing of your stencil and place the adhesive film directly on the glass where you want the design. Smooth out any bubbles or creases. Use a craft knife to carefully cut out your design. Make sure to only peel off and remove the pieces where you want etching.
Apply and Etch

We recommend a pair of disposable gloves for this step. Use a foam brush to apply a thick, even coat of etching cream over your cutout design. Cover the area quickly and carefully; the etching cream reacts instantly on glass. Leave the cream on for two minutes.
Rinse and Admire!

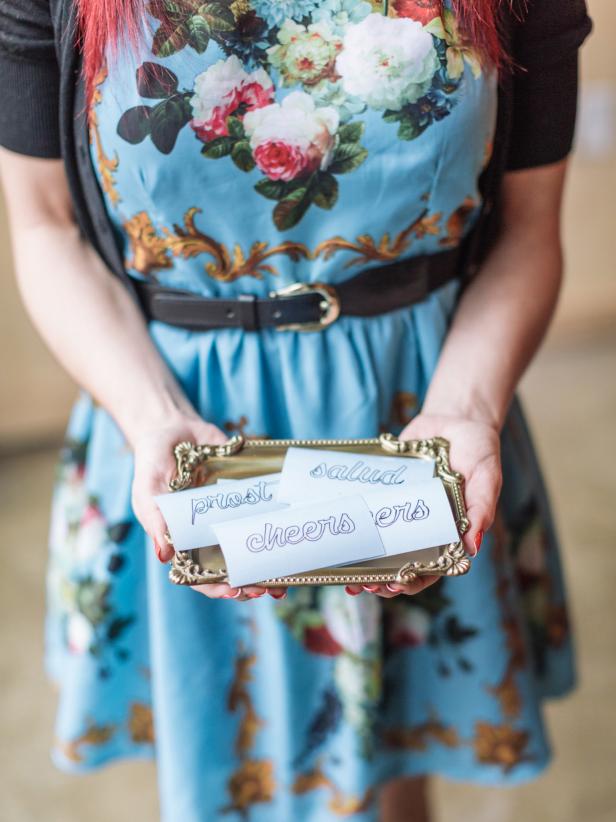
With your gloves still on, rinse off all etching cream under running water, or dunk the glassware into a tub filled with lukewarm water. Finally, remove the stencil and, ta-da! You’ve just created your very own custom glassware. Cheers!


