


How to Make Magnets From Old License Plates


Looking for a vintage way to display kids’ artwork and post their soccer schedule, birthday invitations and your bills in a place where you can see them? Tack them on a refrigerator or message board with letter magnets made from old license plates. Aaron Foster, an artist who has made a career out of turning license plates into art, shows how to make your own letter magnets.
Materials Needed:
- vintage license plates
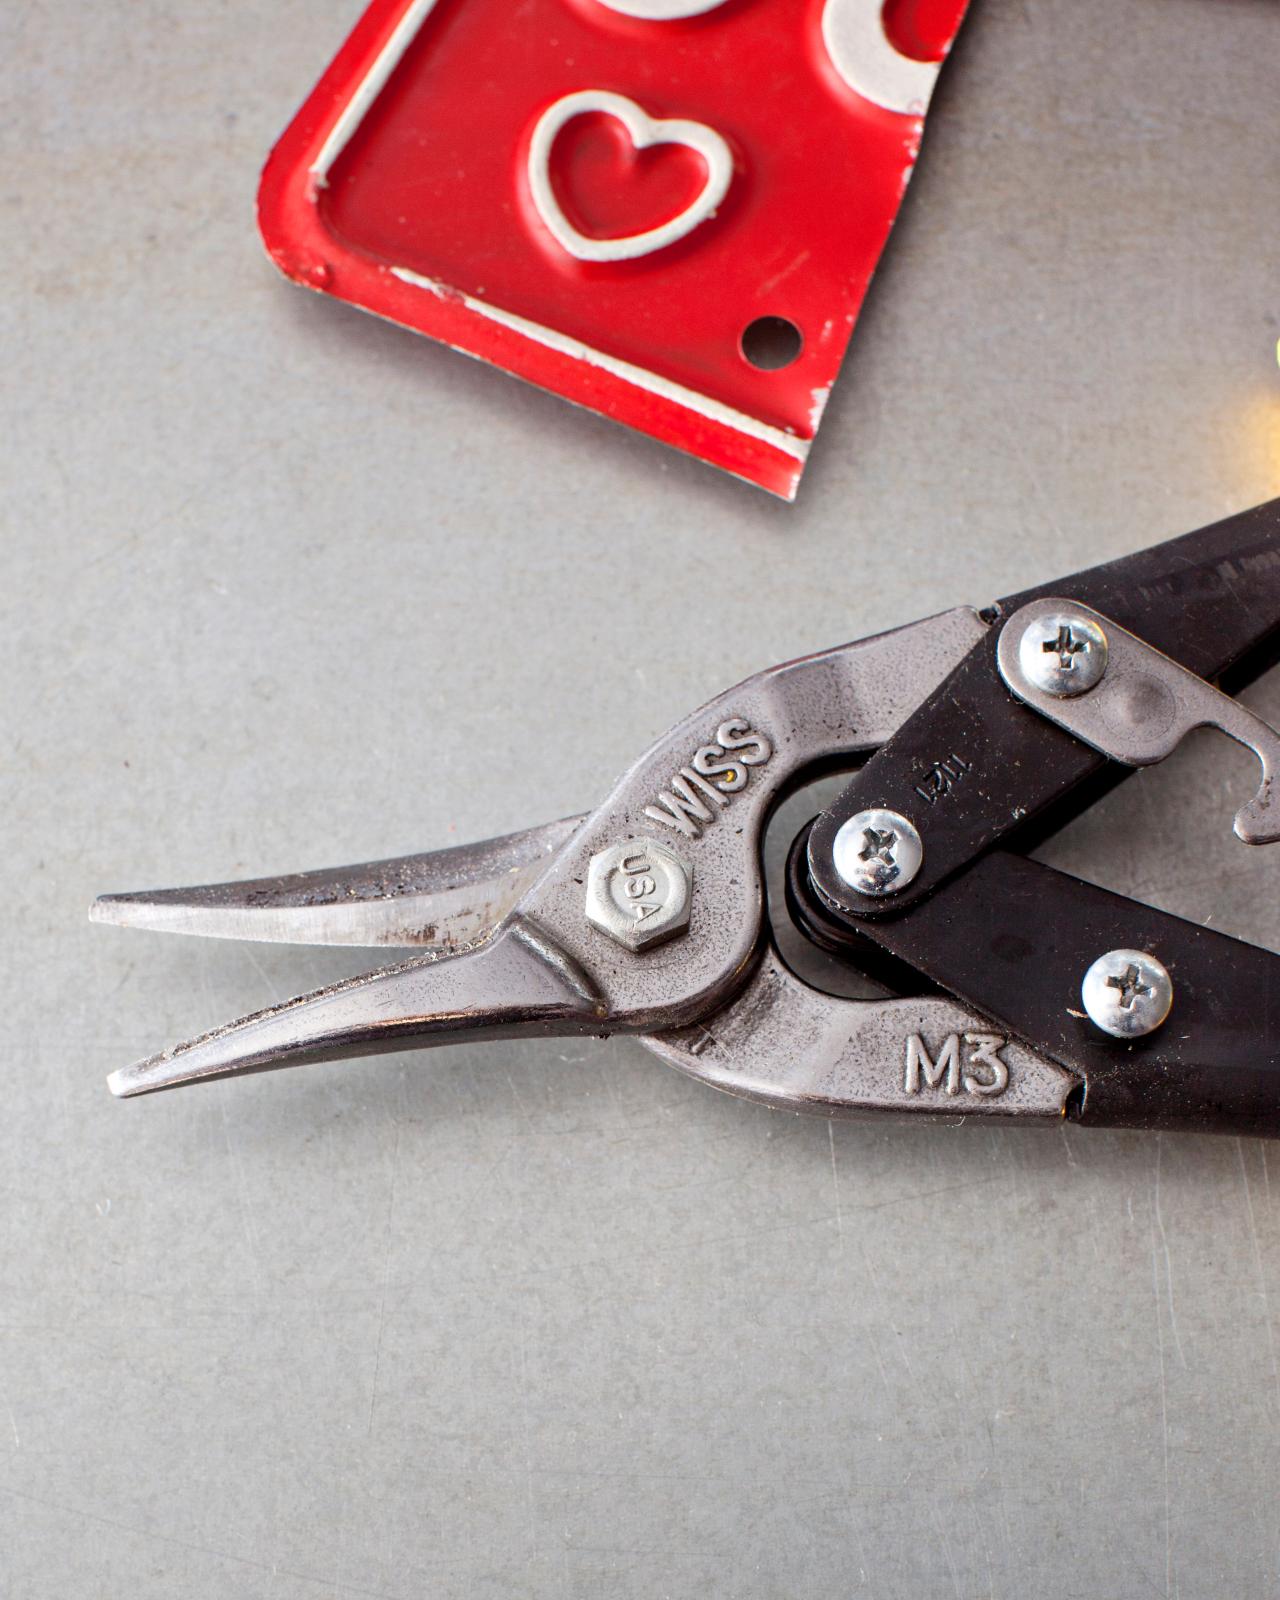
- tin snips
- ruler, yardstick or straightedge
- black permanent marker
- sponge
- spray cleaner or degreaser
- work gloves
- coarse grit sanding block
- liquid bonding adhesive
- magnets
- hammer
- block of wood
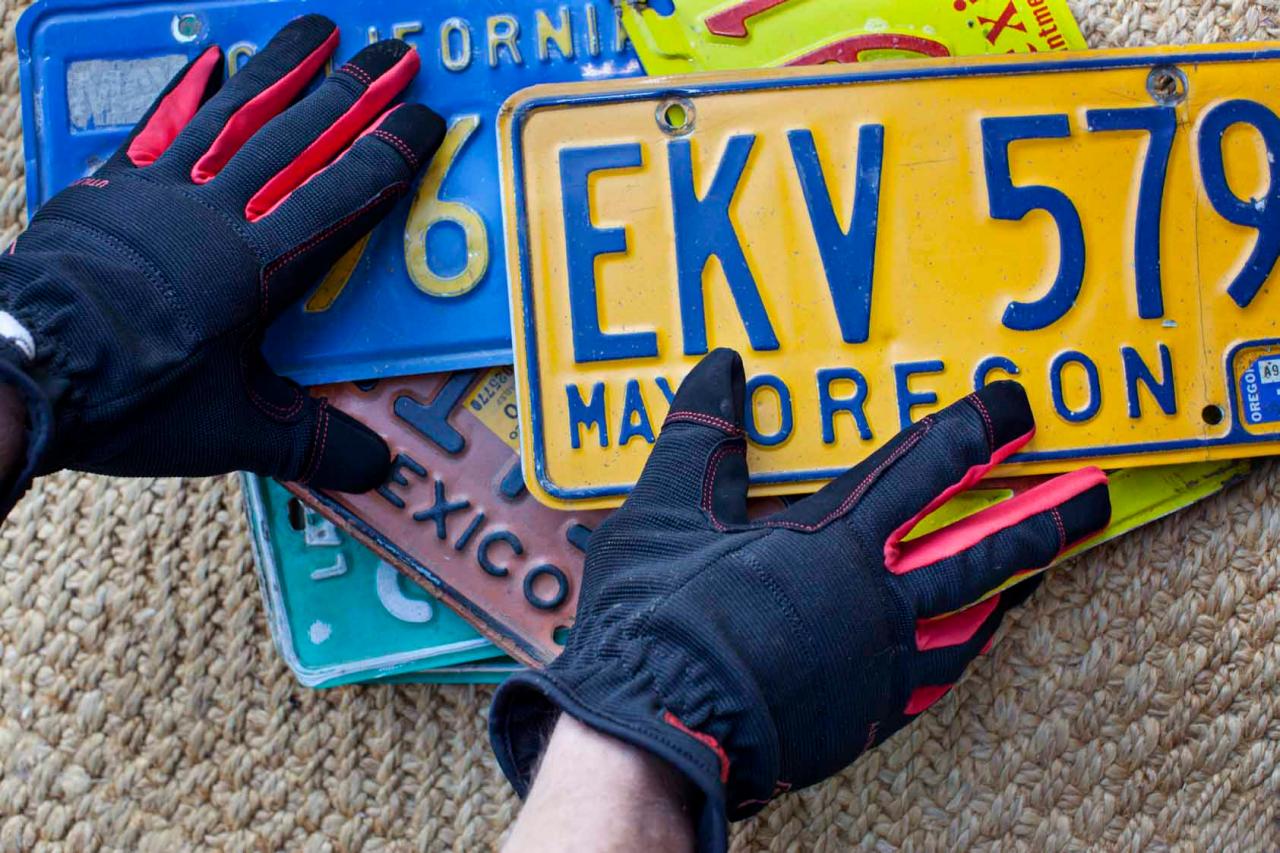
Choose License Plates
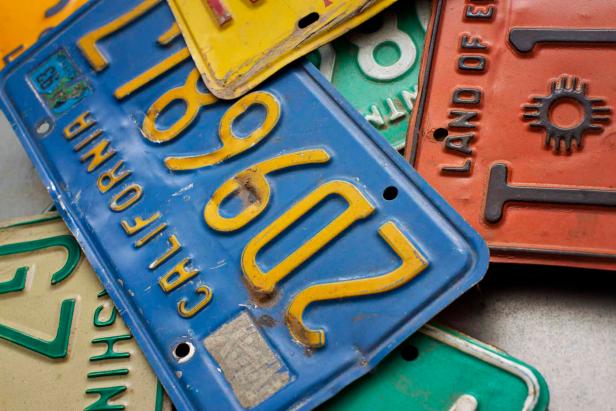
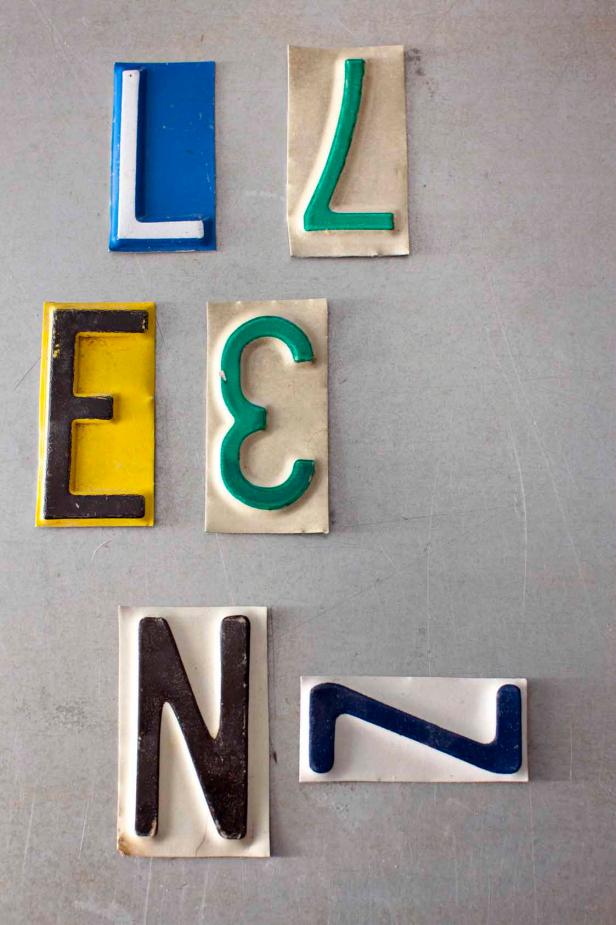
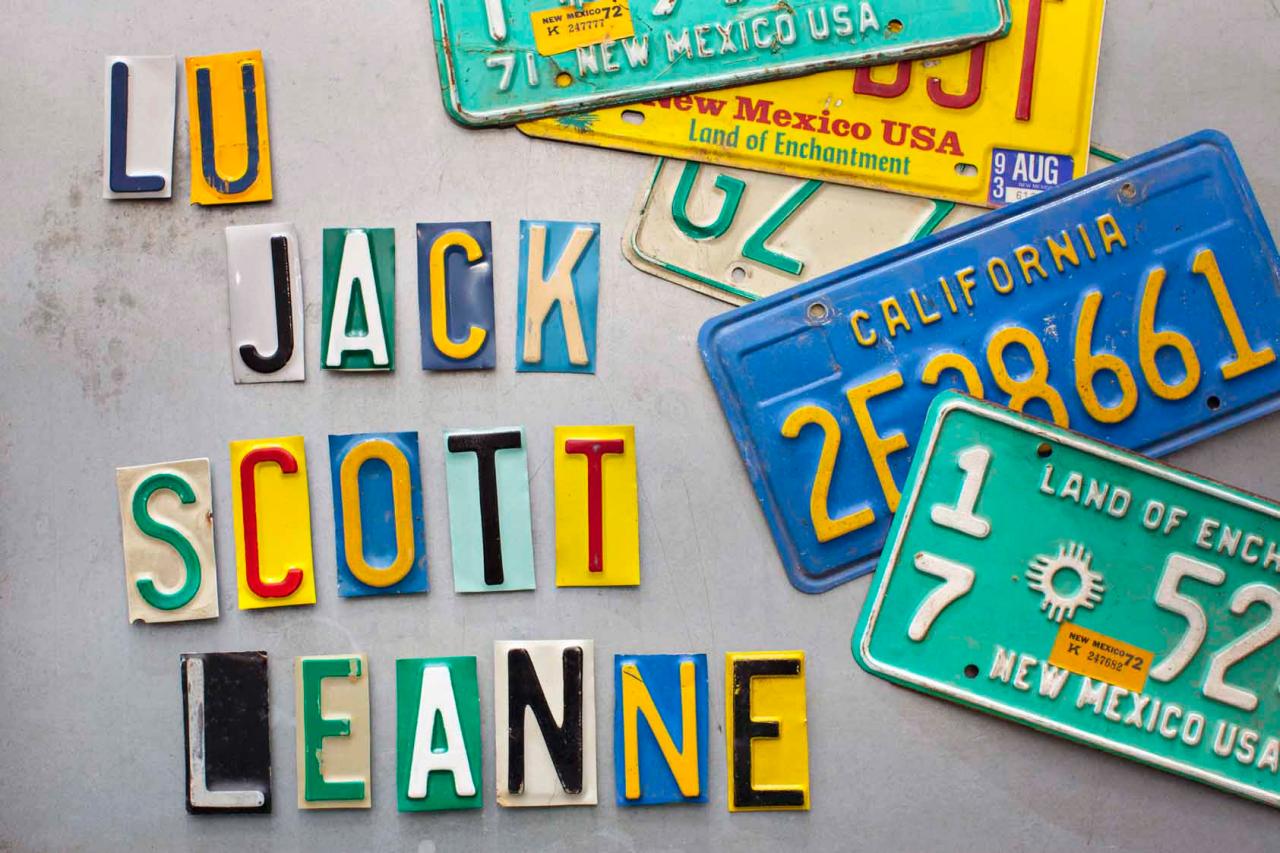
Gather a variety of vintage license plates (Image 1). You can find them at flea markets, thrift stores and antique malls, and at state and government websites and online auction sites. Be sure you get steel license plates, not aluminum ones. You can check whether or not a plate is steel by holding a magnet to it. If the magnet sticks, the plate is steel. If it doesn’t, the plate is made of aluminum. Decide what letters to use. Keep in mind that E’s, N’s and L’s can be difficult to find so you may need to substitute 3’s, Z’s and 7’s. Turn a 3 backward to create the look of an E. Lay a Z on its side to make an N. Turn a 7 upside down to make an L (Image 2). Don’t overlook special characters on state tags, such as animal shapes or hearts (Image 3).

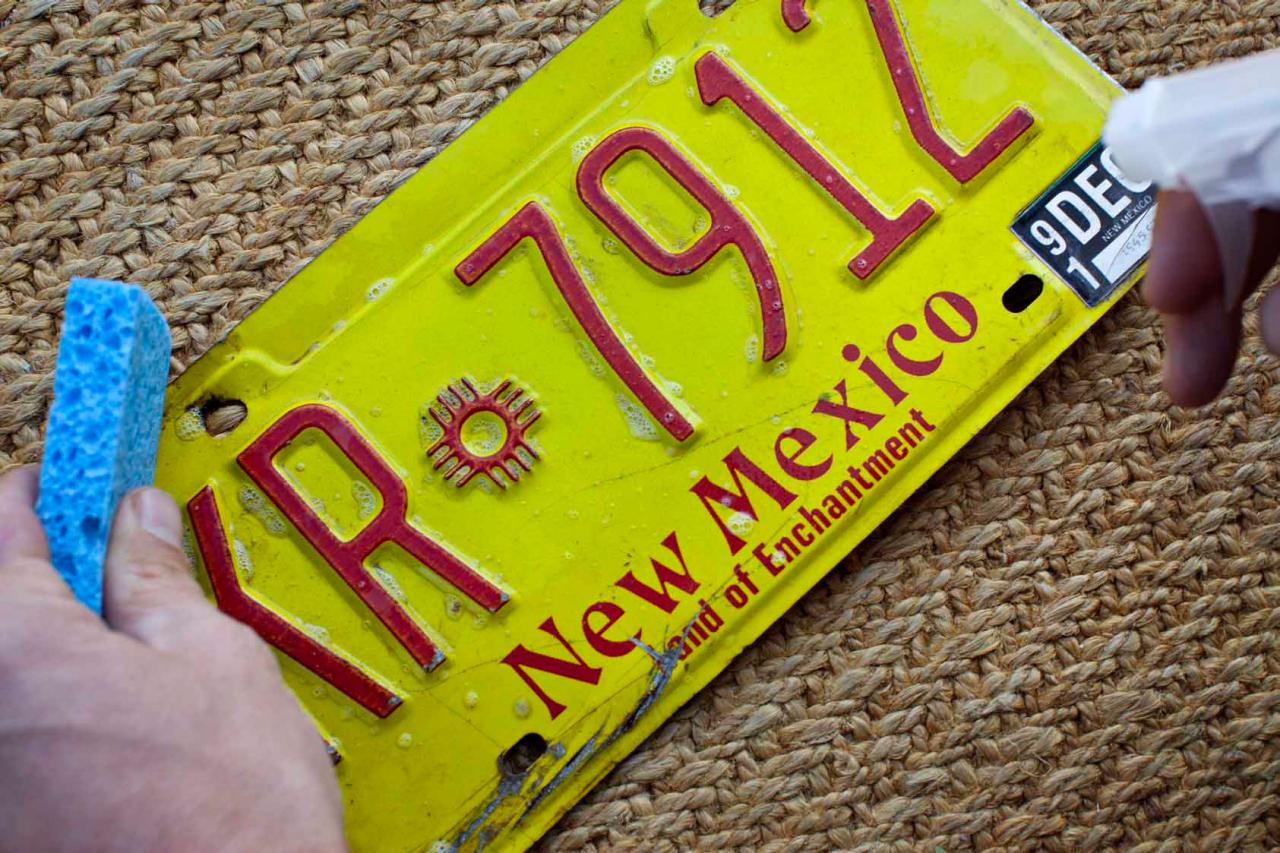
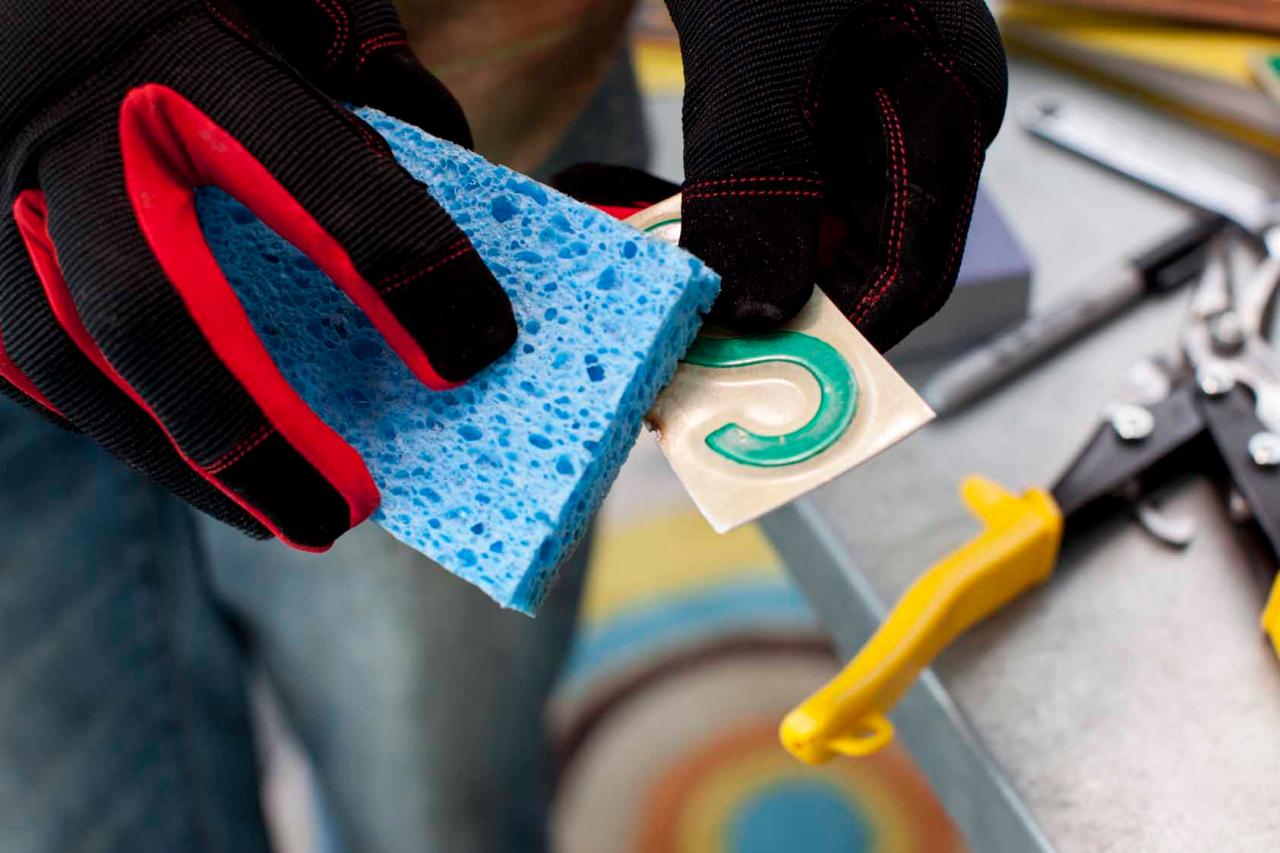
Degrease License Plates
Lay license plates on a flat outdoor surface. Use a household spray cleaner and a sponge to thoroughly rid license plates of dust, dirt, grease and road residue.

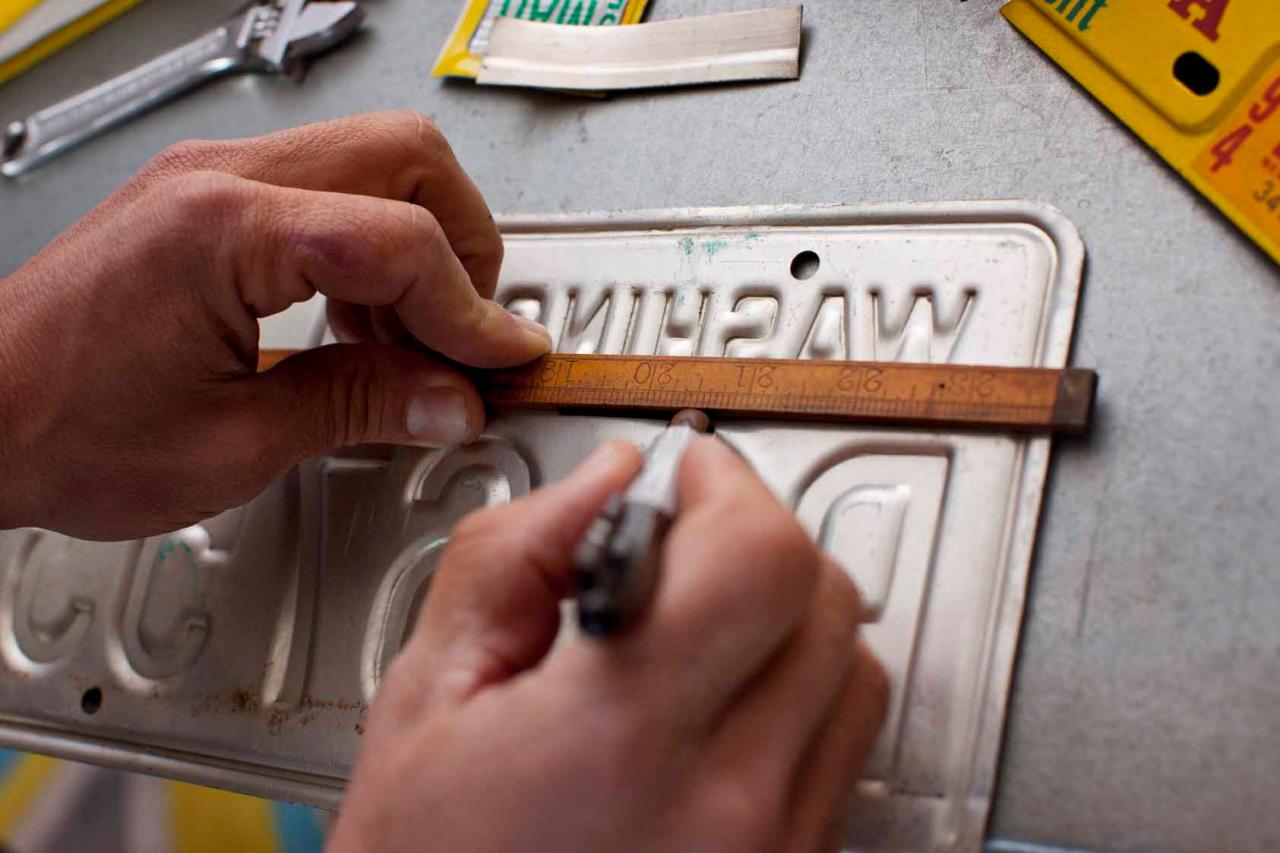
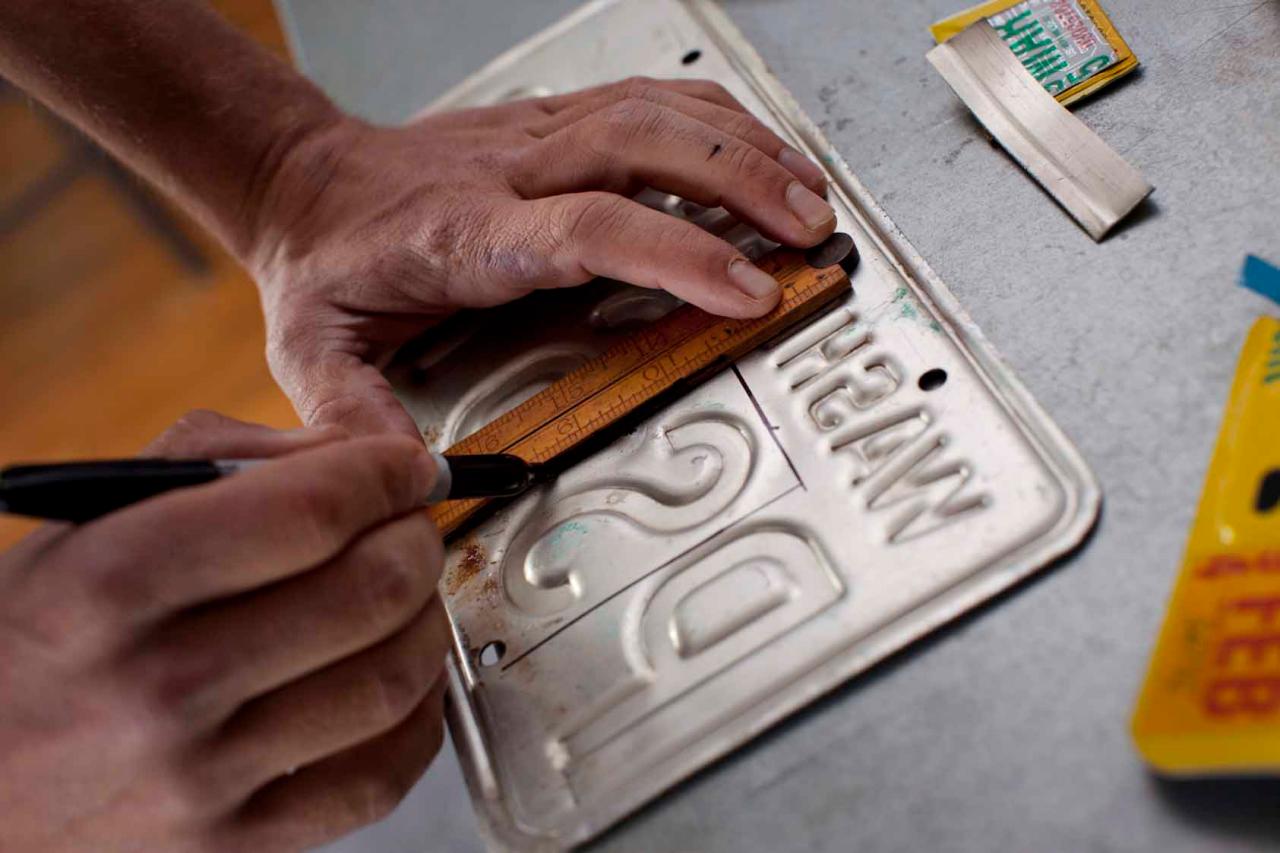
Mark Back of Plate With Horizontal Line
Once plates are dry, turn each over and lay on a flat surface. Use a ruler or straightedge and a black marker to make a horizontal line above the top and below the bottom of each letter. For best results, leave about 1/8 of an inch of space around each letter or number you will cut out.

Mark Back of Plate With Vertical Line
Use that ruler and marker to draw a vertical line between each letter, leaving approximately 1/8 inch of a space around each.

Protect Hands With Gloves
Put on work gloves to protect your hands, because the next step involves cutting sharp metal.

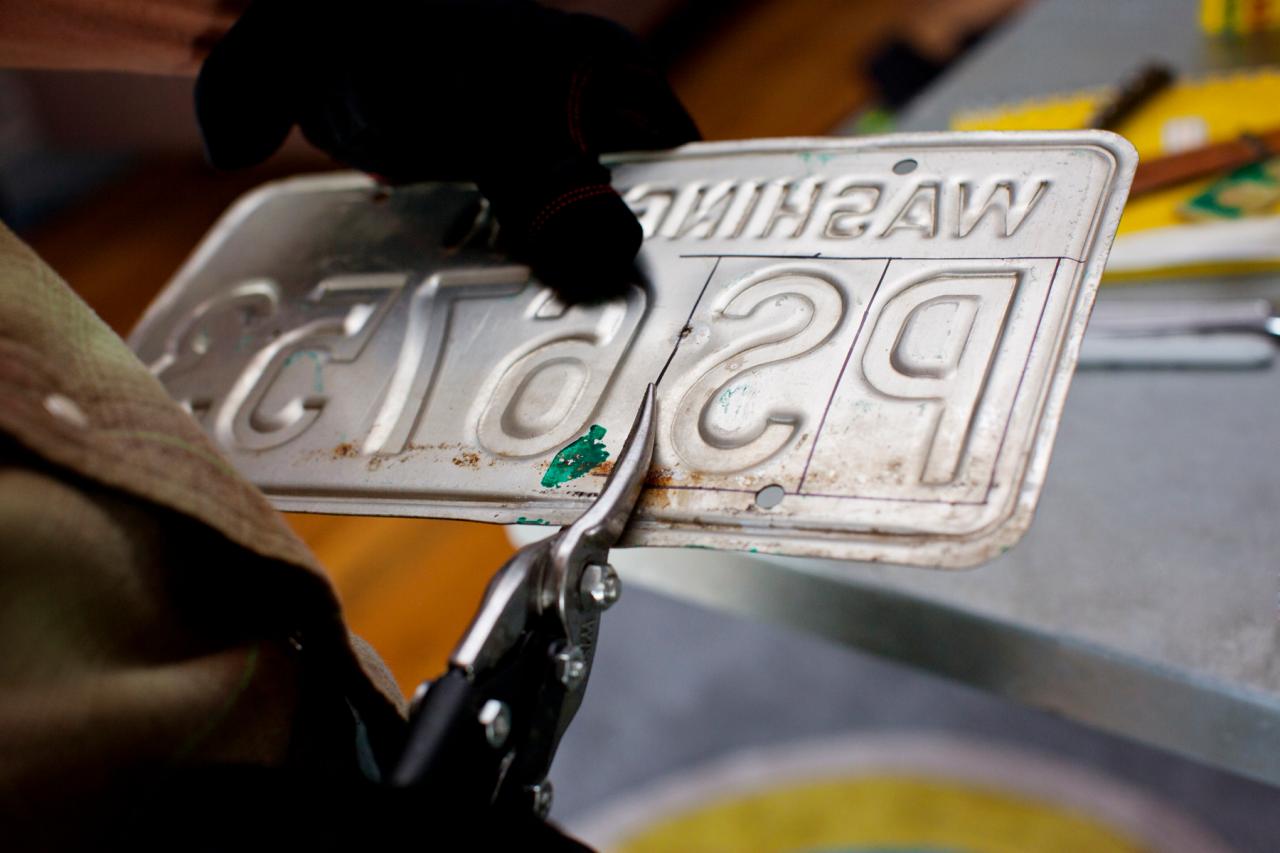
Cut Letters
Wearing work gloves, use tin snips to cut letters and numbers out of license plates using the vertical and horizontal lines as your guide.

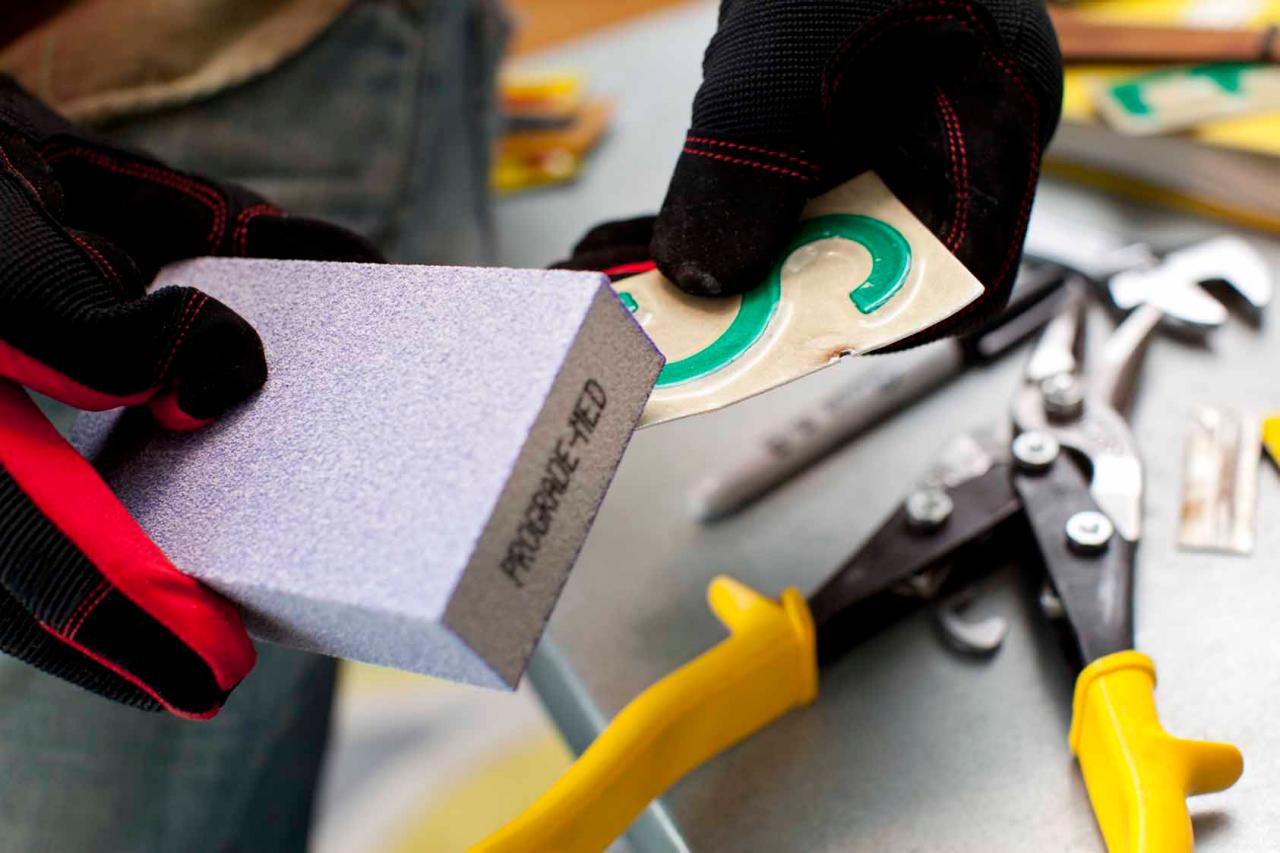
Dull Sharp Edges With Sanding Block
The exposed sides of each letter where you made your cut will be sharp. For safety, use a coarse grit sanding block to dull all edges.

Wipe Off Dust
Use a wet sponge to remove the dust created from sanding the edges of each letter or number.

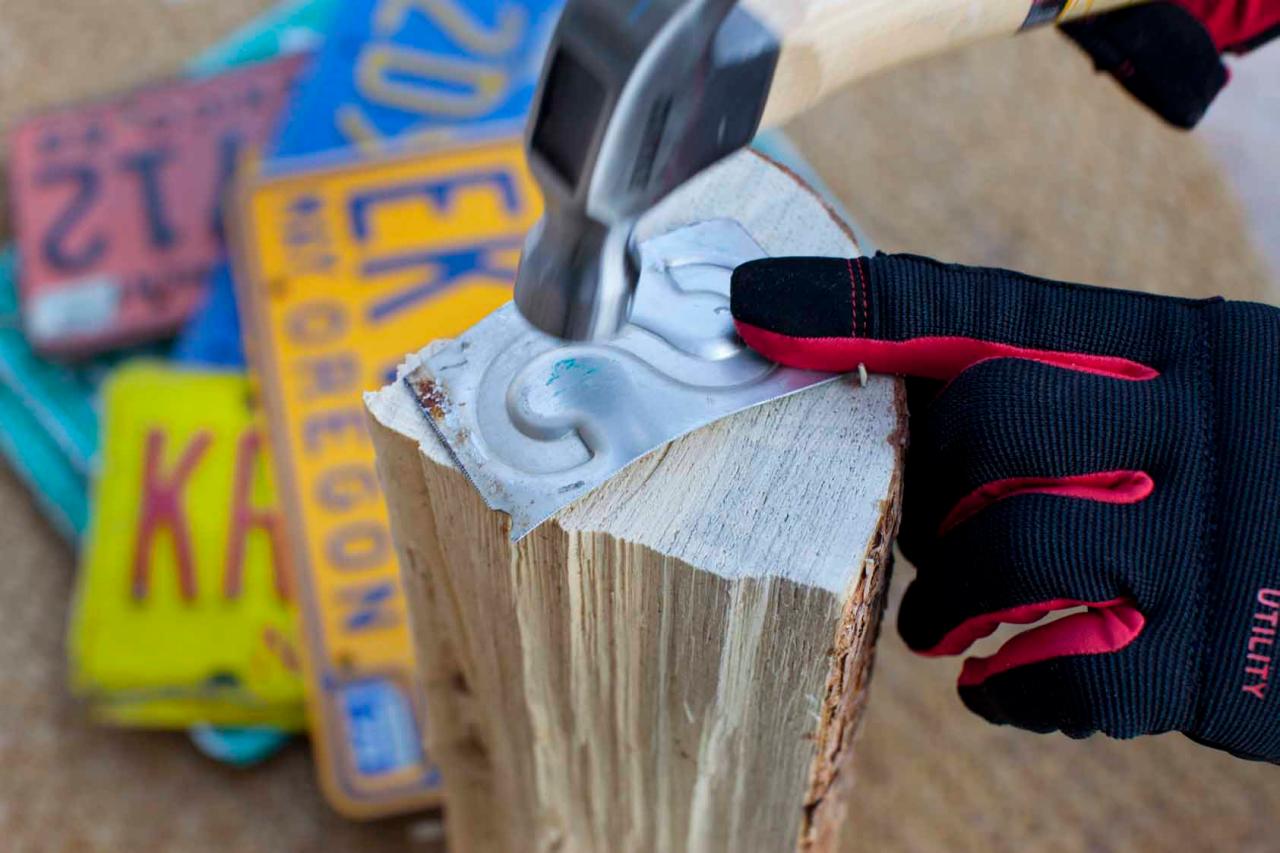
Straighten Bent Metal
Some of the letters may bend when you cut them out. To straighten each out, place it atop a block of wood, then tap gently with a hammer.

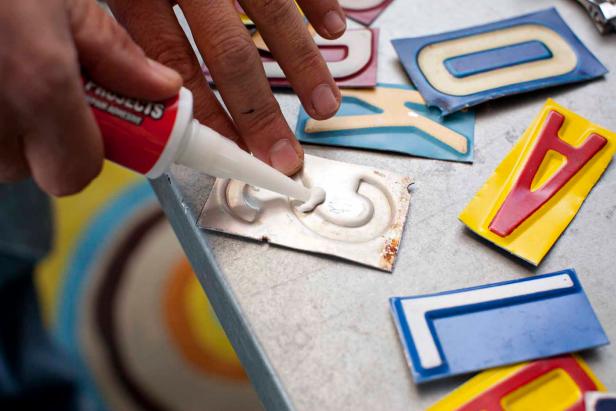
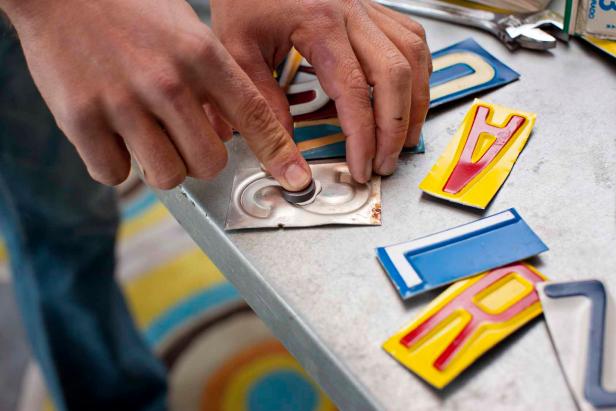
Attach Magnets to Cut and Sanded Letters
Turn each letter over onto a flat surface so the back side is facing up. Add a small bead of liquid bonding adhesive to the back, roughly 1/3 the diameter of a penny (Image 1). Place magnet directly onto bonding adhesive (Image 2). You’re done. Allow at least four hours for the glue to dry before using your letter magnets.


