


How to Make a Wood Photo Transfer
Transfer a wedding photo onto wood to make the perfect anniversary gift.


Materials and Tools
- laser copy of photo
- gel medium
- foam brush
- piece of smooth wood
- damp cloth or paper towel
Apply Gel
Apply a thin coat of gel medium to the wood.

Lay Paper
Lay the laser copy of the photograph face down onto the wood, smoothing out all the wrinkles with your fingers. Let dry overnight.

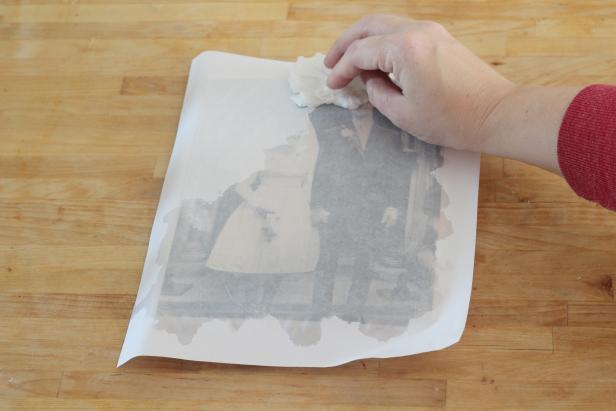
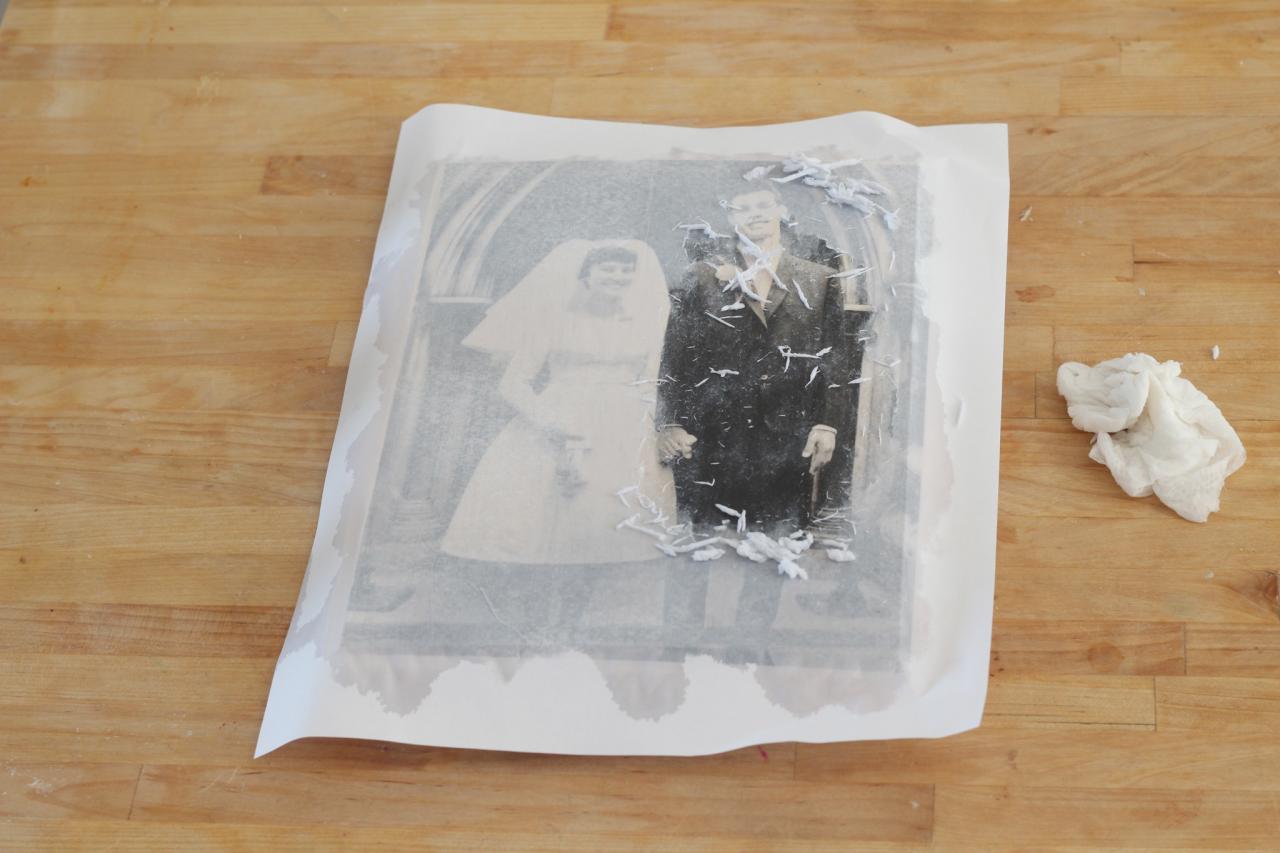
Reveal Transfer
Wet the paper with a damp cloth or paper towel. Lightly scrub the paper away with the damp cloth revealing the image underneath. Continue to add water, and lightly scrub until all the paper is gone.

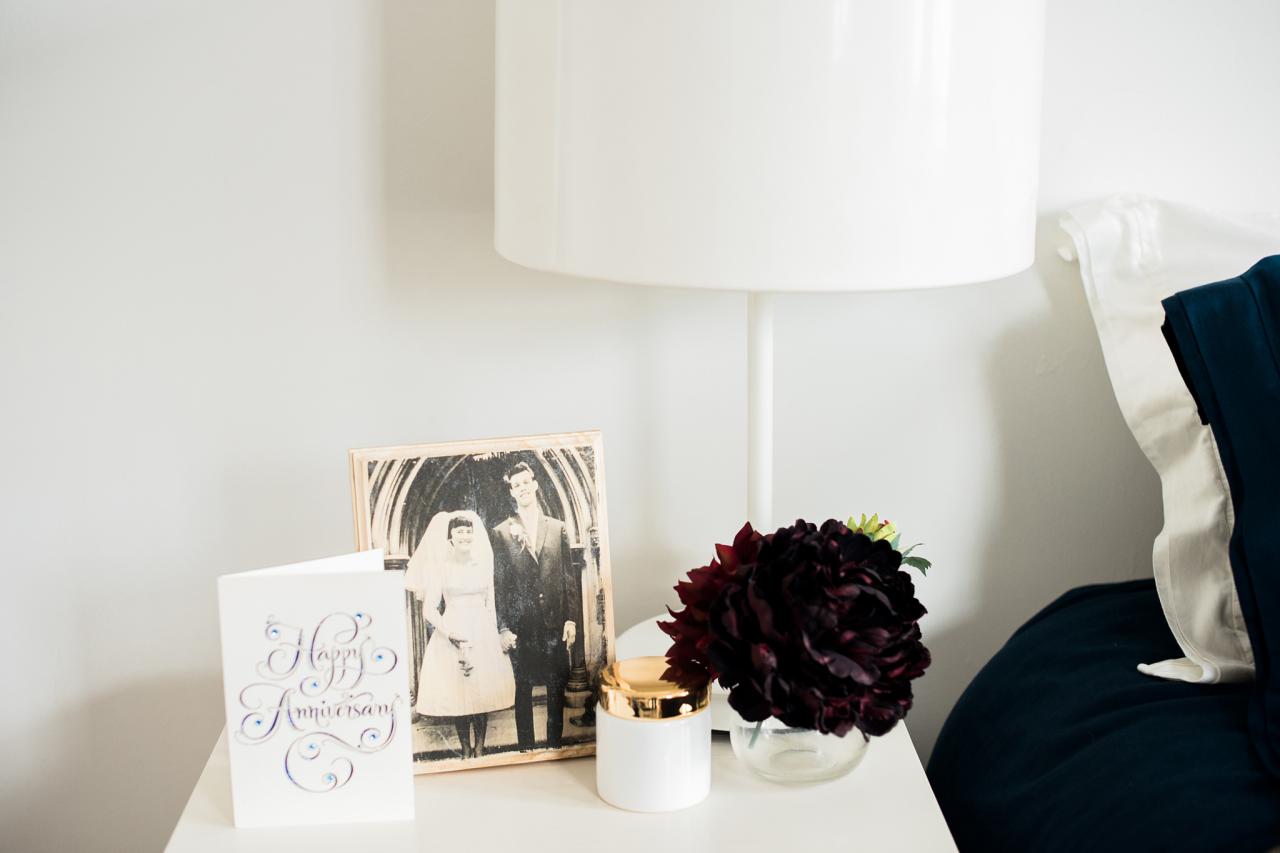
Display
Display on a bedside table as a surprise anniversary gift or just because.

Next Up

Make a Life-Size Gingerbread Man Cookie Cutter
Traditional holiday door decor gets a playful upgrade with this charming DIY aluminum gingerbread man that resembles everyone's favorite seasonal treat.

How to Make a Personalized Leather Key Chain
Give the perfect sweet 16 birthday gift, and personalize a leather key chain they can attach to their new set of keys.

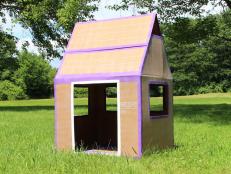
How to Make a House-Shaped Clay Ornament
Give a sentimental housewarming gift by making a personalized, house-shaped clay ornament the new homeowners will cherish for years to come.

How to Get Permanent Marker Off Wood
Learn how to remove unwanted markings from your floors or furniture without damaging the underlying finish.

3 Easy Wooden Bangle Crafts
Pick up a pack of assorted wooden bangles and dive into this trendy DIY.

How to Make Wire Shelf Covers That Look Just Like Floating Shelves
This renter and homeowner-friendly hack transforms tricky wire shelves into stylish, faux floating wood shelves.
How to Make a Weatherproof Cardboard Box Fort
Use a weatherproofing spray to make your kids' cardboard box fort stand up to the elements.

How to Cut Plexiglass
There are two ways to cut plexiglass. For thin sheets, a simple utility blade will work. But for thicker pieces, a power tool is recommended. Read on to learn both methods.

How to Remove Stain on Wood
When life stains your wooden furnishings and floor, tackle the build-up with confidence by following these tips.

How to Make a Giant Christmas Stocking
Switch things up this holiday season by replacing the traditional wreath on your front door with an oversized stocking. This DIY giant Christmas stocking is the perfect addition to your seasonal decor and can be made with just a few basic craft supplies.


