


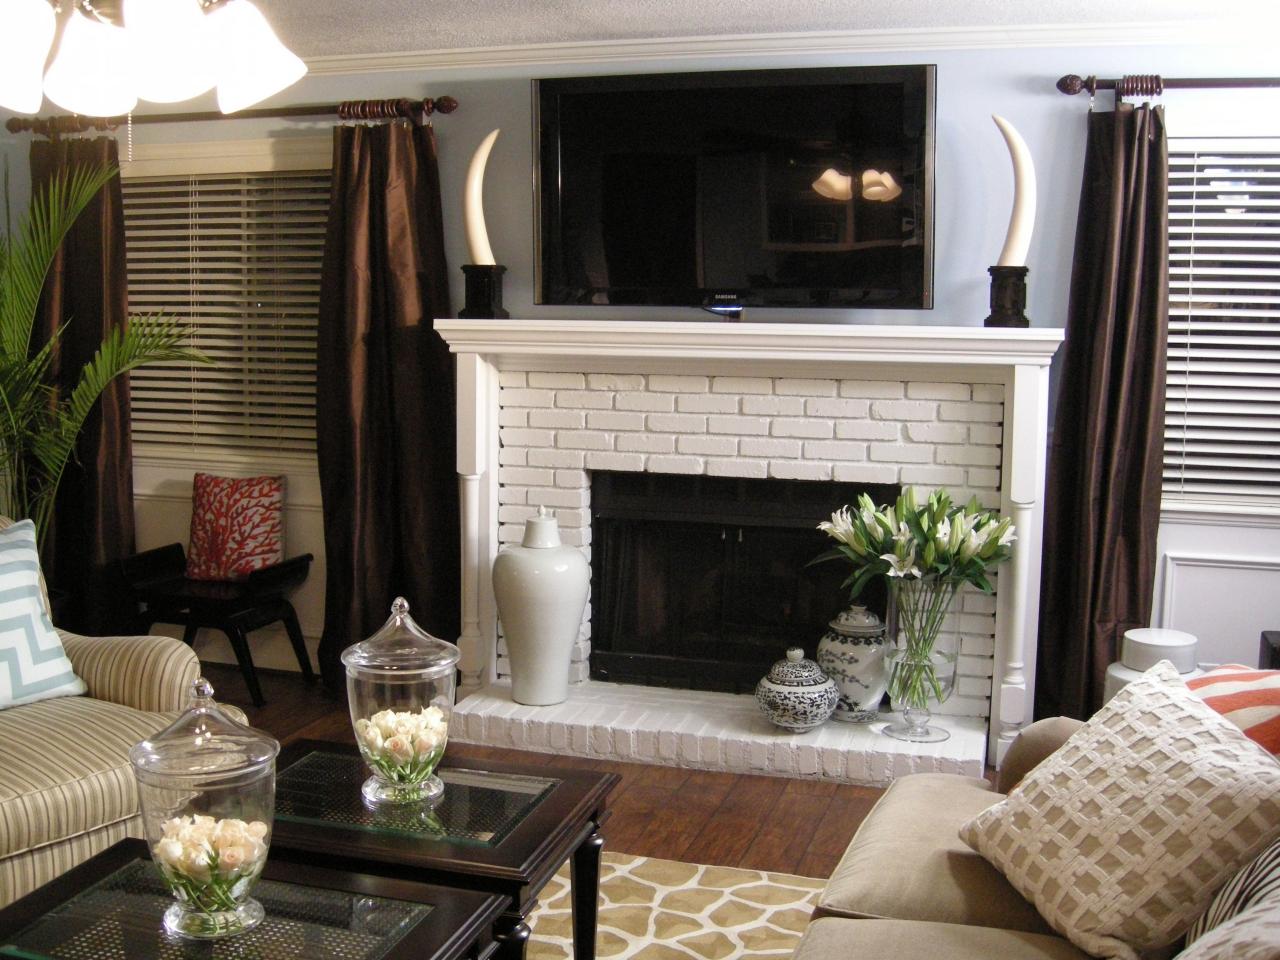
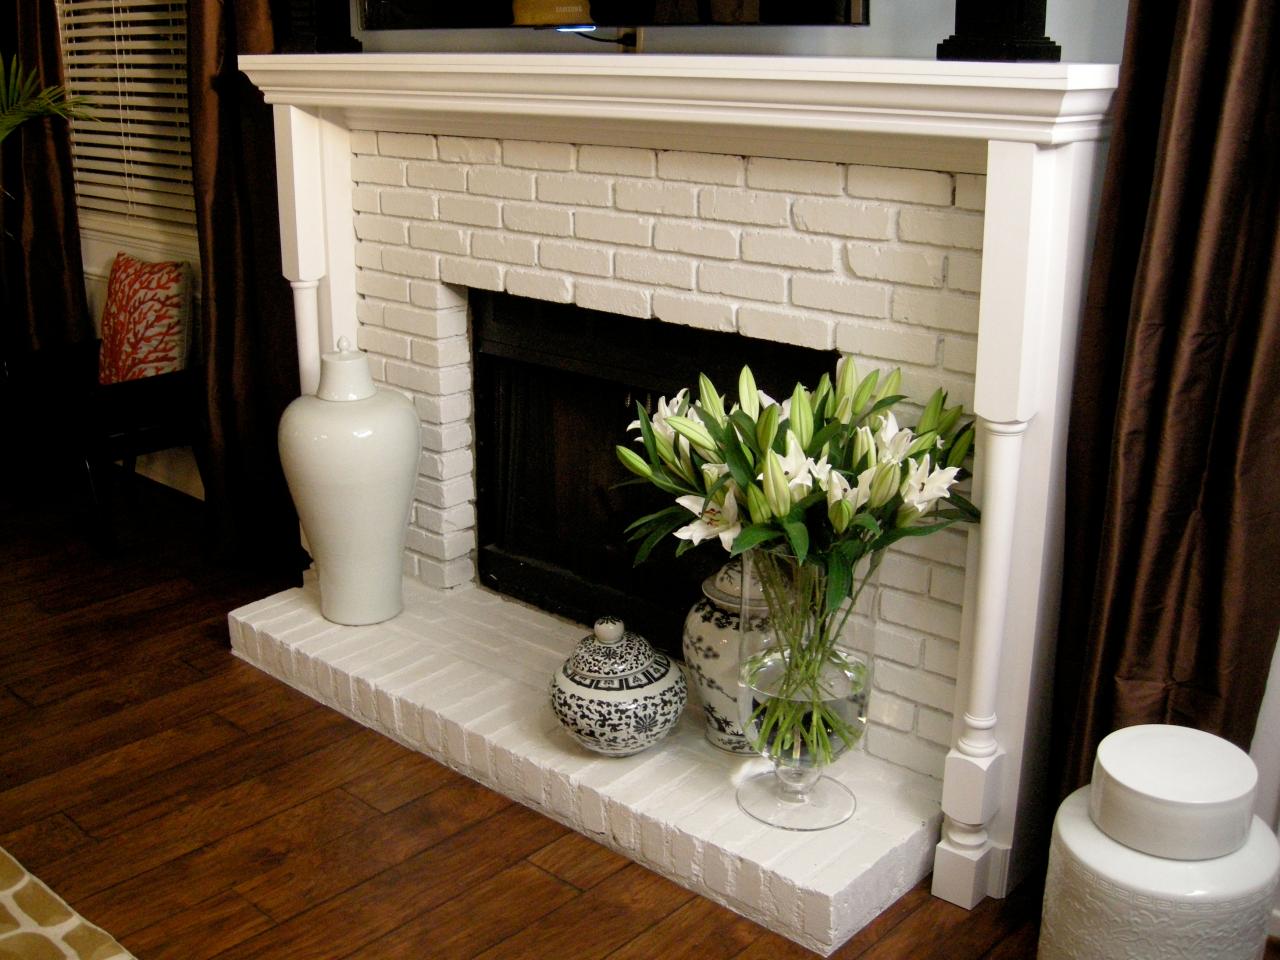
How to Build a New Fireplace Surround and Mantel

Tools and Materials:
two newel posts
3/4” medium-density fiberboard (MDF)
screw gun and screws
paint, paintbrushes, rollers and paint sprayer
crown molding
shims
caulk gun and caulk
tape measure
level
finish nailer and nails
compressor
table saw and a miter saw
power drill
nail set
hammer
sandpaper
Steps:

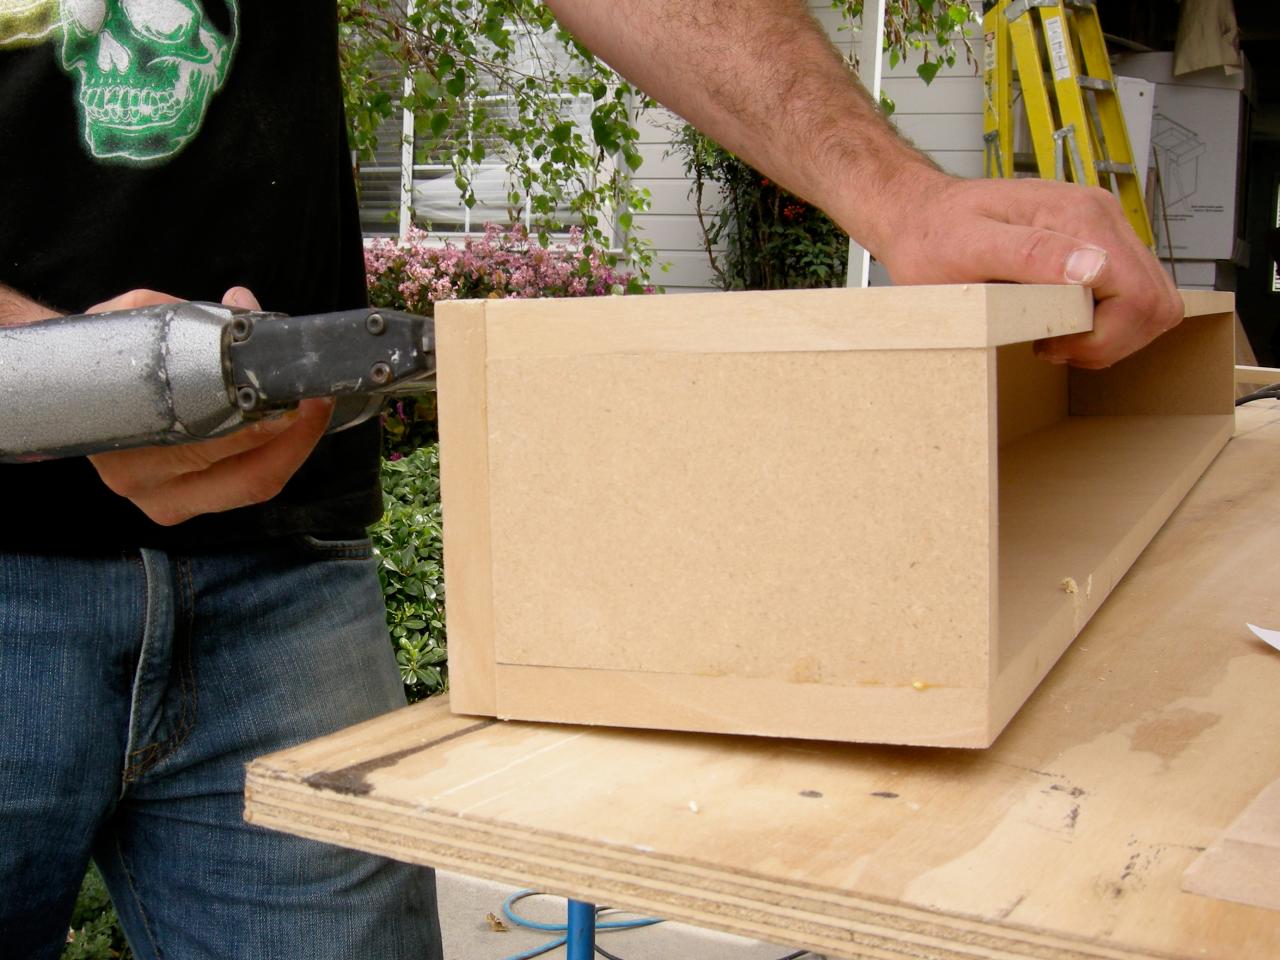
1. To build the side columns for the new surround, use MDF to construct two rectangular boxes with open backs. Determine the size of your boxes by measuring the distance from the brick to the edge of the mantel and then from the mantel to the floor. Our boxes measure 53-1/4” tall x 6” wide x 7” deep.

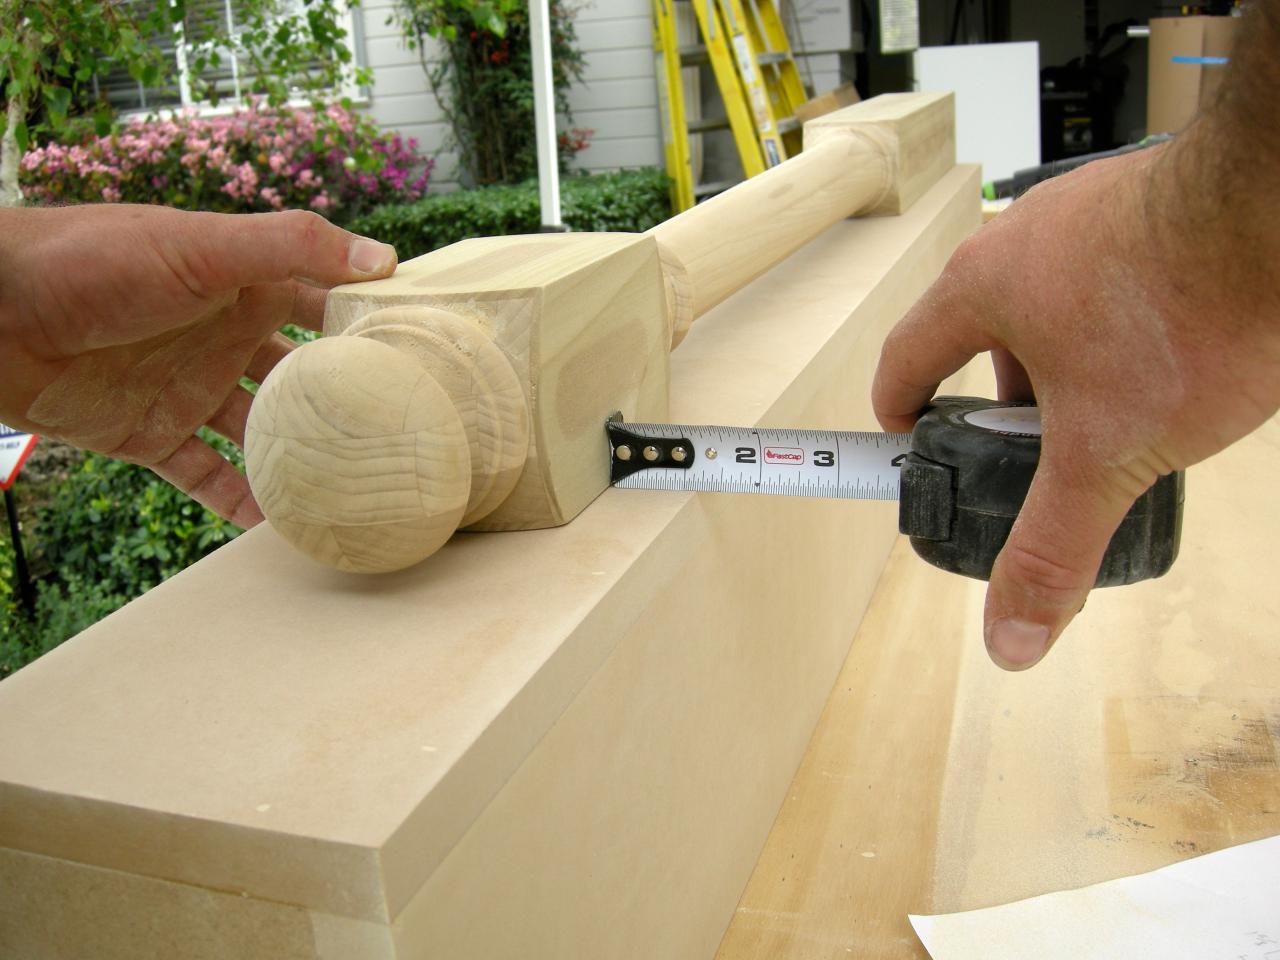
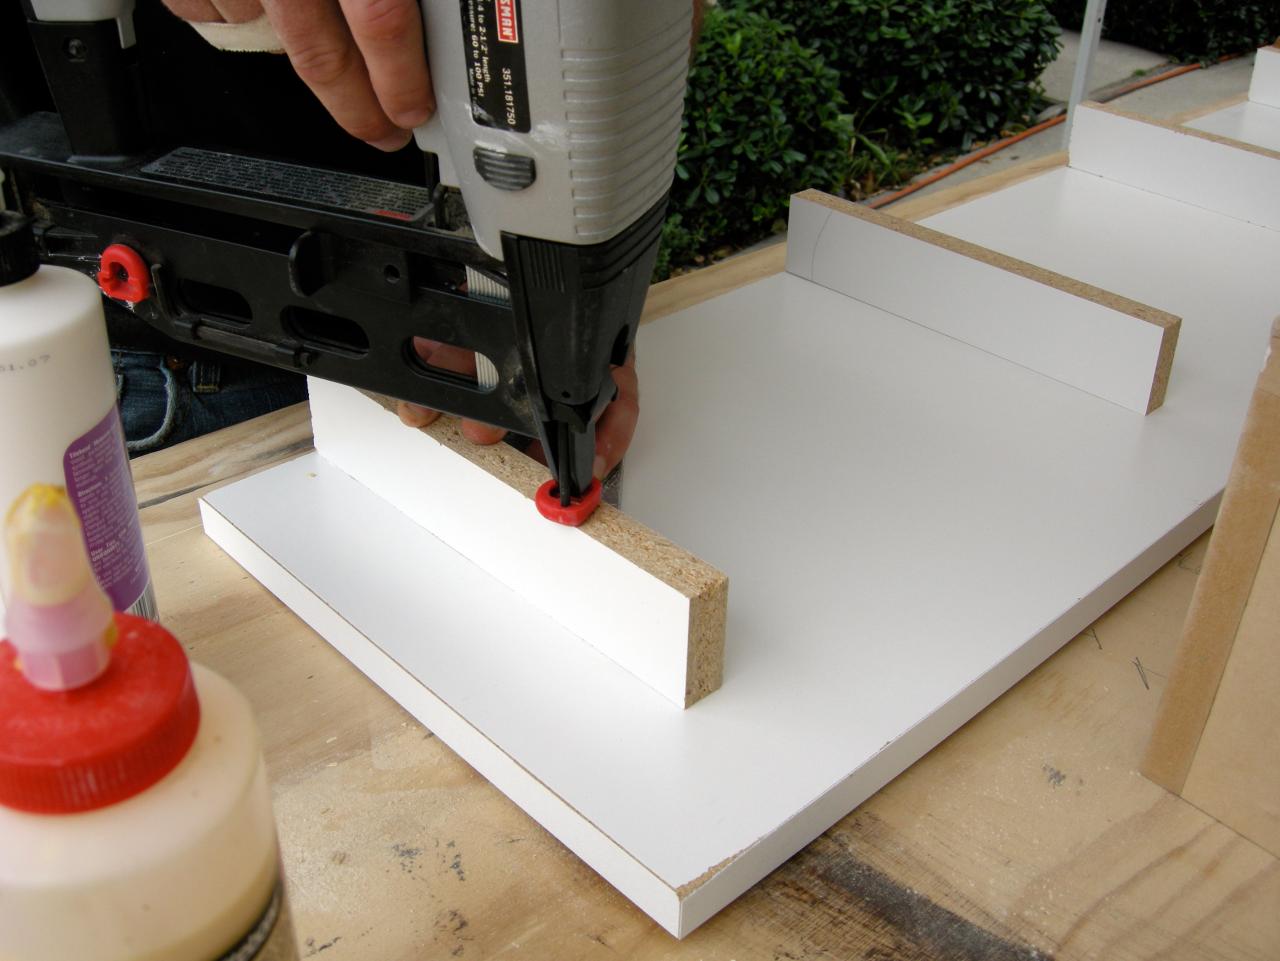
2. Lay a newel post onto the front of one of the boxes, opposite the open end. Center the post on the box; mark its placement with a pencil. Remove the post and flip the box over. Drill pilot holes from the inside of the box. Flip the box back over and spread glue on the post where it will touch the box. Then attach the post to the box with screws from the underside. Repeat the process for the other box. (Our newel post wasn’t as tall as our box, so we added a block wood with molding to the bottom of the post.)

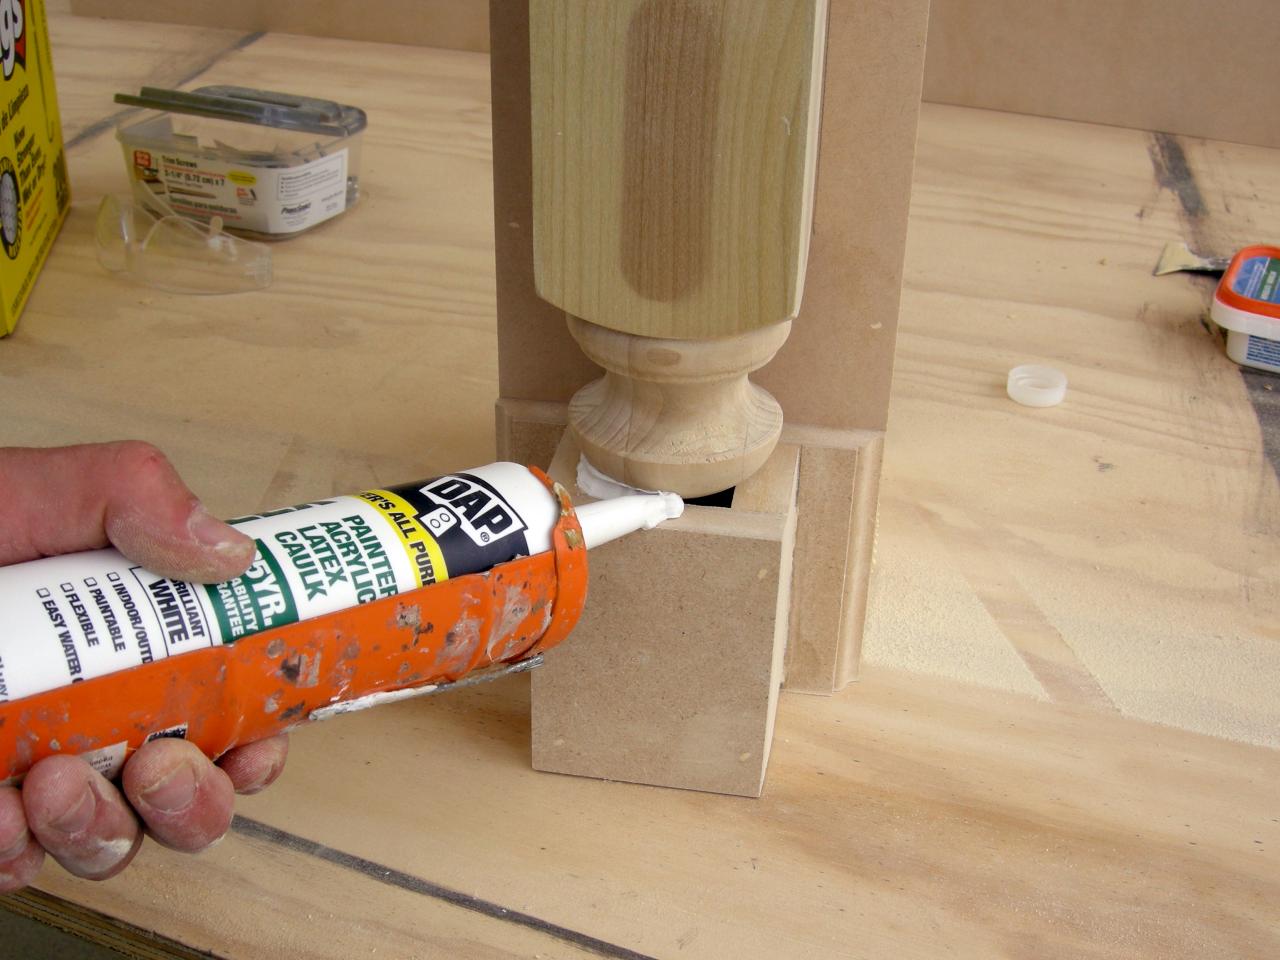
3. Sand the edges and seal any gaps and nail holes with painter’s caulk. Spray the columns with paint.
4. Cut two pieces of MDF to make the cleats that will hold the columns to the wall. The cleats should measure 1-1/2 inches less than the height and width of your column box. Our cleats measure 51-3/4” x 4-1/2”. Use wall screws to secure the cleat to the wall on either side of the fireplace.
5. Secure the columns to the cleats with finish nails. Make sure the columns are plumb and level.
6. Cut a new mantel piece from the MDF. Make it larger than your existing mantel so that you can install crown molding at an angle connecting the old and new mantels (thus beefing up the height and width of the mantel). Use the height and depth of the crown molding to determine the size of the mantel.

7. Fasten MDF cleats to the underside of the mantel to give it more height, the height of the cleats will depend on the size of the molding you are using to wrap the mantel. Level the cleats with shims and secure the new mantel to the top of the old mantel with finish nails.

8. Measure and miter cut the crown molding for the mantel. Fasten the molding up from the existing mantel to the new mantel.
9. Use a nail set and hammer to sink nails below the surface of the crown molding. Use painter’s caulk to seal gaps or nail holes. Sand rough edges and finish the new surround and mantel with a coat of paint.

10 Stylish Tile Options for Your Fireplace Surround 11 Photos
HGTV heads to the Ann Sacks showroom at the Atlanta Decorative Arts Center to check out classic and cutting-edge fireplace surround tile options, from interlocking wood to hand-painted terra cotta.


