


How to Hang Wallpaper
Learn to hang pre-pasted wallpaper with this beginner-friendly tutorial.

Jennie Andrews

Wallpaper is a great way to add color and texture to a space. Wallpaper typically comes in one of three installation types: peel and stick, unpasted (requires a separate glue) or pre-pasted. Pre-pasted wallpaper requires only the addition of water and is easily repositionable, making it an especially easy type to install. Some pre-pasted papers, like the one we are using from Spoonflower, are even removable. Any wallpaper you buy should come with instructions. Be sure to read the specific instructions for application. Follow these instructions and you should finish with a beautifully wallpapered space with little trouble.
Materials + Tools
- pre-pasted wallpaper
- paint roller
- fresh paint nap
- clean paint tray
- plastic dropcloth
- painter’s tape
- sponge
- utility knife with extra blades
- level
- pencil
- plastic smoother or wallpaper brush
- edge roller

Jennie Andrews
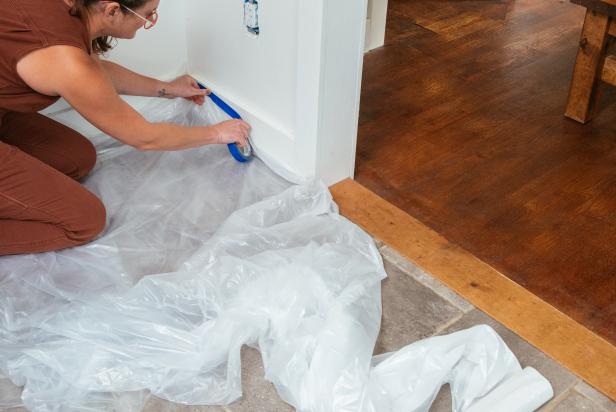
Prep Your Space
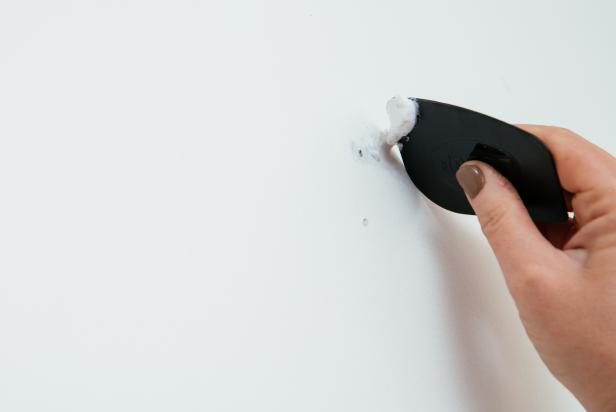
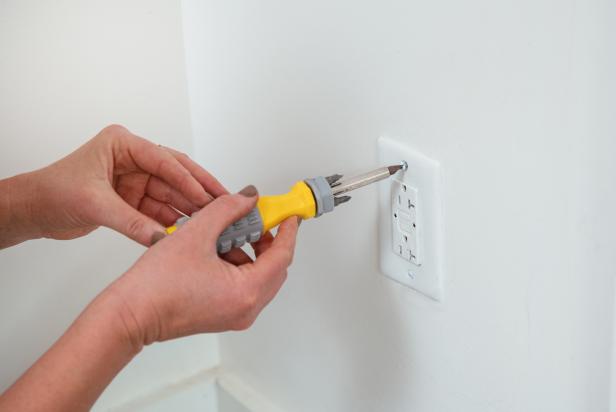
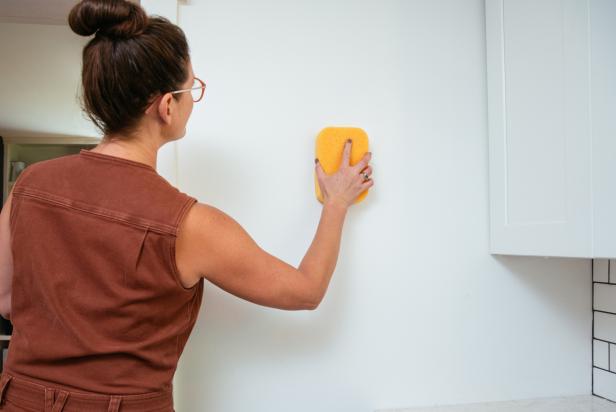
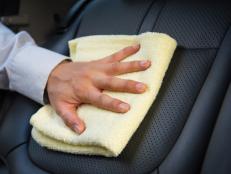
Cover the floor with protective plastic sheeting or a dropcloth. (Image 1) Spackle any holes in the wall, let dry and sand smooth. (Image 2) Smooth walls are key to a smooth wallpaper application, so be sure not to skip this step. If your walls are freshly painted or primed, wait about 4 weeks to install wallpaper for the best adhesion. Remove any electrical outlet covers. Safety first. Be sure to turn off power at the breaker since water is involved. (Image 3) Wipe down walls with a sponge to remove any dust. If you are wallpapering in a kitchen or high-traffic area, wash with a mixture of hot water and cleaning vinegar. (Image 4)
Jennie Andrews
Jennie Andrews
Jennie Andrews
Jennie Andrews

The Best Places to Buy Wallpaper Online
Shop our go-to online wallpaper sources for every style and budget.
Draw a Plumb Line
The placement of the first piece of paper is the most important part of the job as this will dictate whether your entire application will be straight or crooked. Start in a corner and work either left to right or right to left around the room. Once you decide on a direction, stick with it.
Likely, your walls are not perfectly straight. So, you will want to draw a plumb line as a guide for your first piece instead of just butting up against the corner.
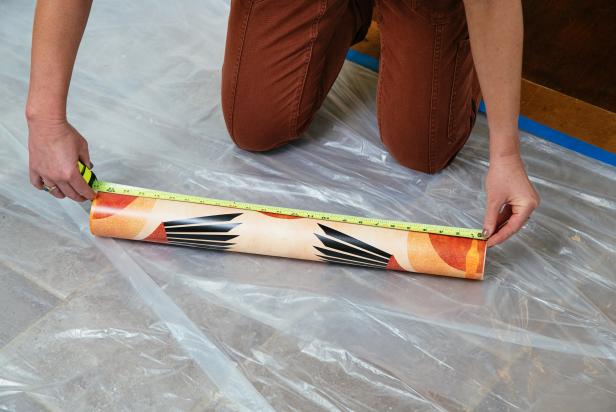
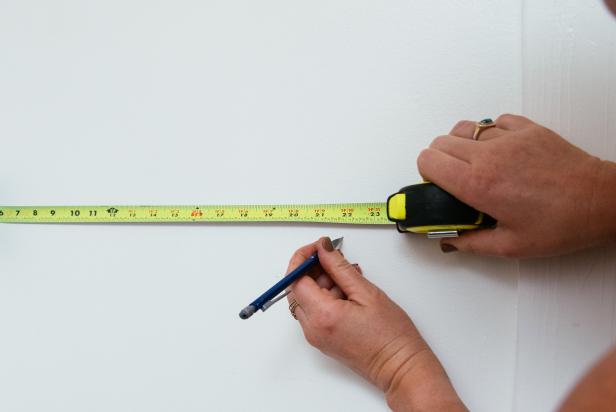
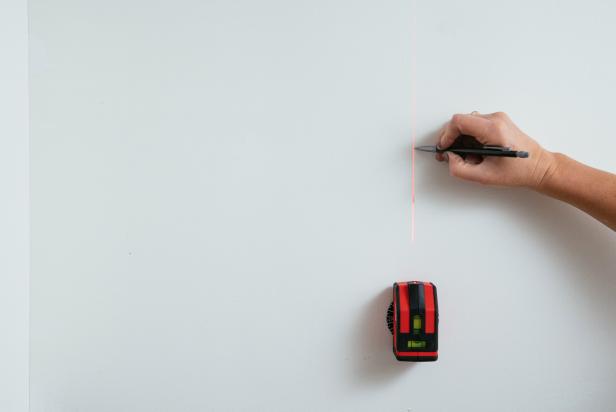
Measure your roll of wallpaper and subtract 2 inches. (Image 1) Then, measure and mark that distance from the corner you’ve chosen as your starting point. (Image 2) Use a level to mark that line from the top to the bottom of the wall. (Image 3)
Jennie Andrews
Jennie Andrews
Jennie Andrews

Wallpaper 101: Choosing the Right Style for Your Space 6 Photos
From graphics and grass cloth to glass beads and geometrics, take a look at these insider tips for choosing the perfect wallpaper for your next project.
Prep the Wallpaper
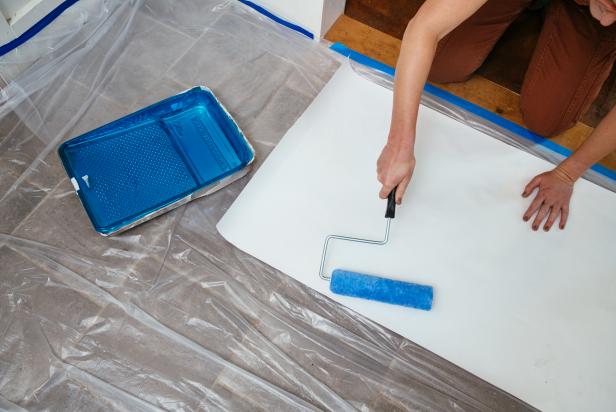
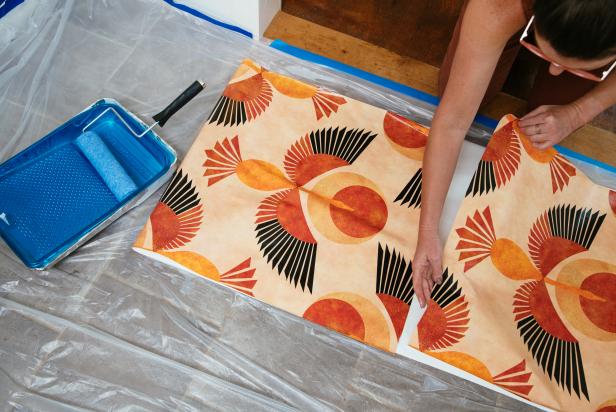
Cut the first piece of paper the height of your wall plus 4 inches. This allows a couple of inches at the top and the bottom to align and trim the paper. Fill a clean paint tray with water. Using a clean paint roller and nap, liberally apply water to the back side of the paper. (Image 1) Fold each end over toward the center (the pattern should be visible and the pasted sides touching) and let rest according to the manufacturer's instructions — typically 3-5 minutes. This process, called booking, allows the glue to activate and soak into the paper fibers. (Image 2)
Jennie Andrews
Jennie Andrews
Hang the First Piece
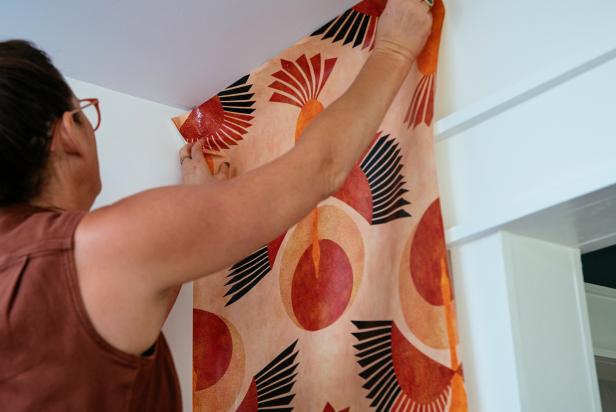
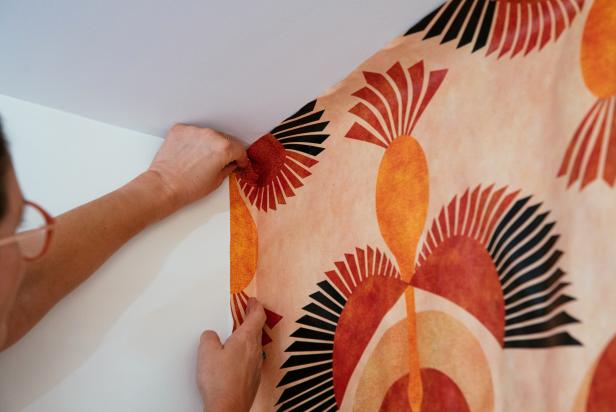
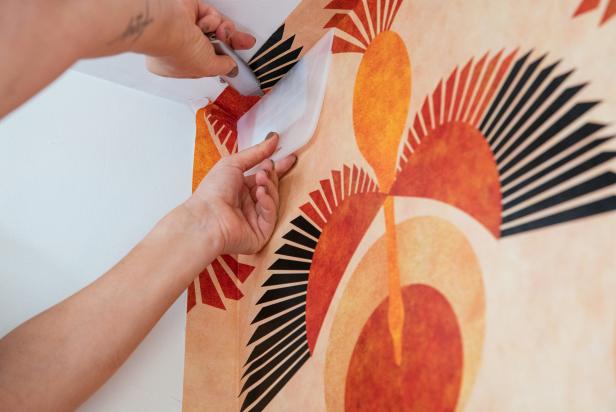
Begin by unfolding the top half of your paper. Leave the bottom half folded. With a 2-inch overlap at the ceiling and a two-inch overlap at the corner, gently place the top of your paper onto the wall. (Images 1 & 2) Align the opposite side of the paper with the plumb line you drew using the level. (Image 3) If you need to reposition the paper, simply pull it off and reposition. If your paper is sliding a bit, you can use painter’s tape to hold it in place.
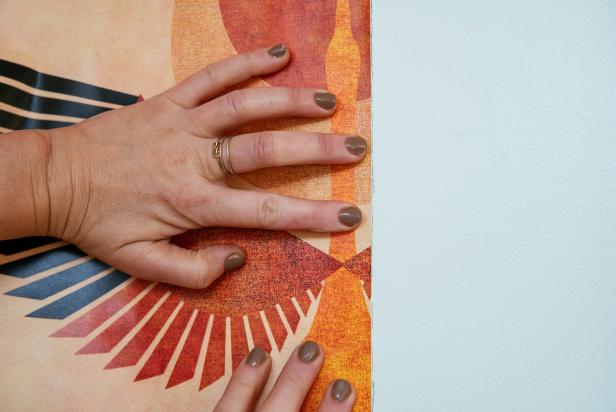
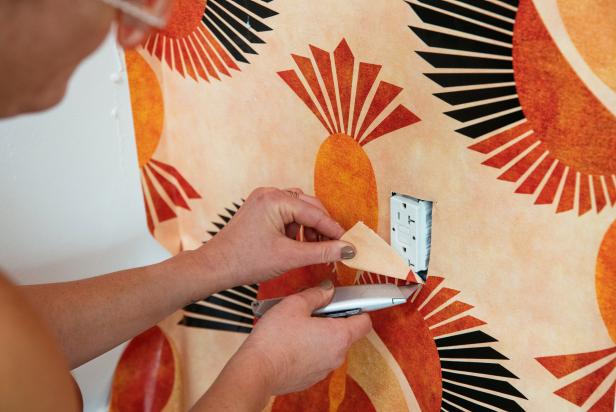
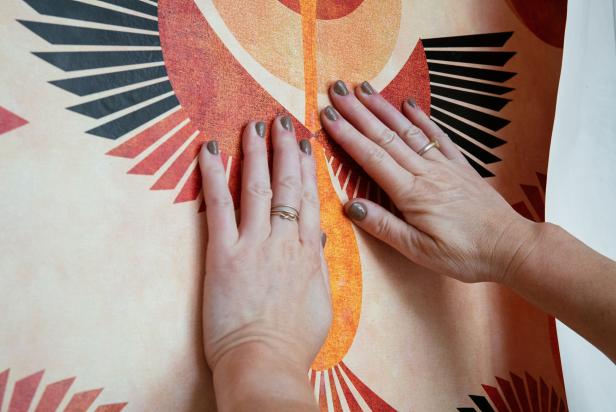
Using a wallpaper brush or a plastic smoother, smooth out bubbles. Work from the ceiling down and from the center to the edges. (Image 4) As you reach the mid-point, unfold the bottom and apply it to the wall. Very carefully use a sharp utility knife to cut around outlets. (Image 5)
Jennie Andrews
Jennie Andrews
Jennie Andrews

Jennie Andrews
Jennie Andrews
Trim Against Ceiling and Corner
Once your wallpaper is placed correctly and is smooth, let the paper cure on the wall for 20 minutes and then use the utility knife to trim along the ceiling and the corner. Place the plastic smoother or a flat putty knife slightly angled against the pattern with the edge pressed into a corner. Use it to guide and hold the utility knife as you cut, ensuring a perfectly straight edge. (Images 1 & 2)
Jennie Andrews
Jennie Andrews
Hang the Second Piece
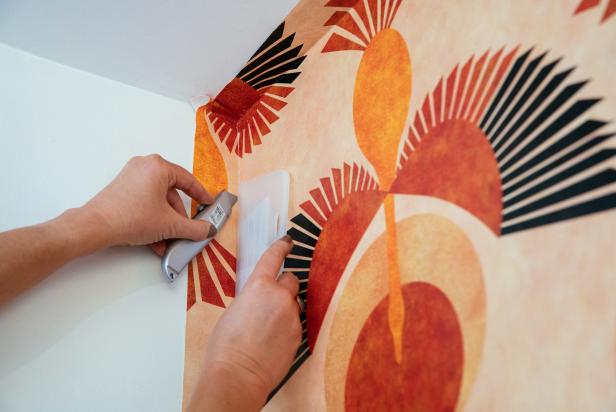
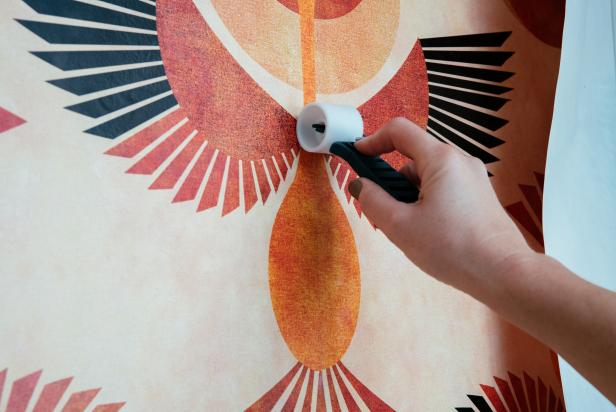
While you are waiting for the first piece to cure, cut your second piece. If you are a beginner, you will save some stress by cutting only one piece at a time. This allows you to work slowly to place each piece correctly. For the second piece, make sure to allow plenty of extra room to match your pattern before cutting. You may want to hold the paper up to the wall and mark where to begin the cut. Then, apply it to the wall, aligning it with the first piece. At the seam, butt the two pieces together as tightly as possible without overlapping. (Image 1) Use a seam roller to press the edges firmly against the wall. (Image 2)
Jennie Andrews
Jennie Andrews
Trim Around Obstacles
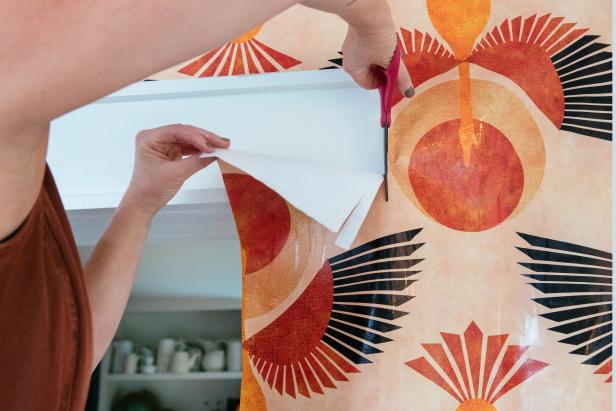
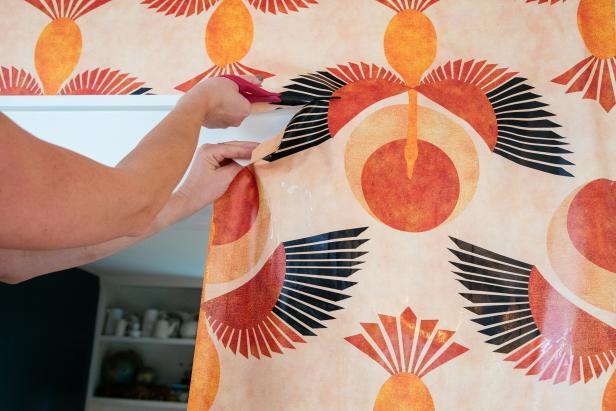
For larger obstacles, like doorways and windows, a pair of scissors can come in handy. Use them to cut loosely, allowing for the paper to lay flat against the obstacle, then complete any fine trimming with the utility knife. (Images 1 & 2)
Jennie Andrews
Jennie Andrews
Finish and Enjoy
Use a damp sponge to wipe away any excess glue from the wallpaper. Then, stand back and enjoy the stylish new view.
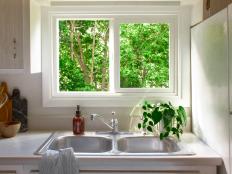
Before Wallpaper

With Wallpaper


30 Wallpaper Designs for Every Room of the House 30 Photos
Get inspired by these 30 places throughout your home that would be great spots to hang wallpaper.


