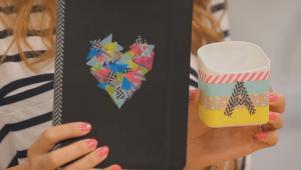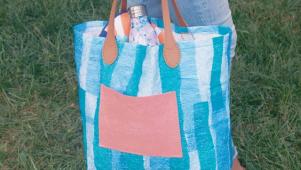


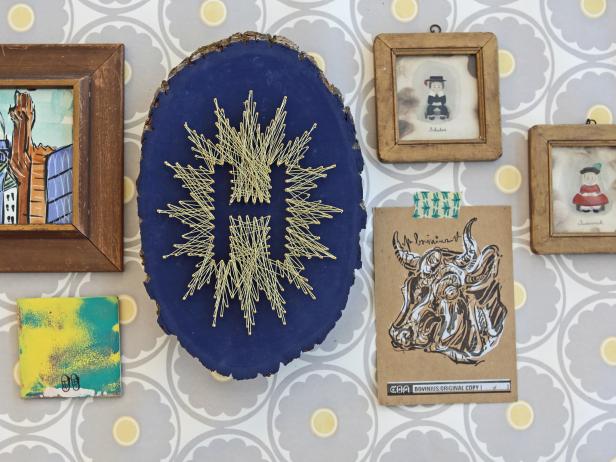
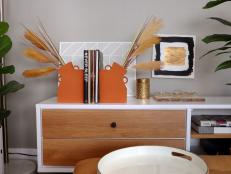
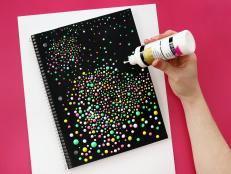
Easy DIY Crafts Anyone Can Do 63 Photos
You don't have to be a crafting expert to create beautiful DIY crafts to dress up your home. All you need? An extra hour and a few simple supplies.
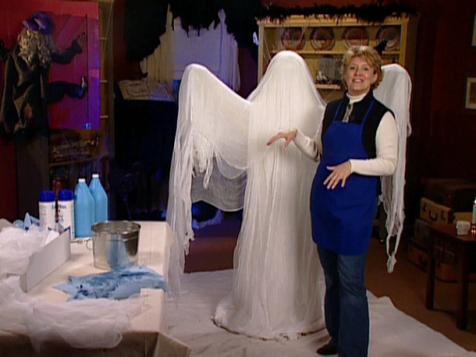
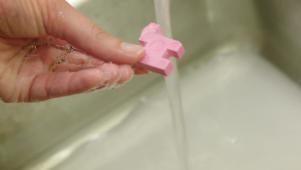
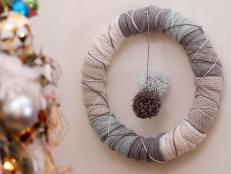
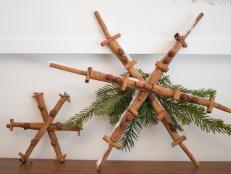
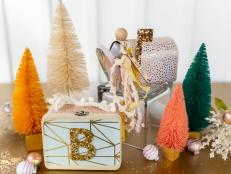
Winter Crafts
Stay crafty through the season with these fun DIYs.


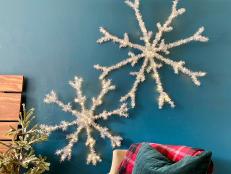

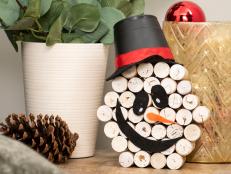


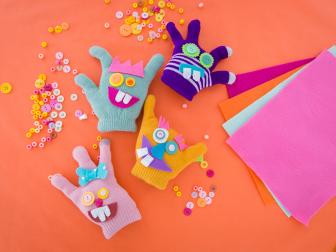
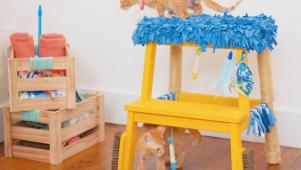
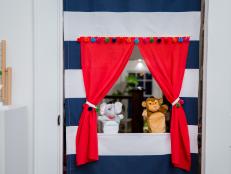
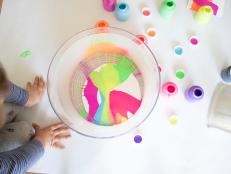
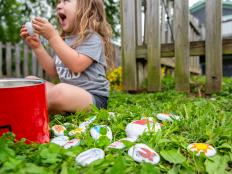
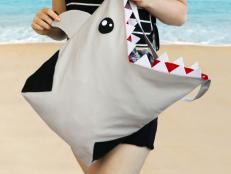
40 Fun Kids' Crafts for Cold Winter Days 41 Photos
If your little ones are suffering a severe case of being stir crazy, you’re in luck. We've rounded up 40 indoor, winter kids’ crafts that are totally fun and relatively easy.
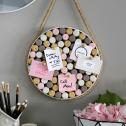
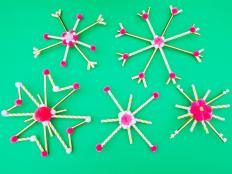
More Crafts for Kids
Spark creativity in your little ones with these easy projects.


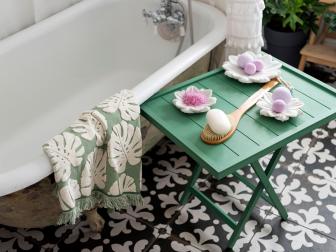
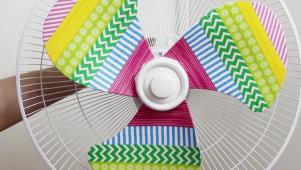
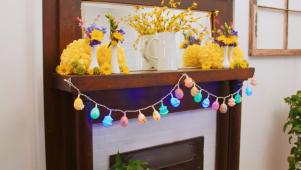
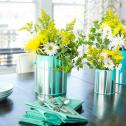
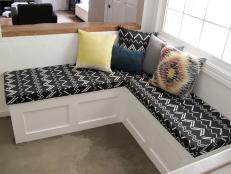
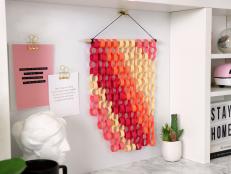
70 DIY Decor Projects to Craft This Weekend 70 Photos
Save money and boost your home's style — in the kitchen, bedroom, bathroom, living room, kids' room and outdoors — with DIY accessories, furniture and storage solutions you can tackle this weekend.
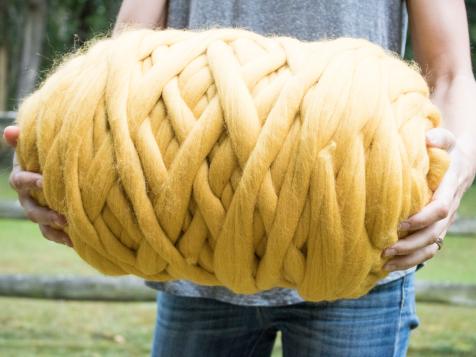
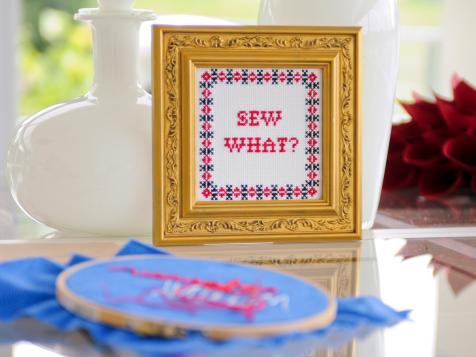
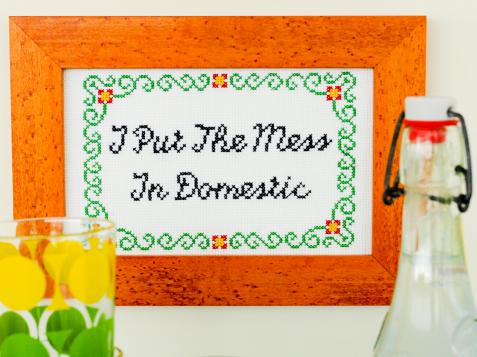
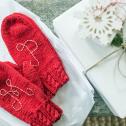
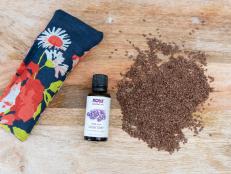
Sewing Inspiration
Looking to break out the sewing machine on a cold or rainy day? Check out these projects.

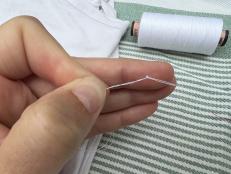
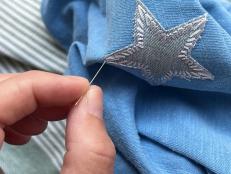


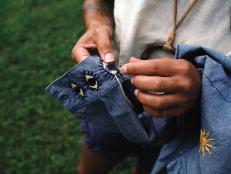


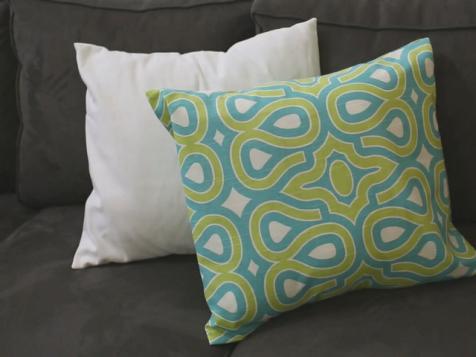
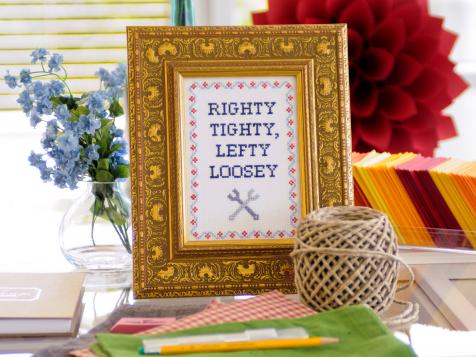
5 Must-Have Sewing Skills
We show you the easy way to tackle sewing basics, from hemming jeans to sewing on a button.
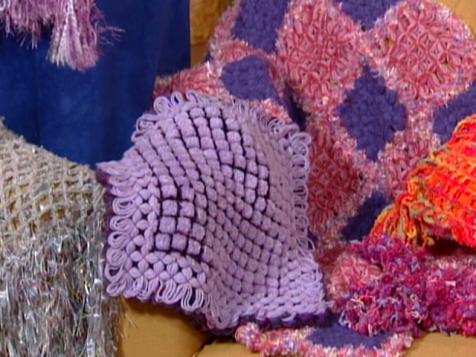
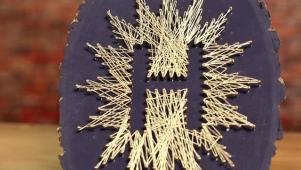
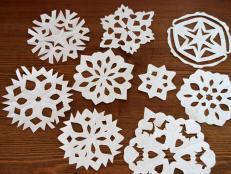
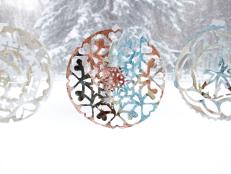
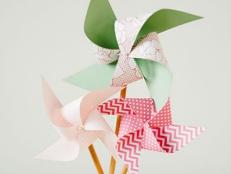
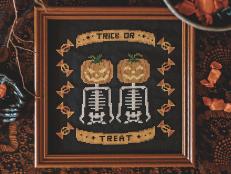
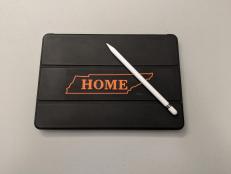
Paper Crafts
From card making to scrapbooking and bullet journaling, these easy paper craft projects are a great way to try your hand at homemade.


DIY Crafts 101: Decoding the Craft Store 22 Photos
Wondering what type of paint, brushes, tape or glue to use for your crafts project? Learn how to choose the right materials for the job with our handy craft primer.
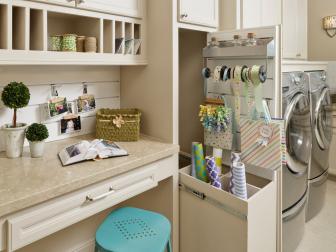
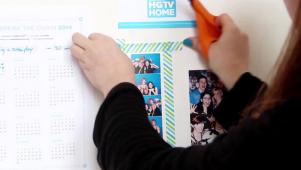
Craft Room Organization Ideas
Bring order to your craft supplies with these organization tips.