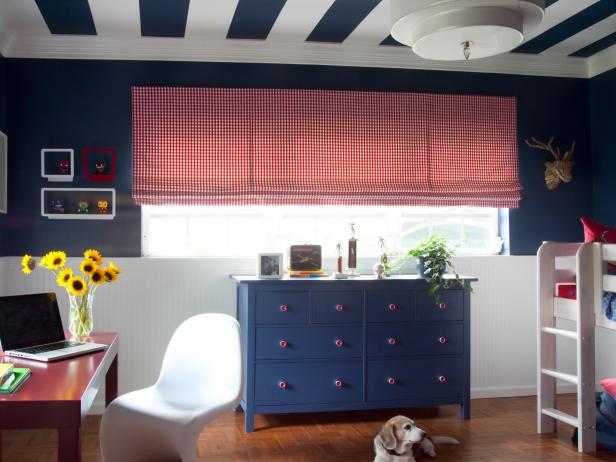
Installing TrimMaterials:
decorative trim
primer
paint (trim: Extra White Alkyd) (Sherwin-Williams)
paintbrushes
long level
pencil
miter saw
nail gun
stud finder
miter box and back saw
spackling compound
caulk
Steps:
Tip: Prime and paint the trim before installing it, and then touch it up once it's in place.
1. Install the chair rail first as it will be a guide for the rest of the trim. Most is installed at a height of about 36 inches up from the floor, the height of a normal chair back. Draw a light line at 36 inches using a long level. Cut the chair rail to length using a miter saw and put nails every16 inches to hold it in place (cut the corners at a 45-degree angle so they fit nicely) (set the nails on the studs if possible).
2. For the upper boxes, start by a doorway and determine the best size for each box on the walls. Draw a plum line with the level and repeat it on the other side. For the featured project, a level line was drawn 3-3/4 inches from the chair rail and the ceiling to establish the outer edges of the smaller trim. Cut the trim using a miter box and back saw (this delicate trim tends to chip with the power saw). All the corners meet at a 45-degree angle, so set the saw at the proper 45-degree mark and make each cut.
3. Install the trim pieces with a nail gun using smaller wire brad and make sure that the outer edge of the trim lines up with the pencil lines. Be sure to use smaller nails if using a hammer so they won't split the trim.