


Decorative Paint Technique: Venetian Plaster

Materials and Tools:
latex base coat paint, eggshell sheen (Linen White) – Benjamin Moore
tinted Venetian plaster (BR-1x8, TG-1x2, BK-4, P + L=, V-6, M-37) – Modern Masters
water bottle
paint tray
3/4-inch nap roller and handle
400- and 600-grit sandpaper
electric sander (optional)
steel trowel (or 6 inch putty knife with the edges sanded)
mud tray
towels or rags
Danielle's Tips
- Always do a sample board beforehand to practice this technique.
- If desired, base-coat the wall the color of the Venetian plaster to eliminate visible white spots.
- Clean the trowel often for a smooth, sleek surface.
- If you don't have help, consider using an electric sander.
Steps:

1. Prepare the walls for painting; apply the base coat and let dry. If desired, choose a color similar to the tinted Venetian plaster to eliminate white spots.
2. Spray the roller until it's damp to help the thick plaster go on easier. Put just enough plaster in the tray to cover a comfortable area (about 6 feet x 6 feet). Don't worry about any white areas. This will create contrast later so 80 percent coverage for the first coat is fine. The roller is a quick way to apply the plaster, but follow with random sweeps of the trowel to level the surface. Continue around the room in this fashion, cleaning the trowel often for a smooth, sleek surface.

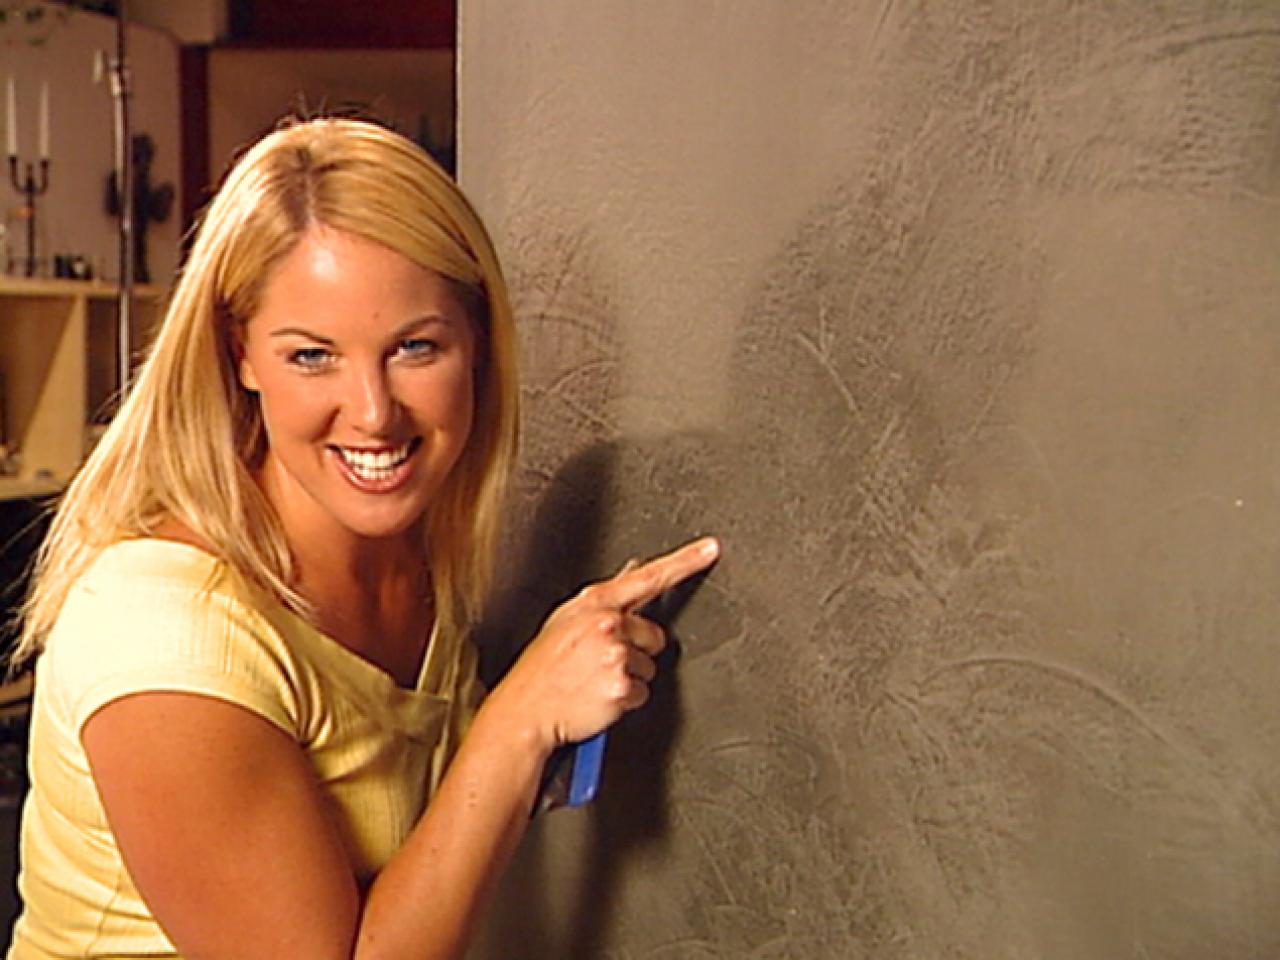
3. Let the plaster dry for at least four hours before applying the second (and last) coat. Fill the mud tray with more plaster and bend the trowel slightly to help alleviate scratch marks. Apply the plaster in crossed and rounded strokes to create the illusion of texture. The goal is to fill in the holes and even out the plaster so you need 100 percent coverage now. If you?re plastering a large surface, this is where you want some help. Let dry.
4. Sand the wall in small, circular motions with 400-grit sandpaper, and then wipe it down with a damp towel or rags. Use 600-grit sandpaper to polish the surface in the same manner. The more you sand, the more contrast there will be in the color. Remove the dust as before.
5. You should see the texture between the first layer of plaster and the second. If that isn't shiny enough, hold the trowel almost flat against the wall and polish the surface as above. This generates heat and friction, resulting in a distinctive sheen.


