Easy DIY Crafts Anyone Can Do 63 Photos
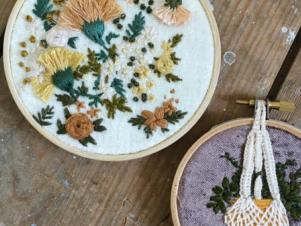
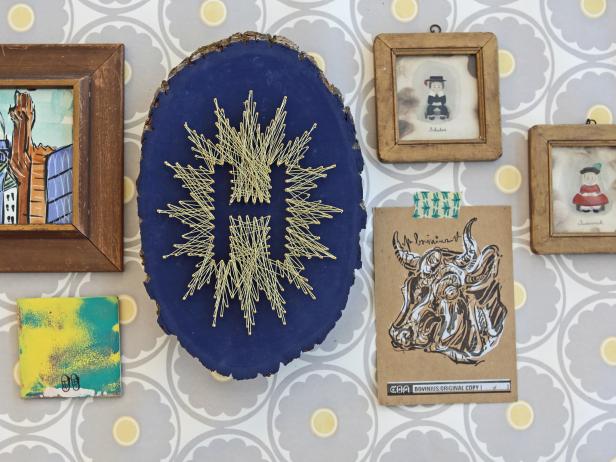
You don't have to be a crafting expert to create beautiful DIY crafts to dress up your home. All you need? An extra hour and a few simple supplies.
Fun Craft Projects
More in Crafts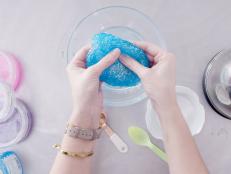


DIY Home Decor
More in DIY


Handmade Gift Ideas
More in Handmade Gifts


HGTV Handmade
Subscribe Now!
HGTV Handmade is a crafting and DIY collab YouTube channel, posting new projects every week. Subscribe for projects from our creators, inspiring home tours and clever home hacks.
Watch: Handmade Home Tours

What's New in Handmade

DIY Concrete Planters: A Step-by-Step Guide Apr 12, 2024
Learn to craft your own concrete planters with this tutorial from HGTV.

This Artist With Synesthesia Painted the Sounds of Wildlife During the Solar Eclipse Apr 12, 2024
Sound-to-color synesthetic painter Sarah Kraning took to canvas to document the shifting sounds of wildlife during the total solar …

How Ceramic Artist Gabo Martinez Preserves and Celebrates Mexican Culture Through Her Vibrant Pottery Mar 22, 2024
Mud slinger Gabriela "Gabo" Martinez is proud of her roots and intentional about celebrating and preserving Mexican culture throug …
How to Make a Hypertufa Pot Feb 14, 2024
Get easy steps to create these beautiful and inexpensive containers in any size and shape you like.

See How an Artist Creates 'Hair Gardens' That Fuse Mexican Culture, High-Fashion Millinery and Old Hollywood Feb 9, 2024
If you’ve ever searched for the perfect floral headpiece to wear for your wedding, an event or even just everyday use, look no fur …
Block Print Like a Pro: How to Carve Rubber Stamps for Fabric Printing Oct 17, 2023
If you’ve always wanted to create your own T-shirt design, this tutorial by Maine artist Allison McKeen will have you block printi …

Here’s How the Barbie Movie Team Created All Those Fantastic Spaces Feb 29, 2024
Production designer Sarah Greenwood and set decorator Katie Spencer have worked together for 25 years (and racked up six Academy A …

Gullah Gift Guide: 12 Gullah Artists, Makers and Brands You Should Follow Jun 13, 2023
Black Southern Belle creator Michiel Perry shares artists, makers and lifestyle brands whose work explores the culture and life of …

Meet the Austin-Based Clothier Who Upcycles Vintage Quilts and Fabrics Into Custom Clothing Apr 20, 2023
Nothing goes to waste at Psychic Outlaw. Rebecca Wright has turned quilts and other abandoned fabrics destined for the landfill in …

This North Carolina Artist and Interior Decorator Has Her Own Fabric Line and Home Decor Collection Mar 28, 2023
Bari Ackerman is the brain behind Bari J. Designs, a collection of home goods, wallpaper and fabrics inspired by her love of flowe …

How to Start Using Your Cutting Machine Dec 19, 2022
If you’re afraid to take your new cutting machine out of the box, you’re not alone. Even Dennis Setteducati and Andrew Boza — The …
The Best Crafting, DIY and Hobby Books to Buy or Gift Dec 19, 2022
If you’re looking for a new hobby or need the perfect gift for a beginning crafter or experienced artisan, our crafting book guide …

How to Make Wire Shelf Covers That Look Just Like Floating Shelves Mar 1, 2023
This renter and homeowner-friendly hack transforms tricky wire shelves into stylish, faux floating wood shelves.

Turn a Plywood Board Into Easy DIY Outdoor Art Jun 7, 2022
Does your patio, porch or deck have a case of the blahs? We'll show you how to easily stencil a plywood board to turn it into colo …

How to Upcycle a Cutting Board Into an Address Plaque Jun 17, 2022
Is your cutting board a bit too small to make the cut? No problem. In just a few steps, you can upcycle it into a stylish stand-in …

How to Decoupage a Chinoiserie-Style Planter Pot Jun 17, 2022
HGTV's design-on-a-dime pros share how to give a plain terra cotta pot a trendy, high-end Chinoiserie makeover using just paper na …

DIY Rainbow Doormat Feb 14, 2024
Brighten up your entryway with this easy DIY doormat.

Make Homemade Play Dough May 12, 2022
Whip up this colorful DIY play dough in a snap with only a handful of simple pantry staples.

How to Make Stress-Relieving Glitter Slime May 9, 2022
Ditch the stress ball. Step up your game and create something sparkly to help put your mind at ease. Learn how to make stress-reli …

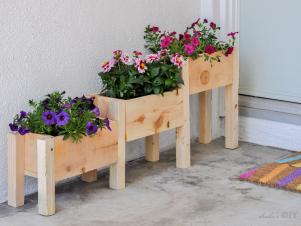
Make a Mini Blooming Garden Table to Showcase Your Favorite Succulents Mar 22, 2022
Indoor garden tables are trending big time right now, but if you don’t have the space for one, you can make a tabletop version in …

How to Build a Floating Shelf With Hidden Charging Station Apr 7, 2022
Don't let unsightly cables and cords clutter your living space. This DIY floating shelf has a built-in power strip tucked away in …

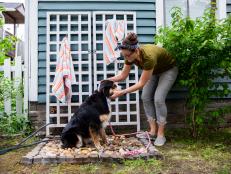
Upcycle an End Table Into a Cute and Cozy Dog Bed Apr 7, 2022
Transform a thrifted table into a comfy retreat for your pup that’ll look great in your living room or bedroom.

How to Build a Cozy Cat Hideaway Apr 7, 2022
Create a comfy, private retreat for your feline friend with basic items from the hardware store.

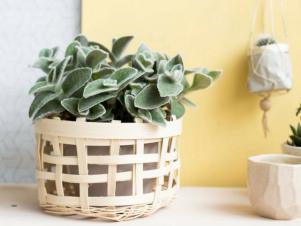
Upgrade a Bookshelf With Cane Webbing Apr 7, 2022
Cane furniture is hot in home design, but it can be pricy. Give your basic, open-back bookshelf a trendy new look with this easy h …

Make Clay Pinch Pot Hanging Planters to Display Your Fave Succulents May 9, 2022
Learn how to make clay pinch pot hanging planters, perfect for mini succulents, with just a few materials and this easy, step-by-s …

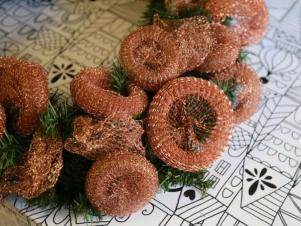
Turn an Old Tomato Cage Into a Storage Basket May 9, 2022
Make a colorful, fabric storage basket out of a tomato cage and cotton twine with this simple and super-affordable tutorial.

How to Build an End Table With a Built-in Pet Bed Feb 17, 2022
Learn how to make a three-sided cube that can serve as both a side table and a pet bed.

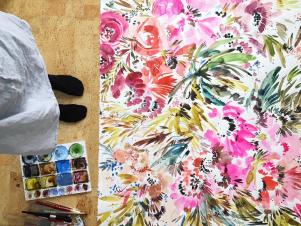
Easy-to-Make DIY Beach Scene Painting May 9, 2022
Bring the ocean right into your living room with this fun, easy-to-make DIY beach scene painting. Make it on your own or at a pain …

Turn an Old Laundry Detergent Pod Container Into a Moon Planter for Succulents May 9, 2022
This trendy, DIY upcycled moon planter is surprisingly easy to make out of an old laundry pod container. No one will believe that …

How to Make a Cactus Pincushion May 9, 2022
Liven up your sewing station with this DIY cactus-shaped pincushion. It’s an easy project to bring a dash of cuteness to any craft …