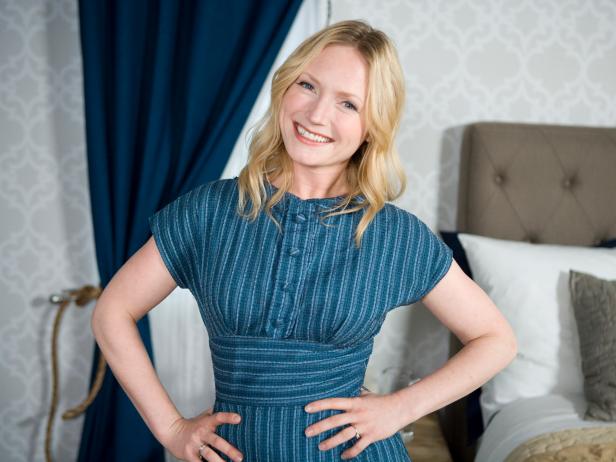
Emily Henderson's Dollar Store Candle Dress-Up
Make 99-cent-store candles into a glamorous bathroom accessory –– Secrets From a Stylist host Emily Henderson shows you how.
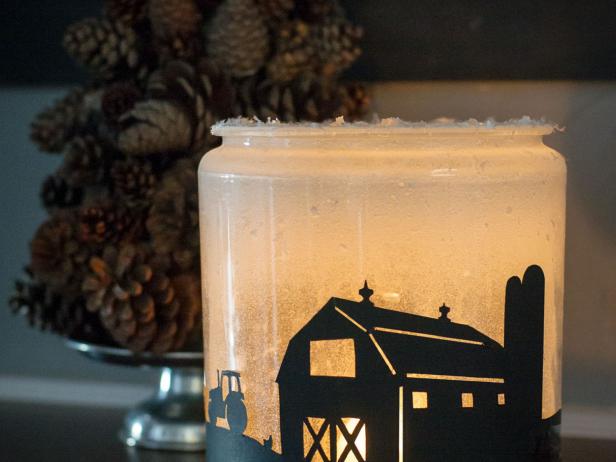
Make a Holiday Luminary Jar
Create a snowy candlelit scene with this quick and easy luminary craft.

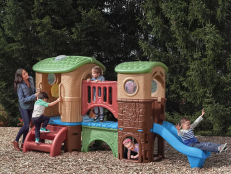
10 Outdoor Candle Ideas
Add candles to any outdoor space to create a serene environment and soft lighting come nightfall.