


Turn an Architectural Item Into Art


Materials Needed:
- item you wish to display
- flat 1x3 MDF trim
- nail gun and nails
- drill
- screws
- level
- tape measure
- note pad and pencil
- painters' tape
- wallpaper paste
- wallpaper or fabric
- caulk gun
- paintable caulk
- spackle and putty knife
- medium-grit sanding block
- paintbrush
- semi-gloss paint
- chop saw
- damp cloth
- smoothing tool
- utility knife or scissors
- hanging hardware (screw eyes, wall anchors, picture wire, D-rings, etc.)
Select Hangable Object
Search architectural salvage, flea markets and thrift stores for an interesting item, keeping in mind that lighter-weight choices with flat backs will be the easiest ones to hang. We chose to hang a rustic, planked door.
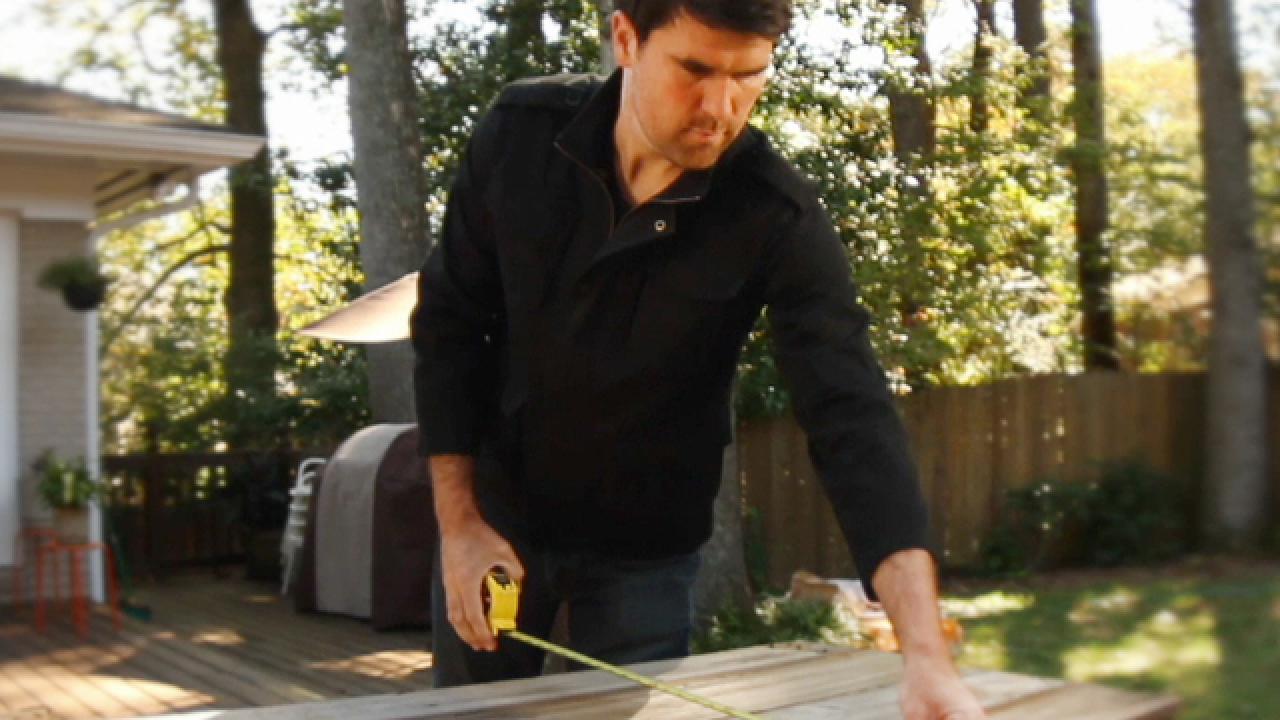
Measure and Mark Display Area
Using tape measure, measure object and add three to five inches on all sides. Transfer these dimensions to wall with pencil. Further define area by applying painters' tape to wall just outside pencil marks.

Add Wallpaper or Fabric
Cut fabric or wallpaper two inches larger than measurements. Create a backdrop for object by adding wallpaper paste to wall inside taped-off area, pressing precut wallpaper or fabric in place, smoothing with smoothing tool, then cutting away excess with scissors or utility knife.

Cut and Paint Trim
Using a chop saw, cut trim to size, mitering each corner. Lightly sand mitered edges with sanding block. Paint cut trim with two coats of semi-gloss paint, in same color as walls.
Install Trim
Place trim along outside edge of painters' tape and attach trim to wall with nail gun or drill and screws. Once all pieces are installed, fill nail or screw holes with spackle using putty knife. Caulk inside and outside edges of trim with caulk gun. After spackle and caulk have dried, lightly sand spackled areas, then paint finish coat using paintbrush.

Attach Hanging Hardware
Measure, then mark the wall where object will hang. Attach hardware, such as a nail, screw or anchor, if needed, to wall. Ready object for hanging by adding screw eyes or D-rings and picture wire to back of object. Once hardware is secure, hang object on wall.


