


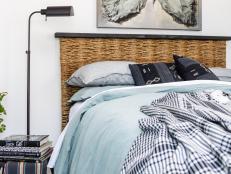
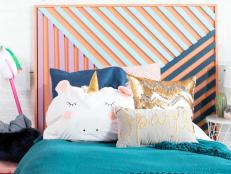
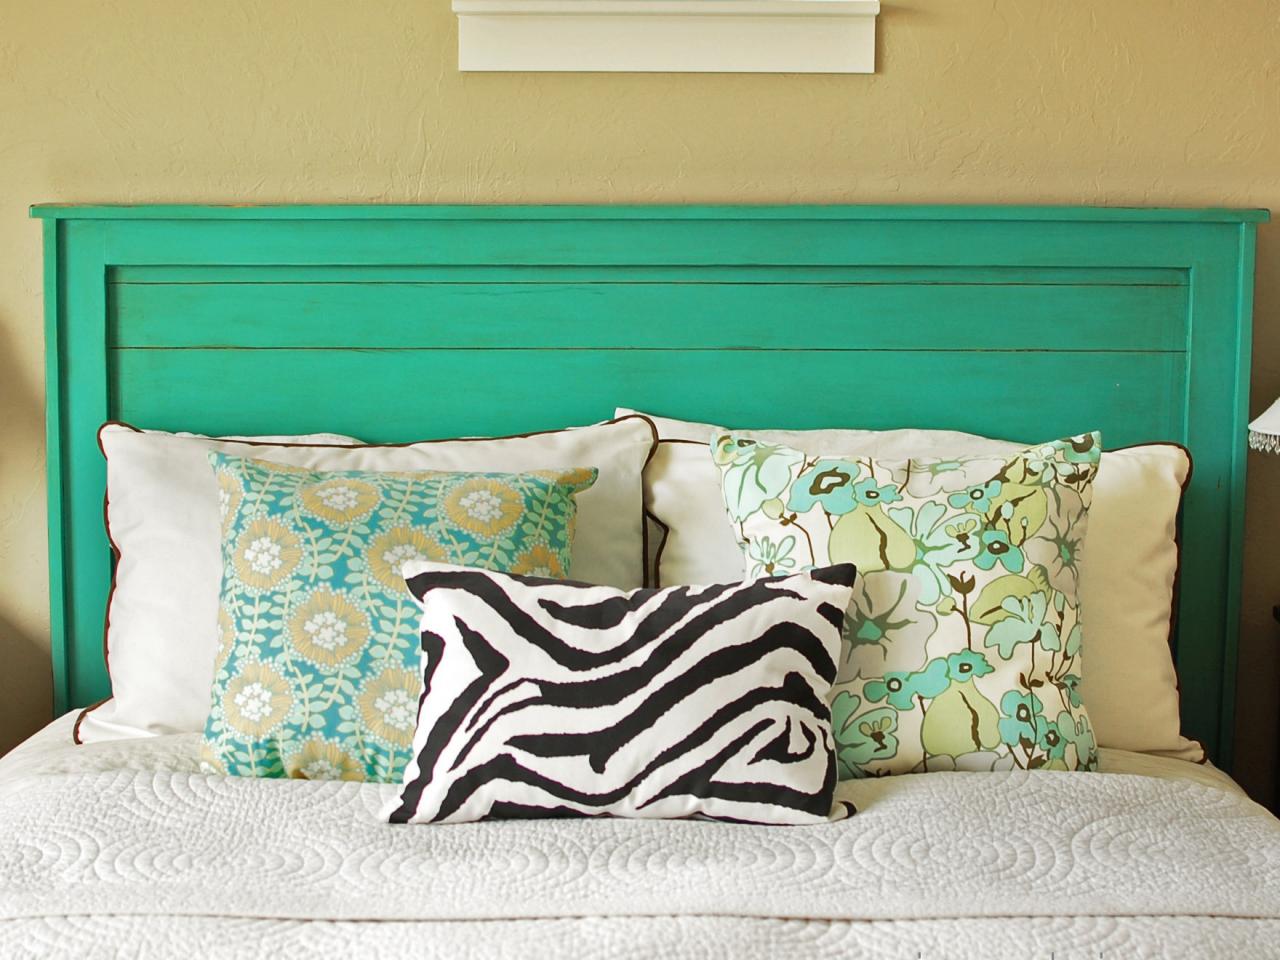
Rustic Yet Chic Wood Headboard

Materials Needed:
- 1x2 furring strips (see table for quantity)
- 1x2 furring strips (see table for quantity)
- 1x4 whitewood boards (see table for quantity)
- 1x6 whitewood boards (see table for quantity)
- 1-1/4" finish nails (50 nails for twin, 100 nails for kings)
- 2" finish nails (50 nails for twin, 100 nails for kings)
- carpenter's glue, small tube
- 1 small tube of wood filler
- sandpaper in 80, 120 and 150 grits
- 1 can of water-based spray paint primer
- 1 quart of paint in desired color
- 1 small bottle of faux finish glaze (optional)
- 1 can of clear spray paint (optional if you are glazing)
- hammer
- wood chisel or other distressing objects
- 3" paint brush
- Download: Rustic Chic Headboard Diagrams
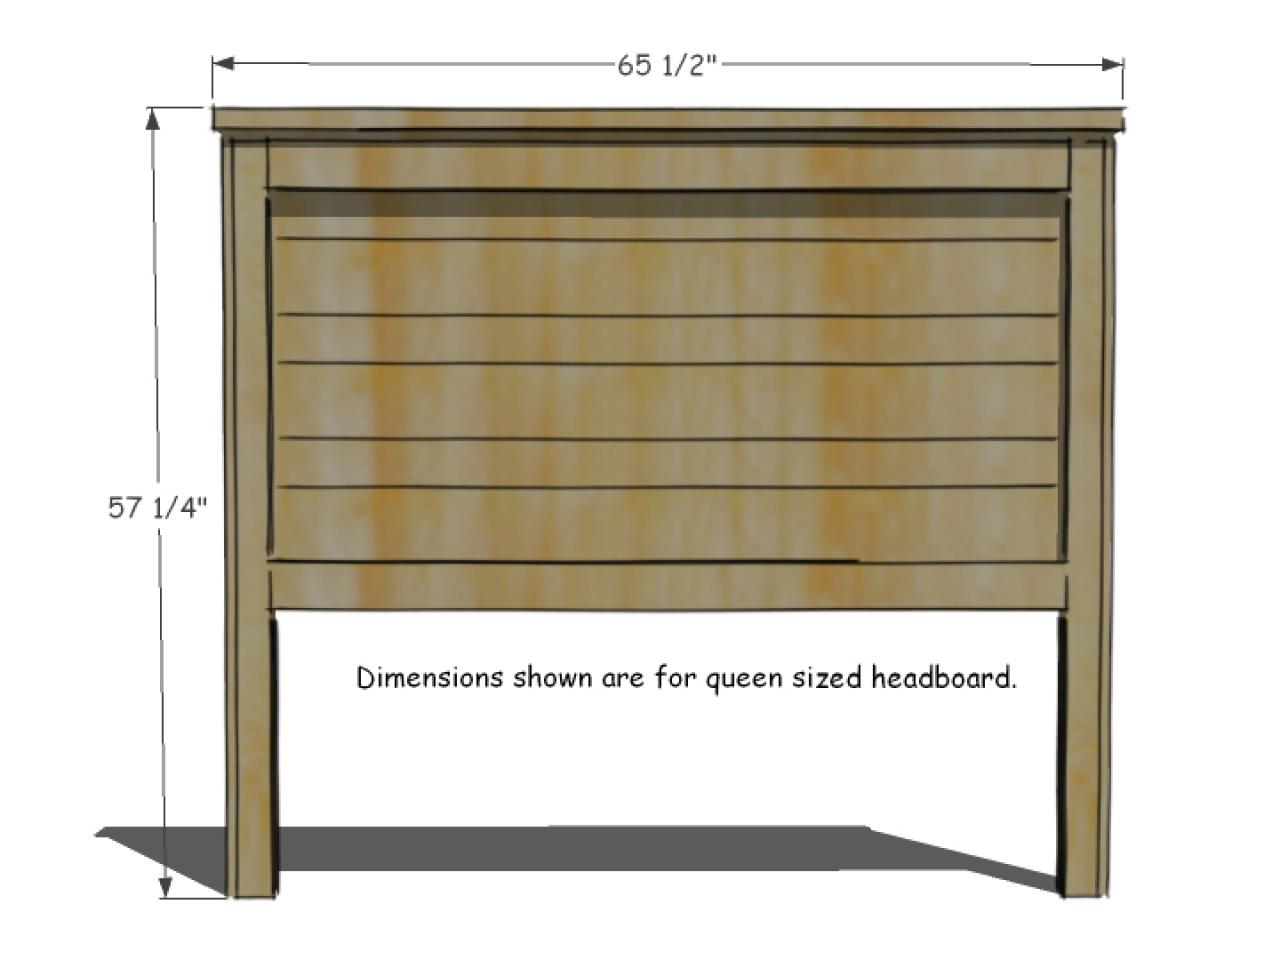
Dimensions and Cut List
Overall dimensions of the queen headboard are shown below. The composition is solid wood.

Getting Started
Select wood boards that are straight. Tip: Pretend the board is an arrow on a bow and look down the length of the board to see if it is straight. Tip: For added character, select boards that are rustic in nature with imperfections, cracks and knots but are straight. To save time, have the lumber store cut your boards as directed in the cut list. Work on a clean, level surface large enough for the project and always wear safety glasses and ensure proper ventilation when painting.
Front Leg Assembly
Apply glue to one side of a 1x2 inside leg piece. Lay the 1x2, glue side down, on top of a 1x3 leg piece, lining up outside edge and ends. Nail the 1x2 to the 1x3 every 6-8 inches with 1-1/4 inch nails. Build two of these legs as illustrated above. Tip: As you nail down boards, adjust boards to keep outside edges flush.

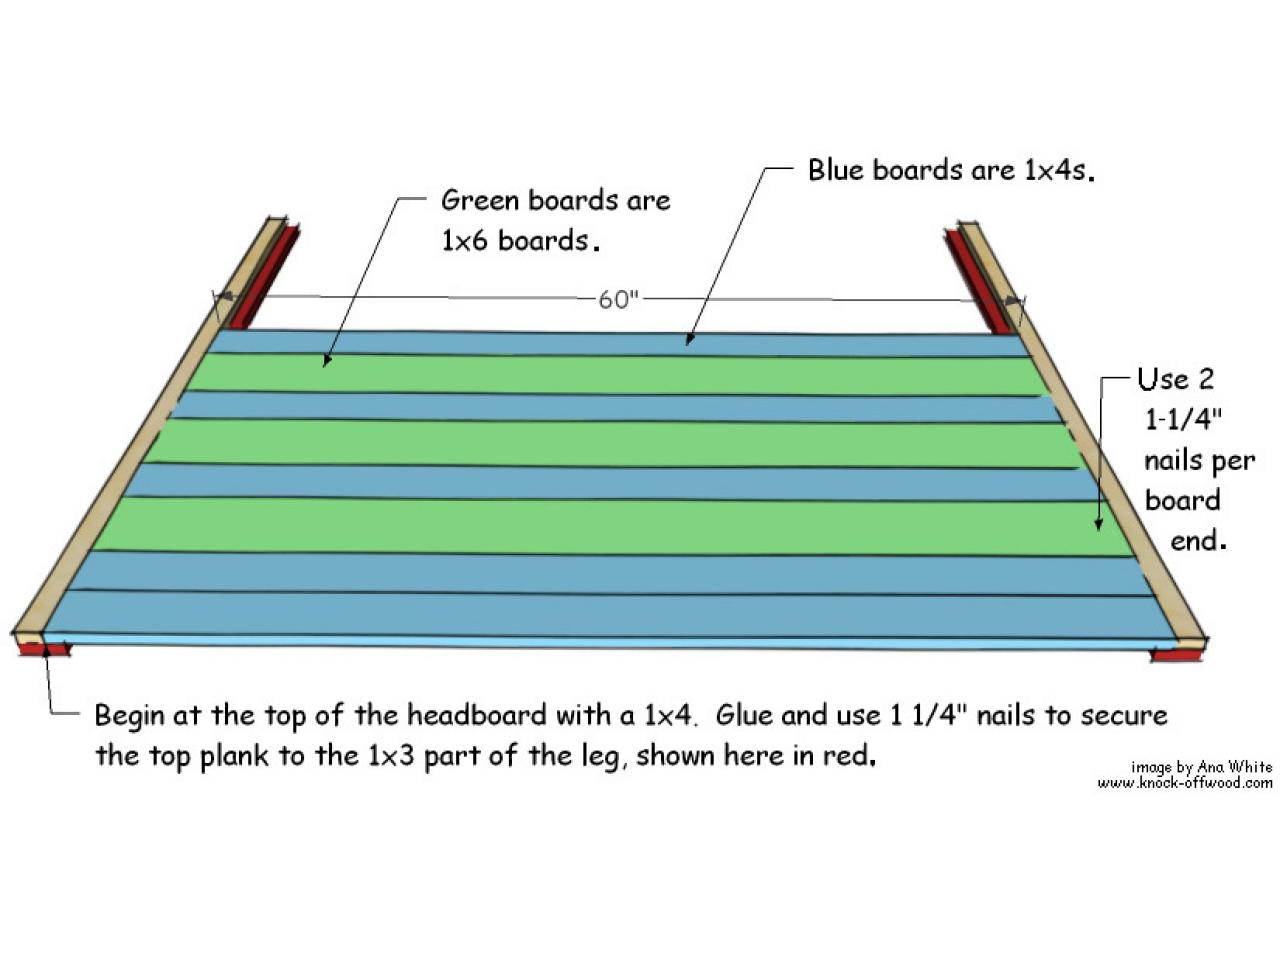
Panel Boards
Beginning at the top of the headboard, apply glue to ends of a 1x4 panel board. Lay 1x4 panel board on top of legs, and nail down with 1-1/4 inch nails. Use two nails on each end, nailing both sides of panel boards to the legs as illustrated above. Nail remaining panel boards to the legs, using glue and 1-1/4 inch nails, referencing the pattern above for alternating 1x4s and 1x6s. Tip: For increased rustic character, chisel or distress panel boards prior to nailing to the legs, focusing on edges to enhance the planked headboard look.

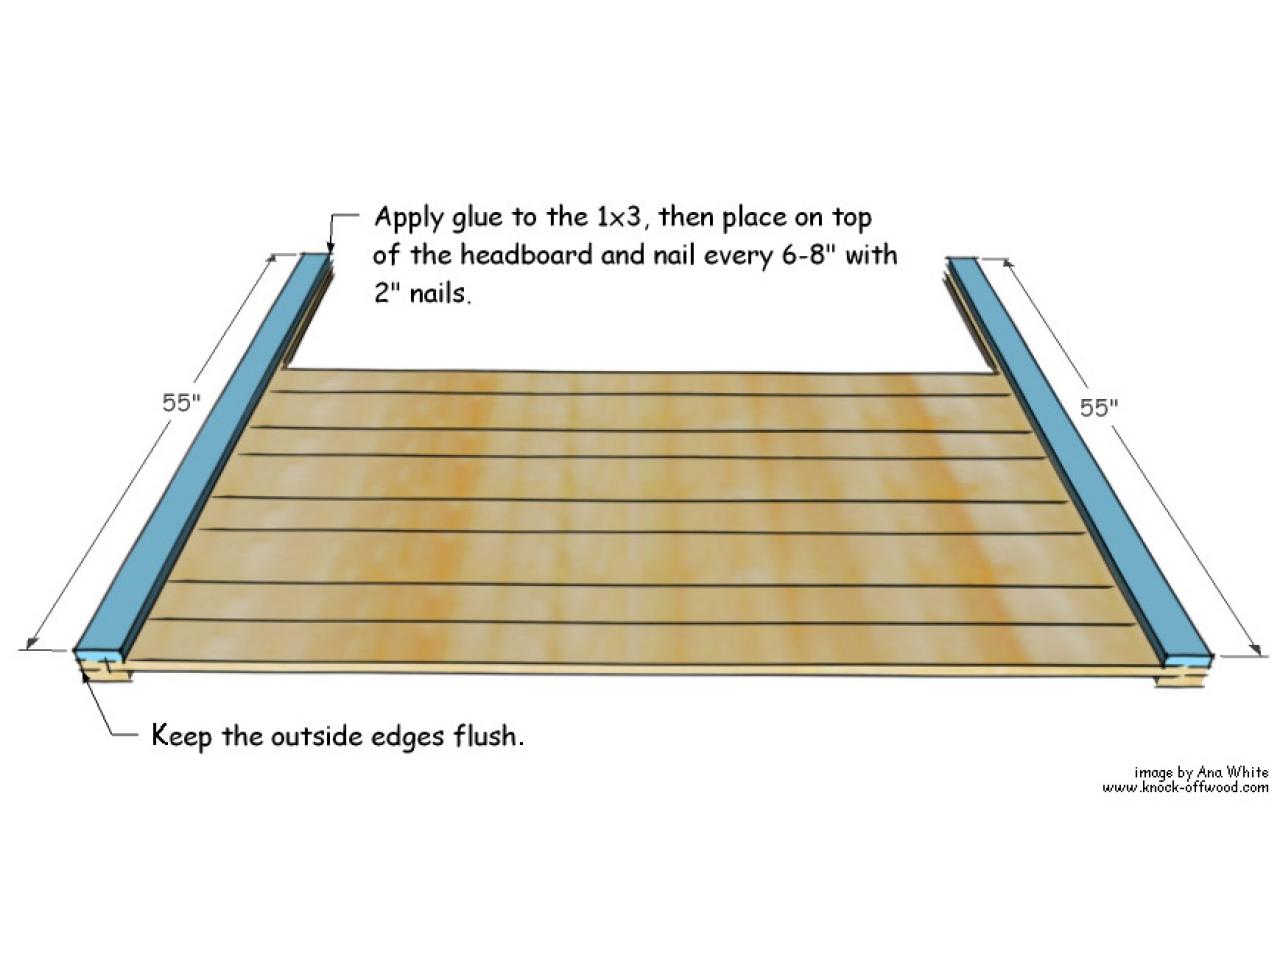
Leg Backs
Apply glue to one side of two 1x3 leg pieces and place on headboard legs as shown in illustration. Nail every six to eight inches using 2-inch nails, making sure to keep top and outside edges flush.

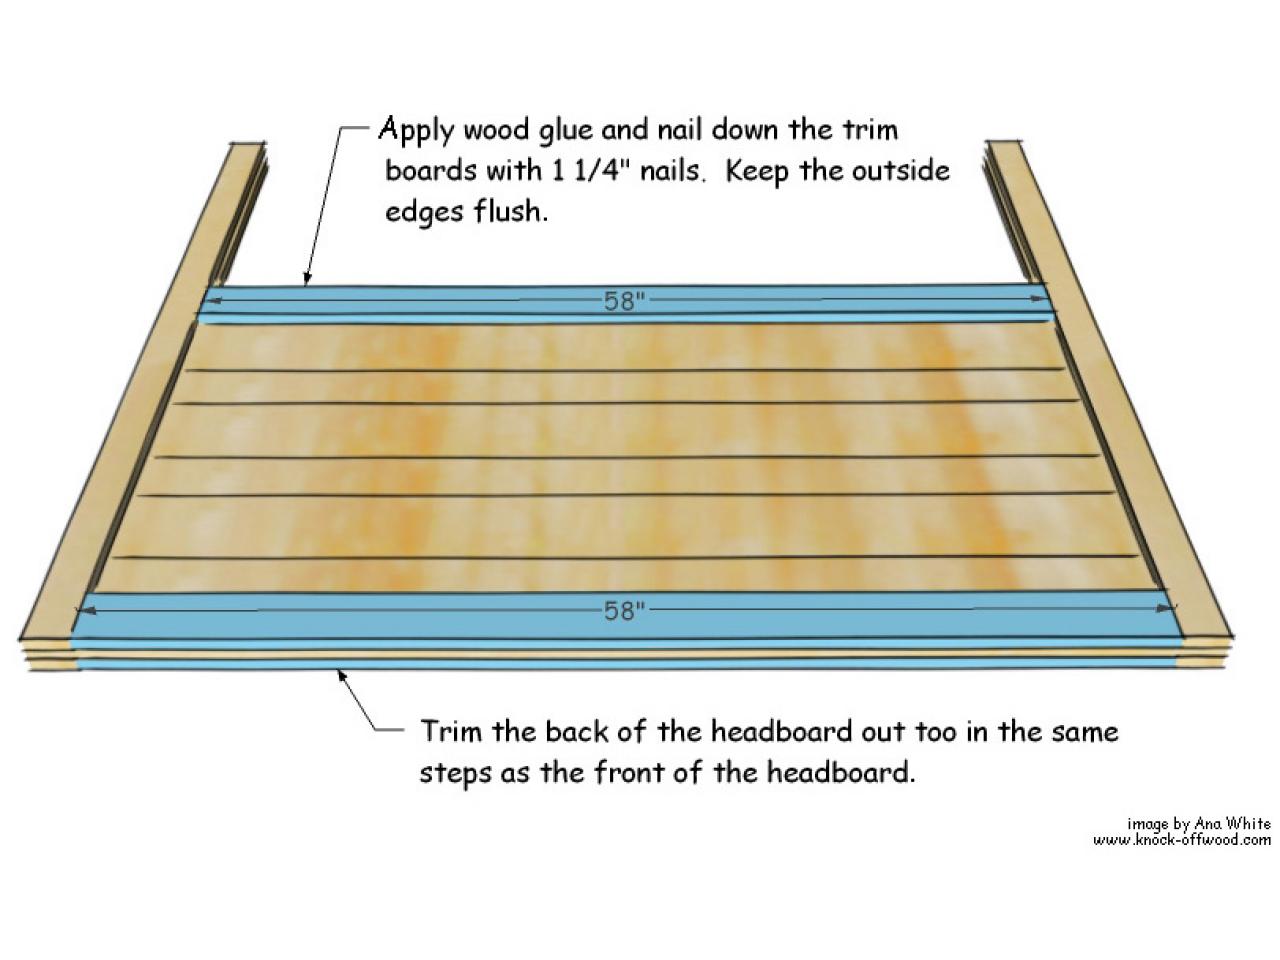
Panel Trim
Trim the headboard tops and bottoms by applying glue to 1x4 panel trim boards and nailing panel trim boards to the tops and bottoms of both sides of headboard. Use 1-1/4 inch nails and keep outside edges flush.

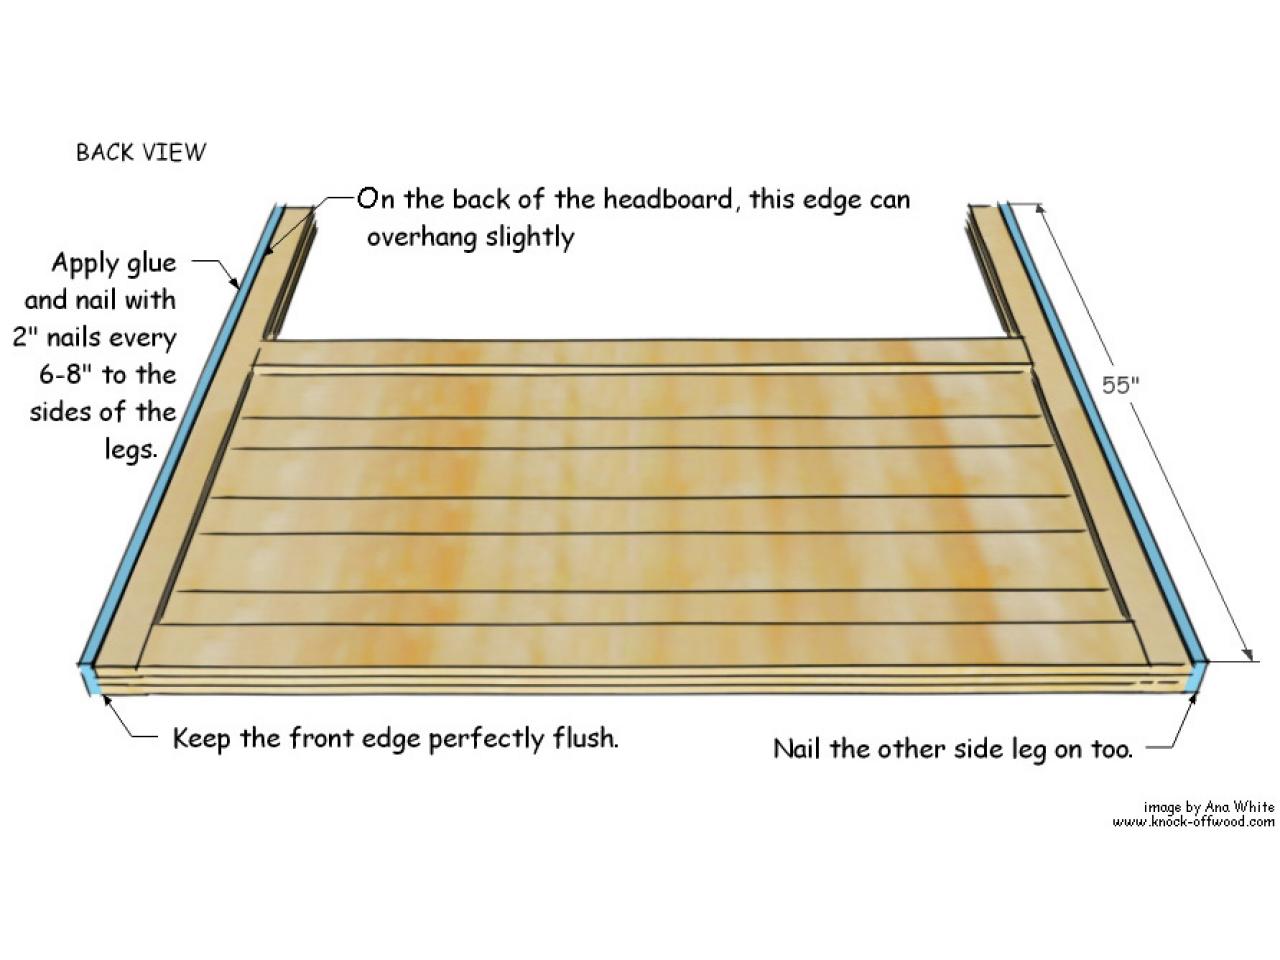
Outside Trim
With headboard facedown (the front of the headboard will have minimal nails showing), apply glue then nail remaining two leg pieces to the sides of legs. Keep the front edge flush, but the back may have a slight overhang. Use 2-inch nails every 6-8 inches.

Top Trim
Apply glue to the top of the headboard. Line top trim piece up with outer leg piece and nail down, nailing every six to eight inches. Keep front and outside edges flush.

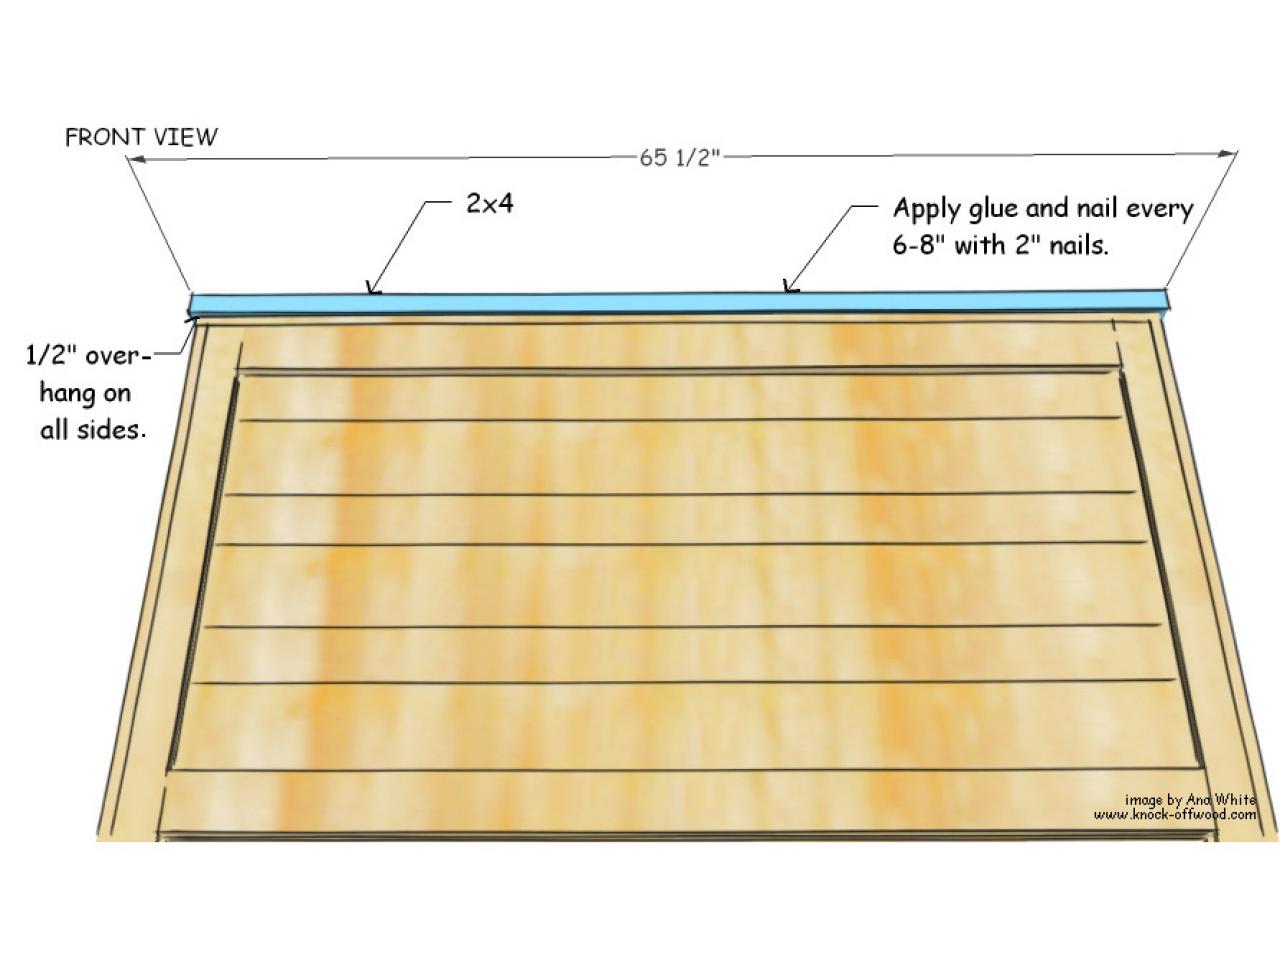
Top of Headboard
Apply glue to the top of the headboard. Overhang or elevate the headboard so that you can center the 2x4 top piece on the headboard with a 1/2-inch overhang on all sides. Nail every six to eight inches with 2-inch nails.
Tip: For a king-size headboard, scrap wood can be cut and nailed perpendicular to the planks to keep planks in place.

Finishing Headboard
Fill nail holes with wood filler. Let filler dry then sand headboard with 80-grit sandpaper. Fill nail holes again — wood filler can shrink when dry. Sand again, this time with 120-grit sandpaper. Finally, sand with 150-grit sandpaper.
Vacuum headboard with a soft-bristled brush attachment to remove sanding residue then wipe the surface with a damp washcloth. In a well-ventilated area, lightly coat the headboard with spray-on primer, following instructions on spray can. Let dry completely.
Brush on paint, working in the direction of wood grain. Apply two coats, allowing ample time for each coat to fully dry. To distress, rough up edges with sandpaper. Chisel between the plank boards to expose the cracks between the panel boards. Apply glaze to distressed areas and wipe off until desired look is achieved. Spray with clear coat to seal your headboard.
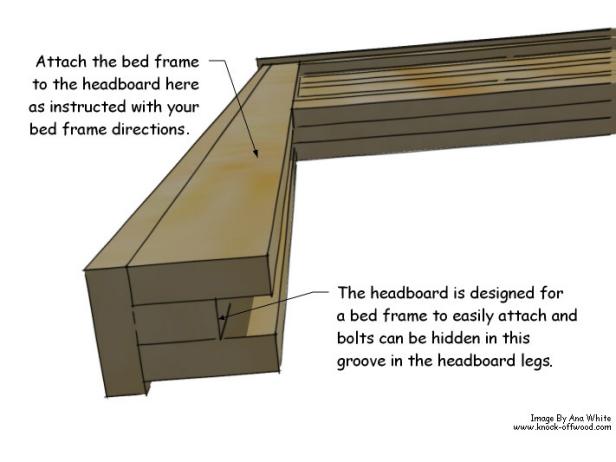
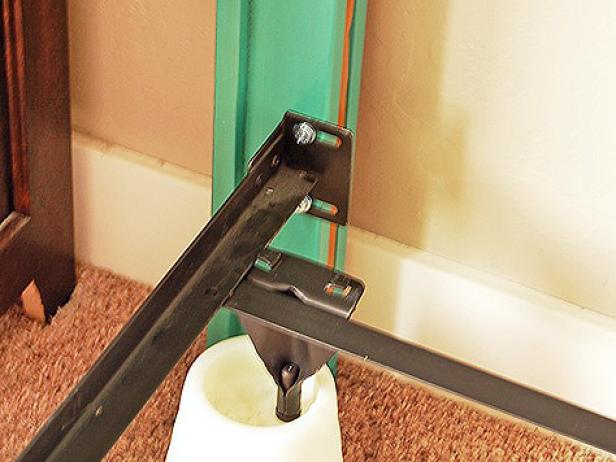
Attaching to the Bed Frame
Follow the directions on your bed frame to attach headboard to the bed frame.
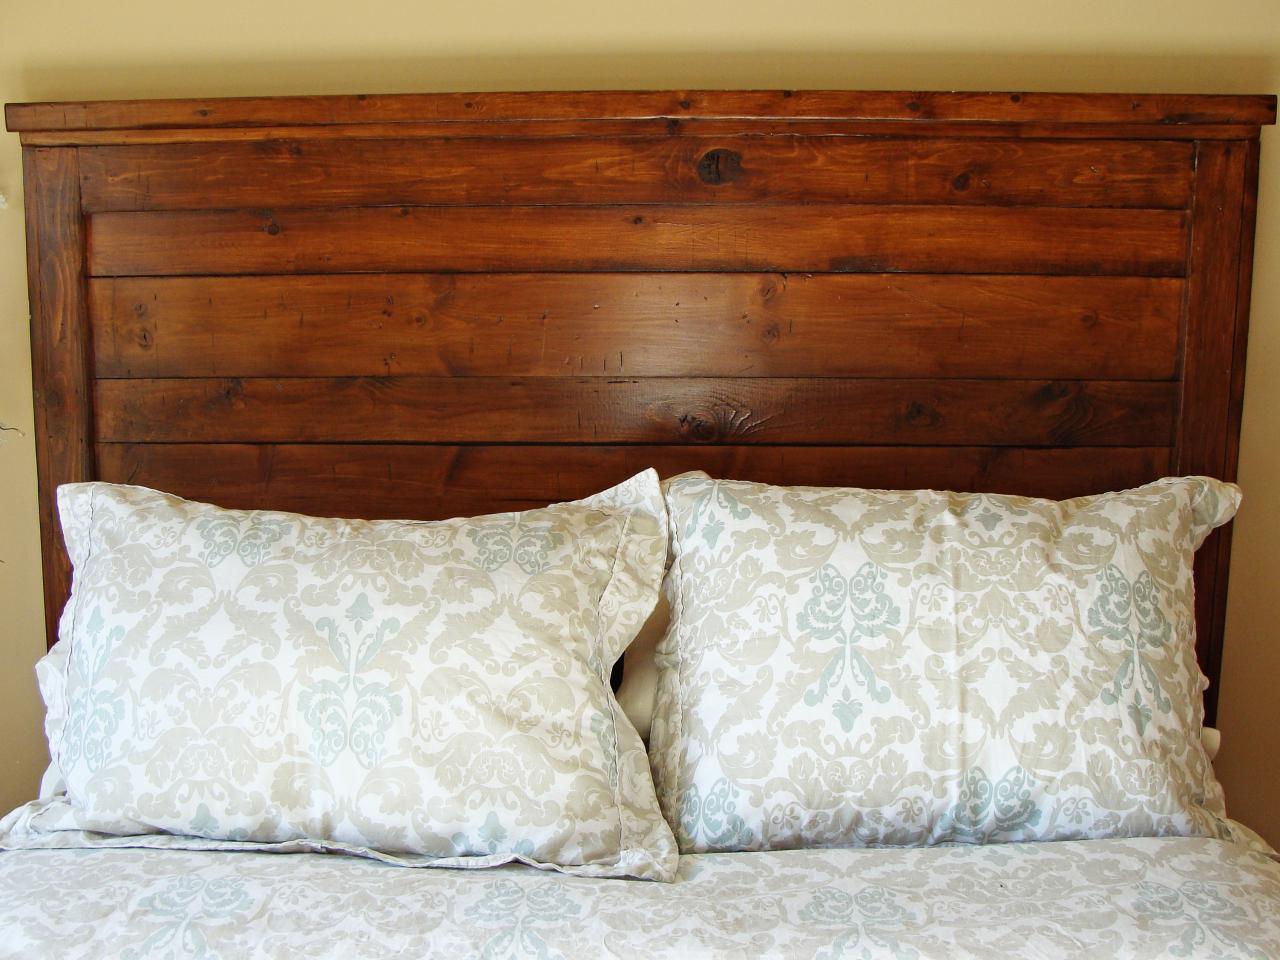
Option: Stained Headboard
The beauty of the solid wood used to build this headboard can be preserved by choosing a stained finish. This headboard was finished with two coats of a dark walnut oil-based stain, topped with satin oil-based polyurethane.


