


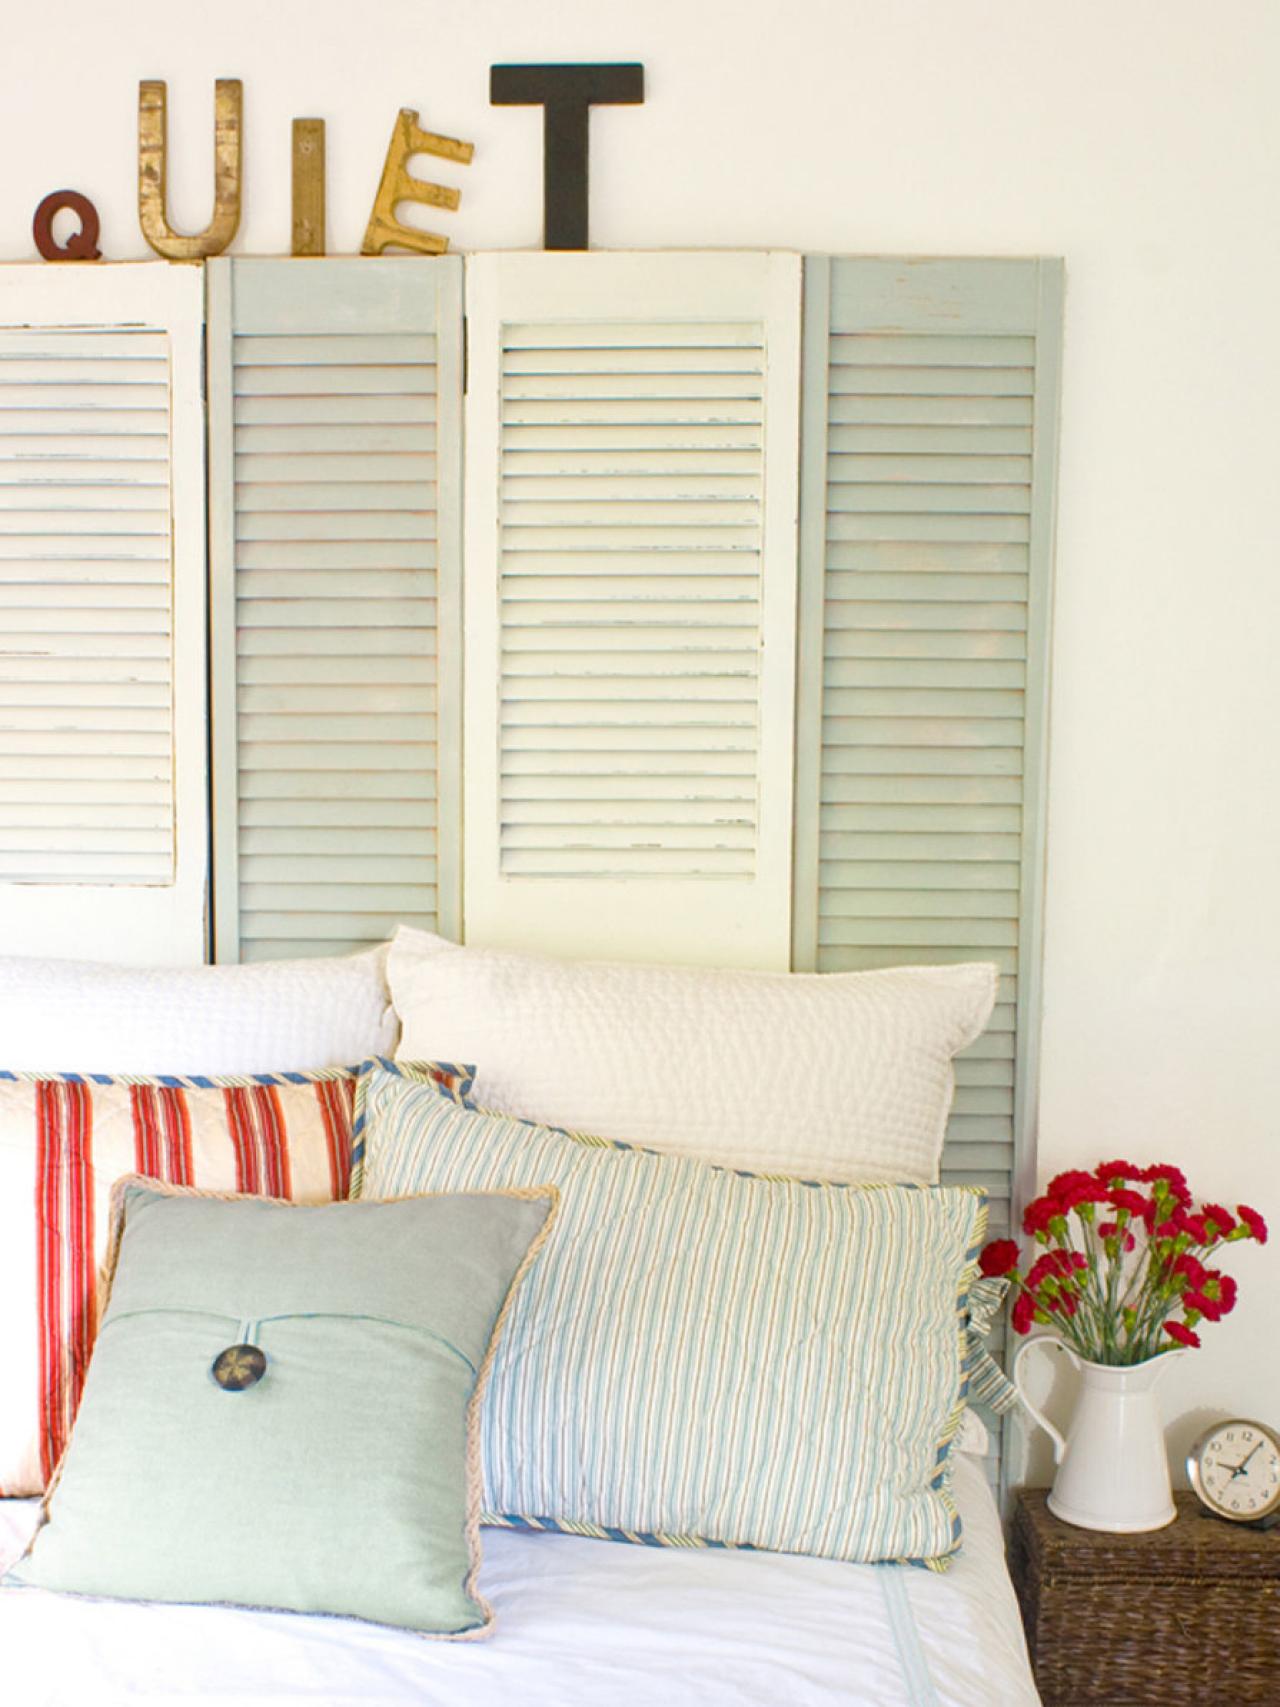
Coastal Cottage-Style Shutter Headboard

Materials Needed:
- unfinished, louvered shutter doors (available at most home improvement stores)
- screwdriver
- (2) 2-1/2" screws and coordinating anchors
- hammer
- drill
- several small mending braces and screws
- aerosol spray primer
- pint latex paint, in the color and finish of your choice
- 2" wide paintbrush
- sanding block
- 8-grit sandpaper
- ventilation mask
- plastic drop cloth
Measure Bed
Measure the width of the bed to determine how many (and what width) shutters to purchase.
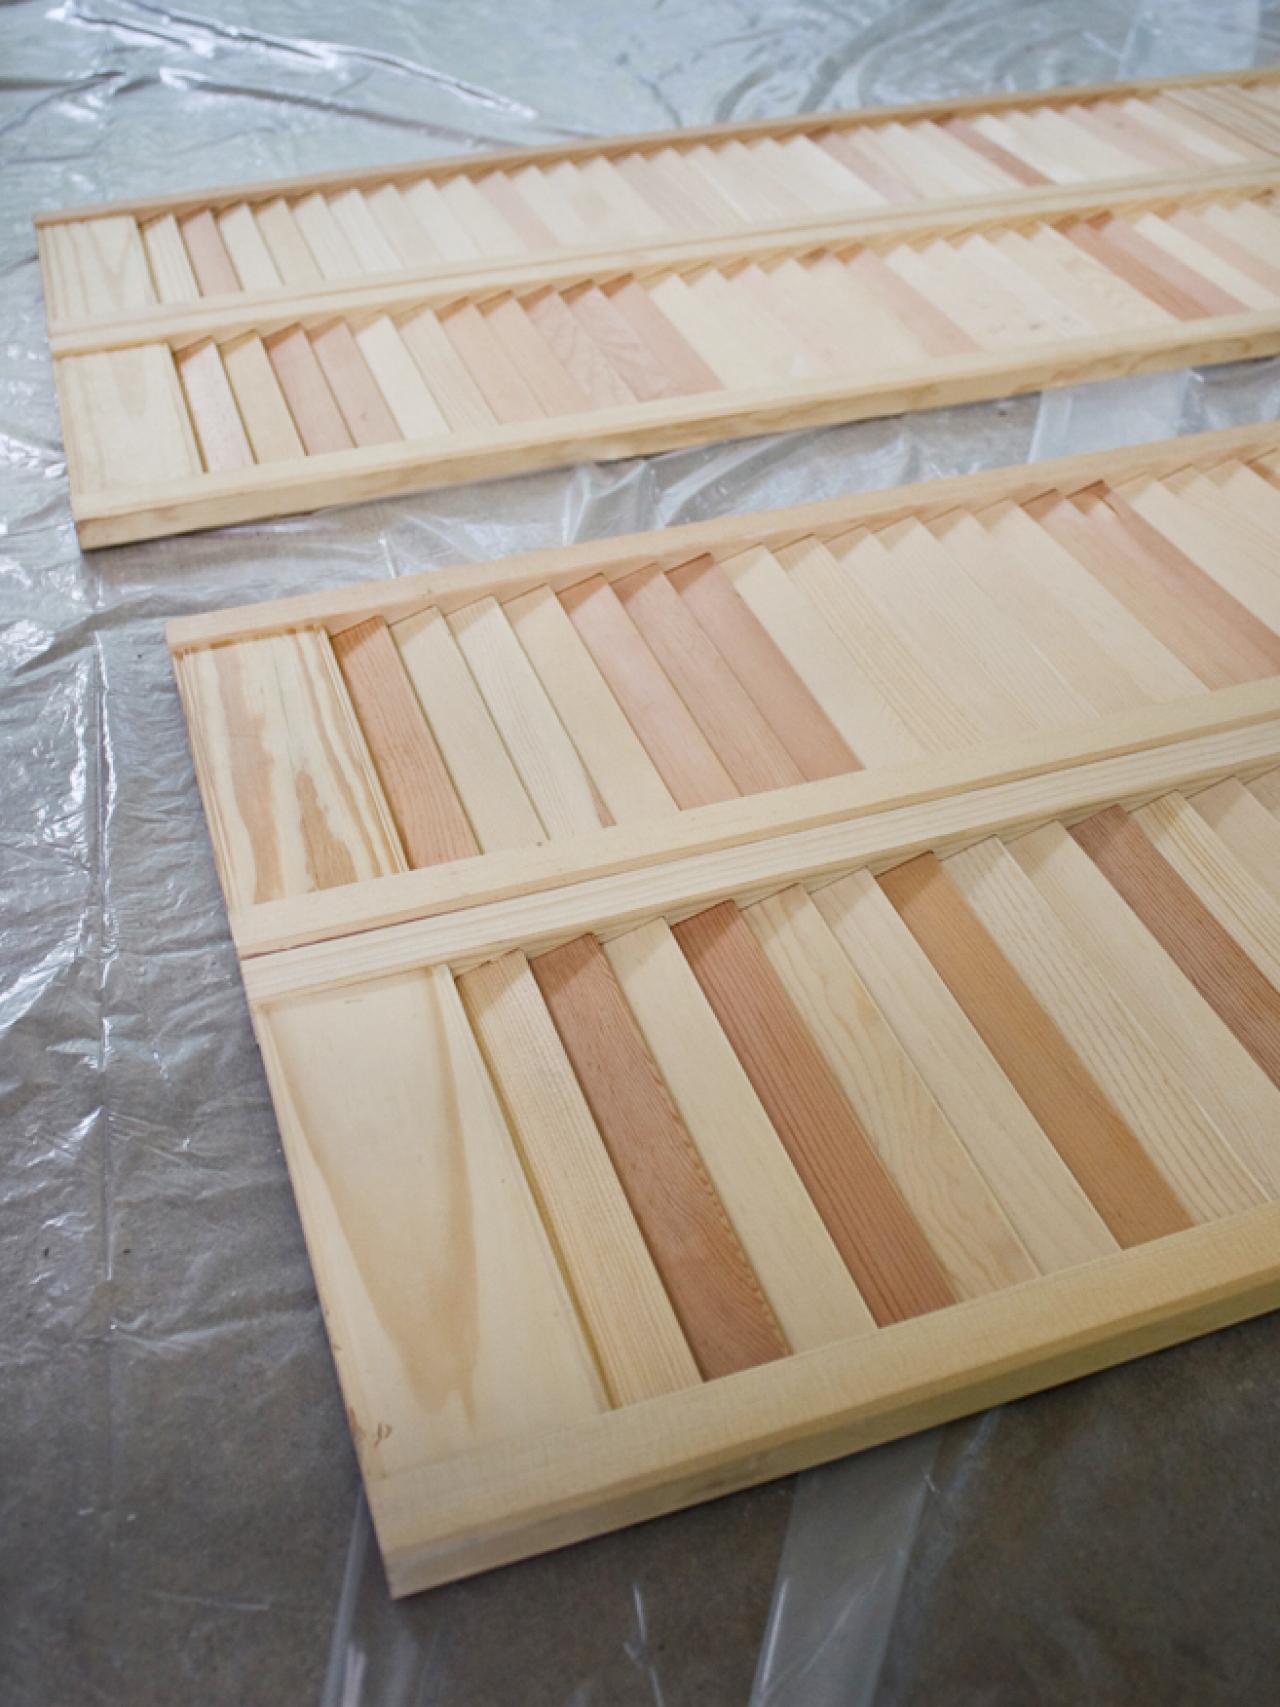
Prepare Shutters for Painting
Remove hinges and doorknobs then place the shutters on a large plastic drop cloth.


Prime Shutters
Wearing a ventilation mask, lightly coat the front and sides of each shutter with spray primer. It's okay if bare wood shows through in places to add to the antique look. Tip: To prevent drips, hold the can approximately 12 inches away from shutters when spraying, and move the can in smooth, sweeping motions.

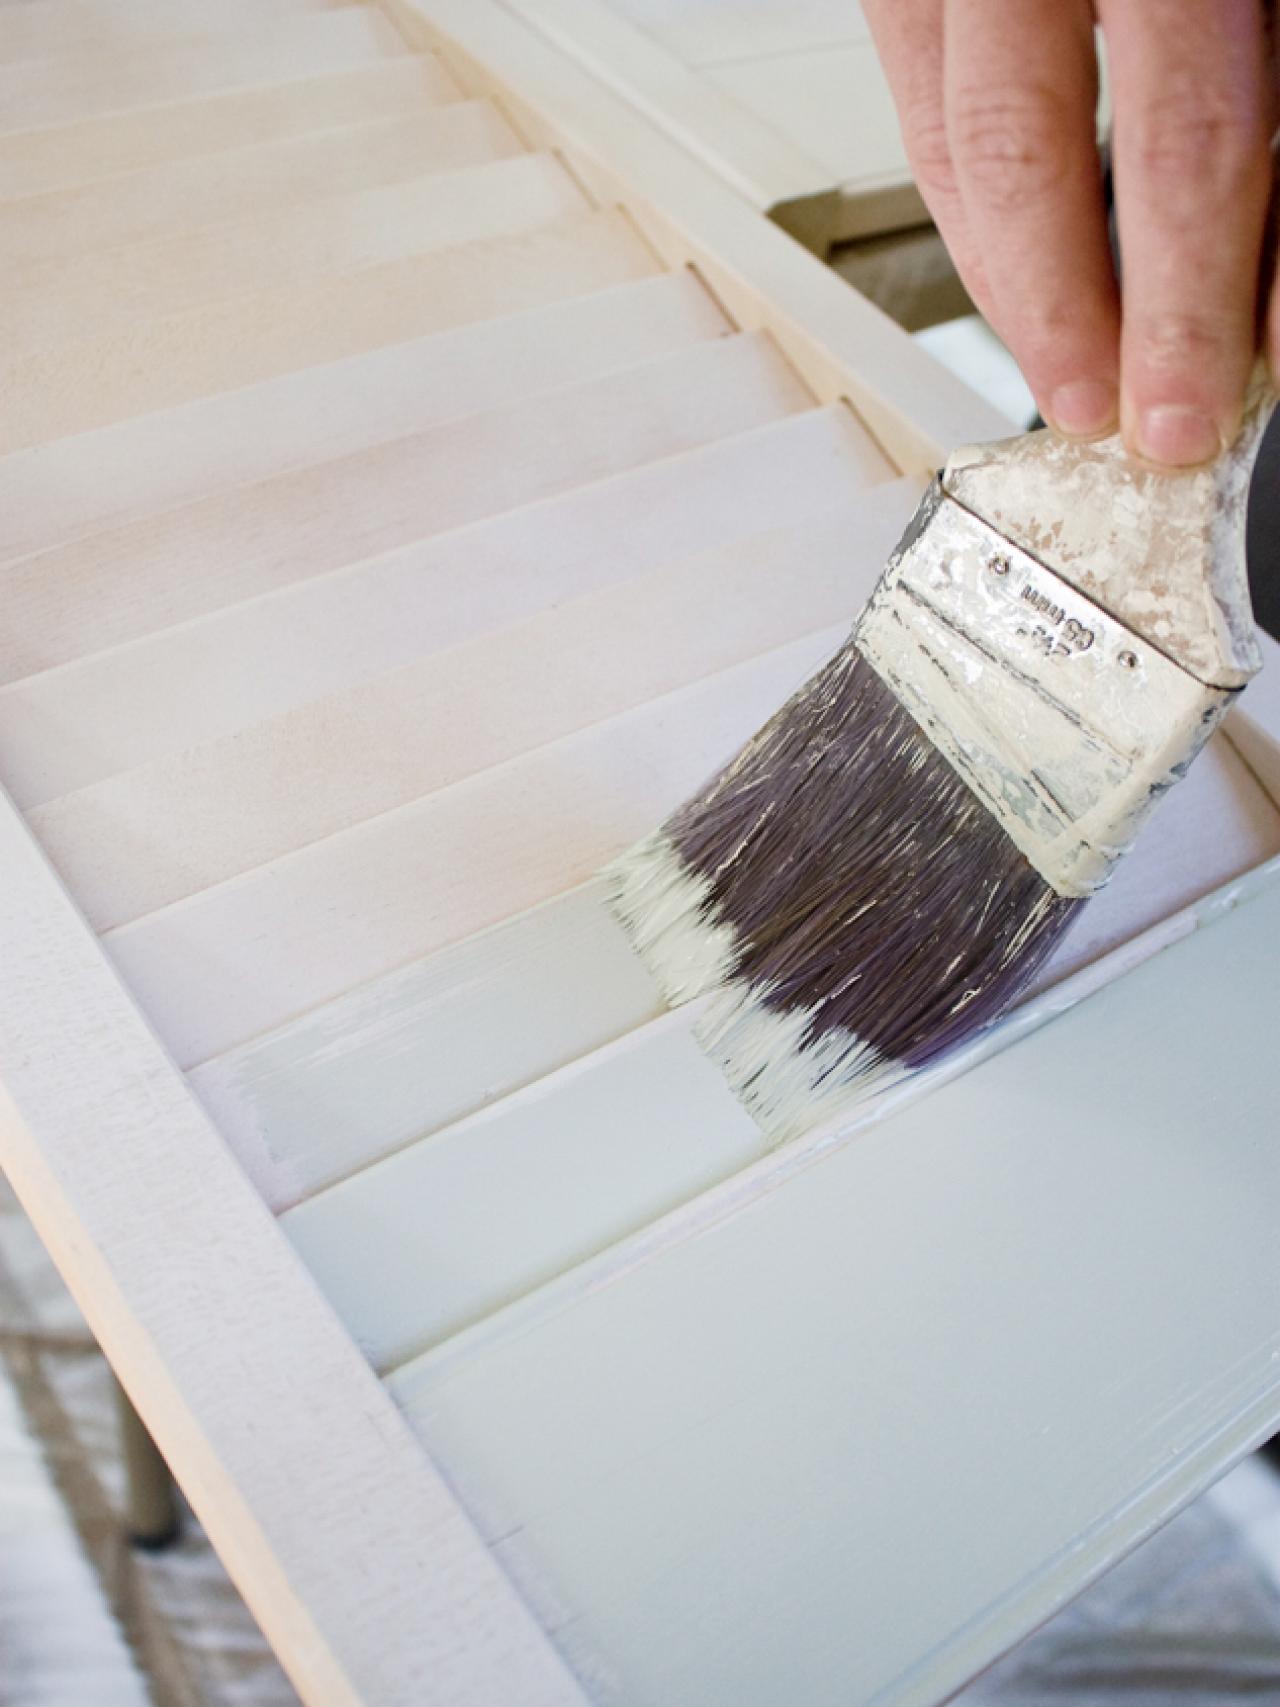
Paint Shutters
Once the primer has completely dried, use a 2-inch wide paintbrush to coat the shutters with paint. To create a weathered look, load the brush with paint, then wipe some of it off onto a paper towel before applying it to the shutters — this technique is called "dry brushing" and allows some of the primer and wood color to show through. Allow paint to dry completely before moving onto the next step.

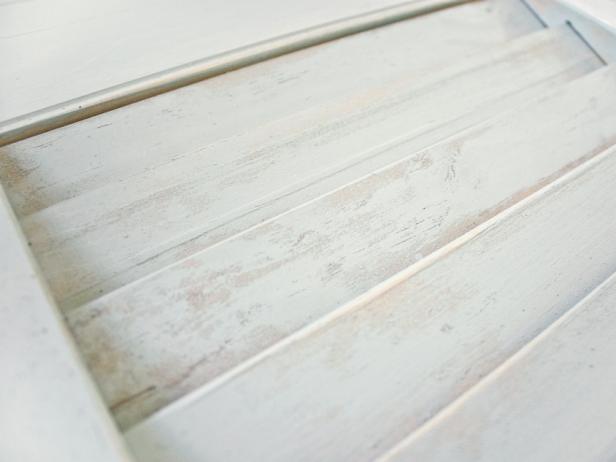
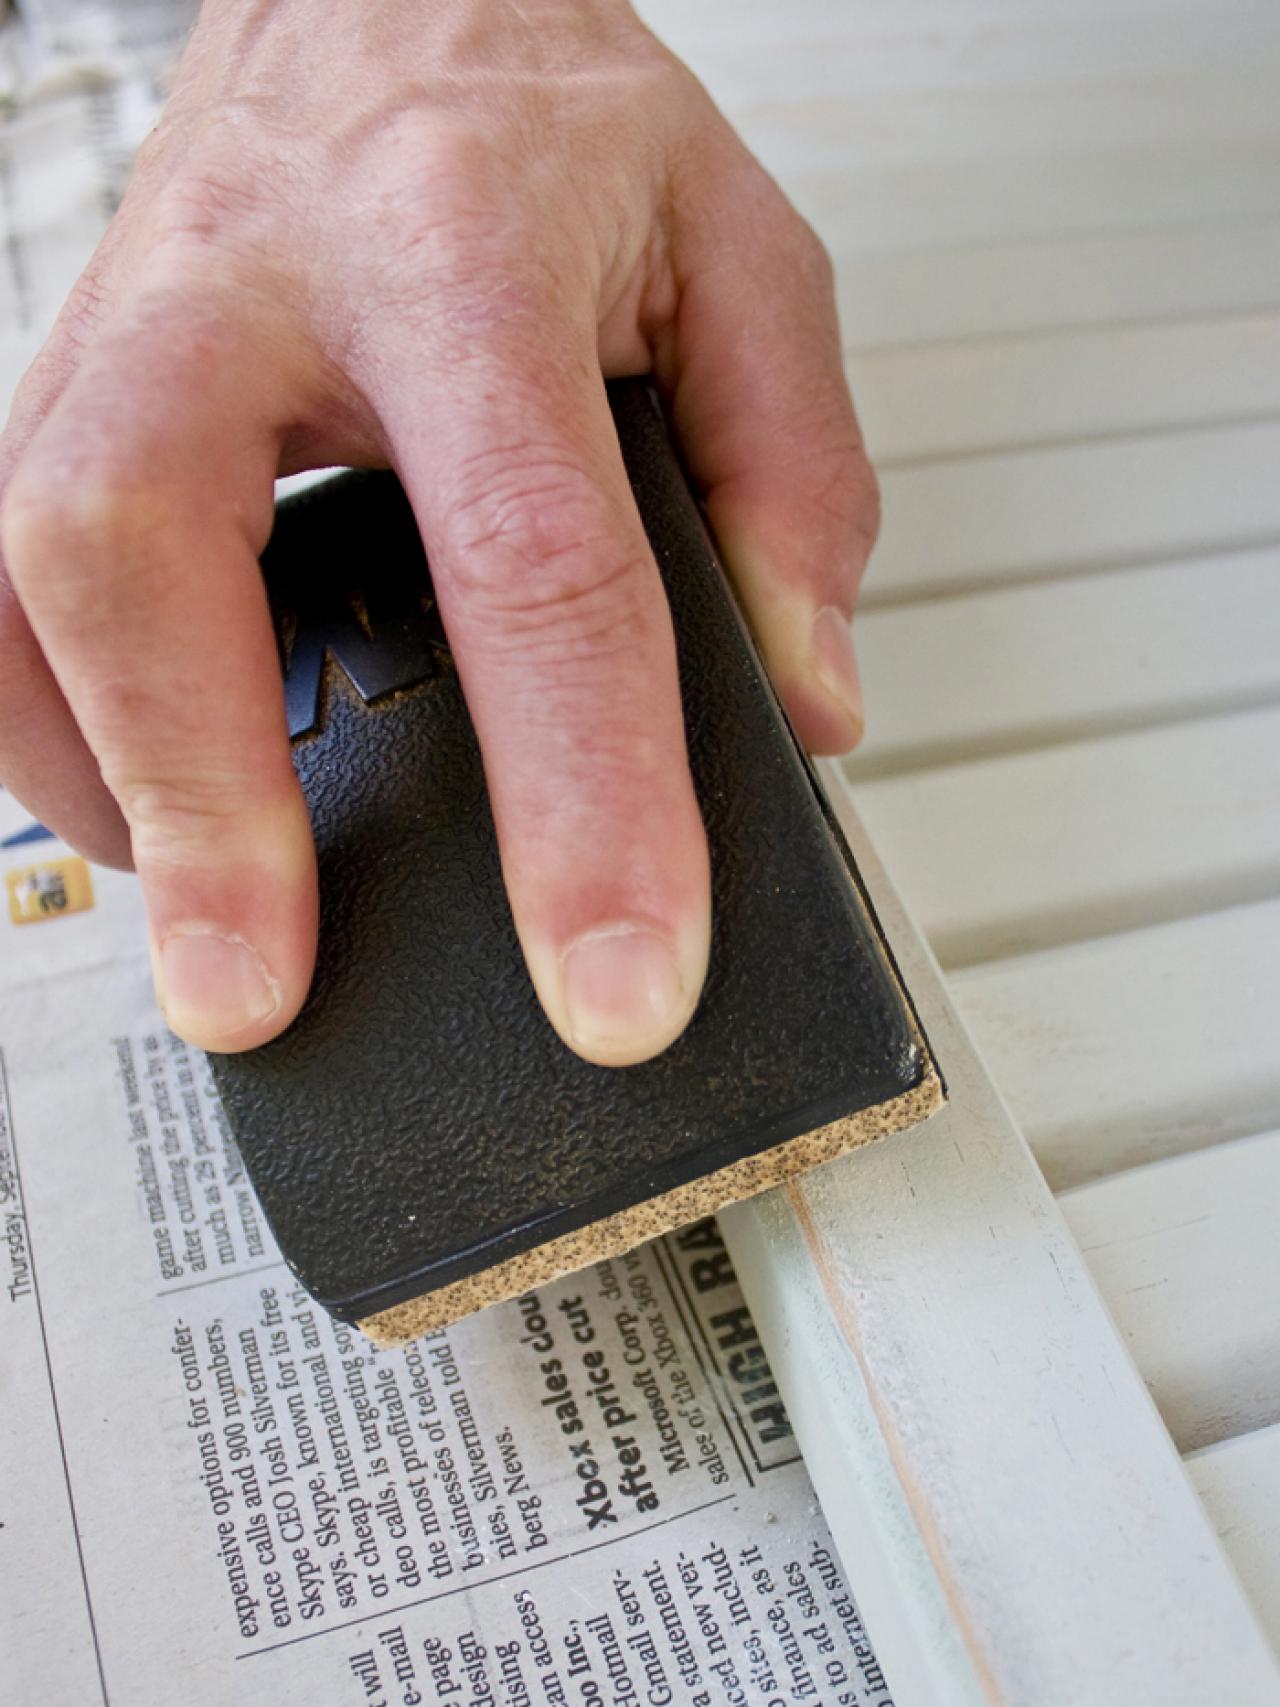
Sand Shutters
Use a sanding block wrapped in 80-grit sandpaper to remove painted areas and increase the weathered look. Tip: Concentrate your sanding efforts on areas that would have seen the most wear, such as the outside edges of each shutter and the front edge of louvers.

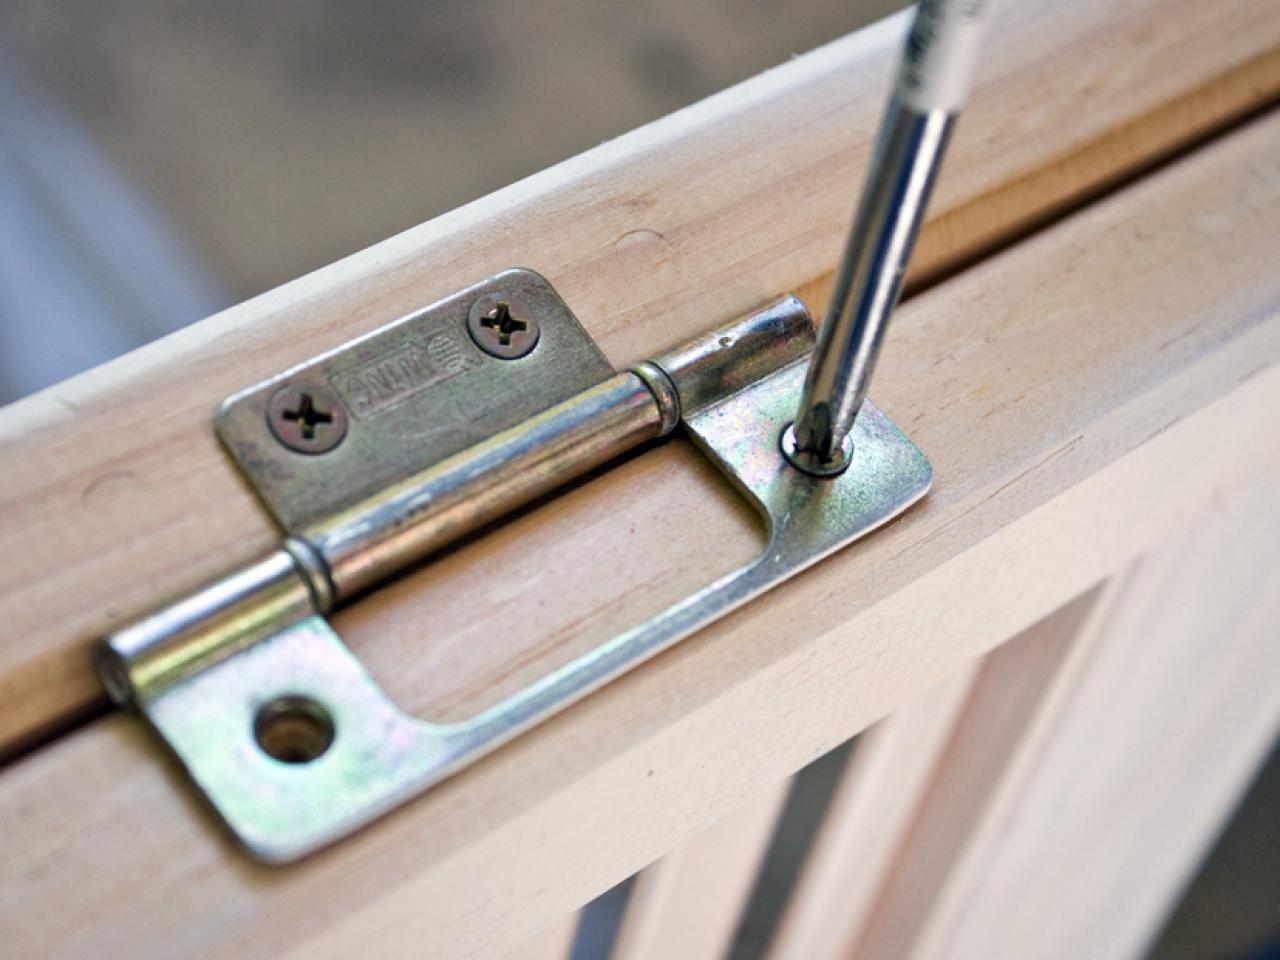
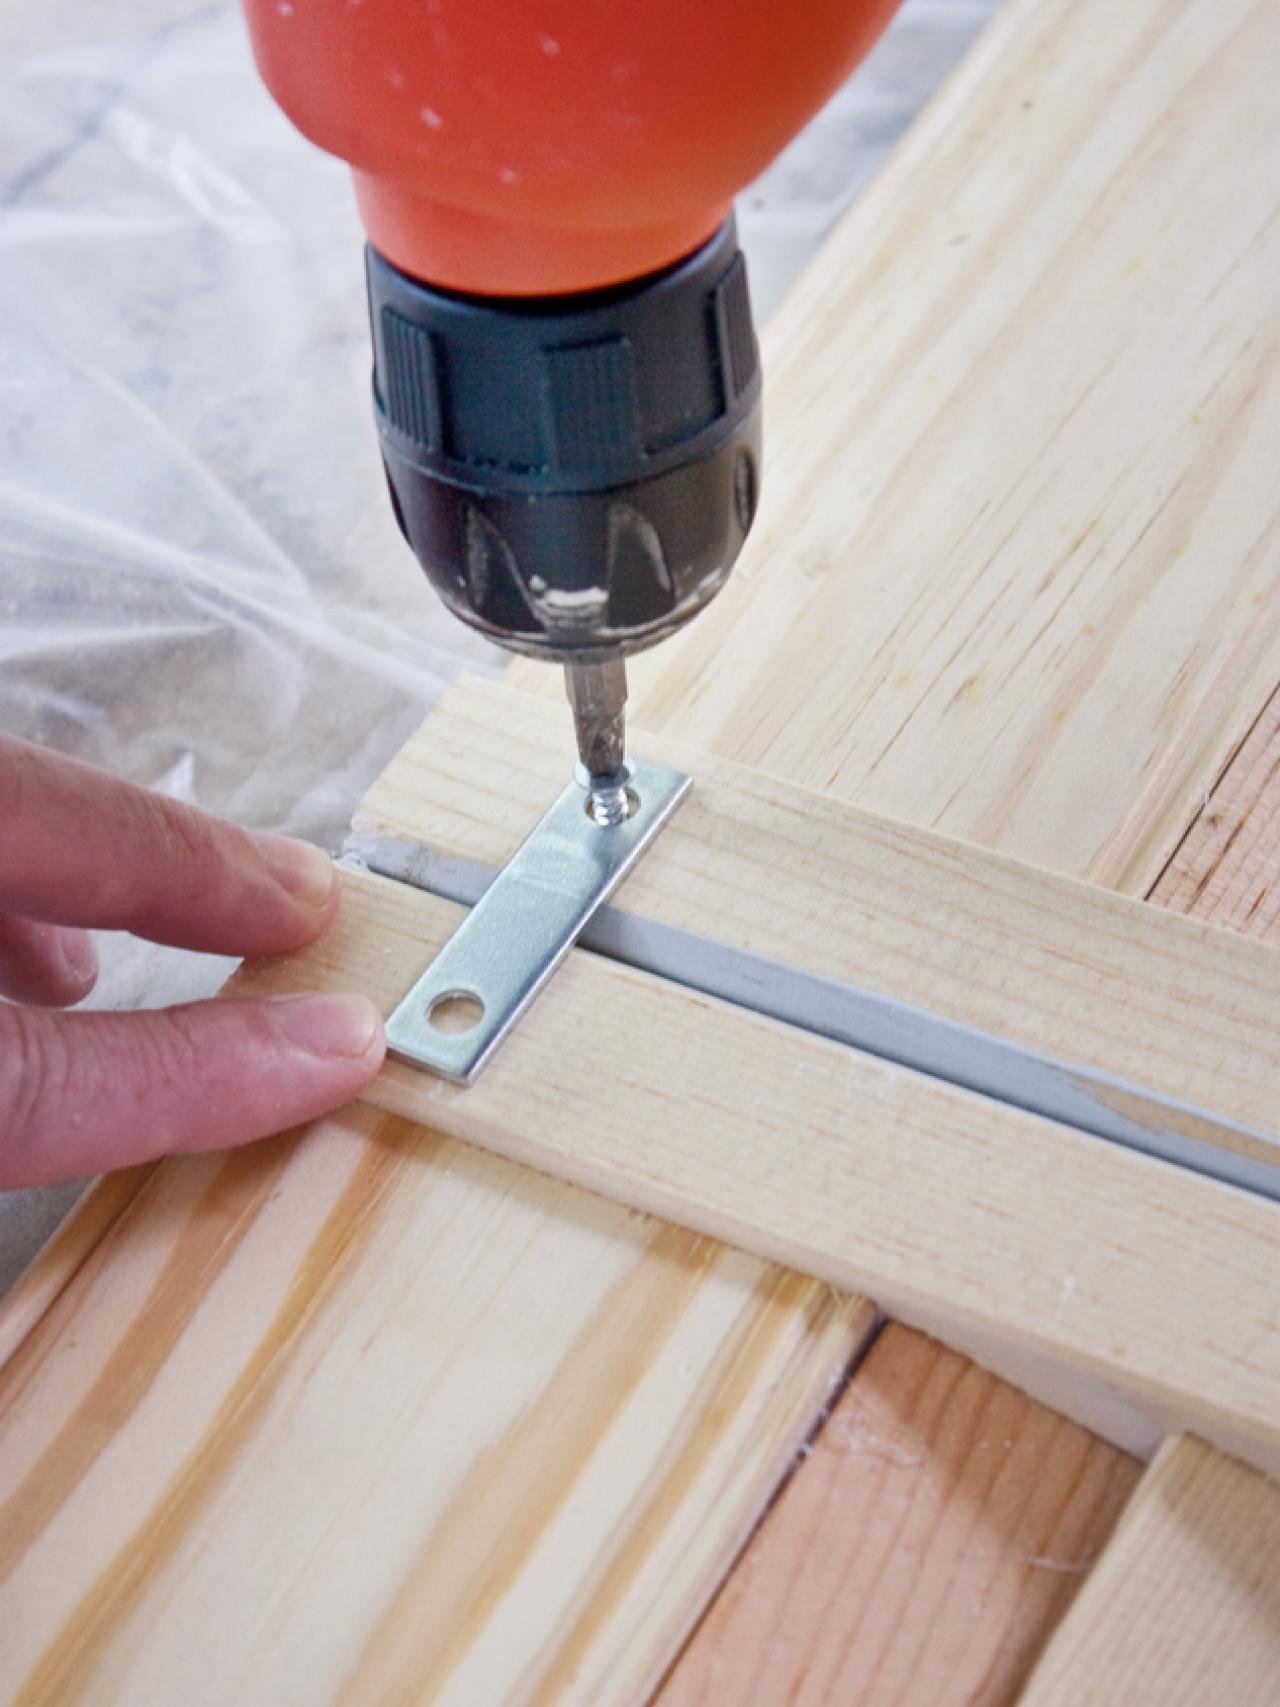
Attach Mending Braces
Use small mending braces to join the shutters together. For maximum stability, add a mending brace to the top, middle and bottom of each shutter.

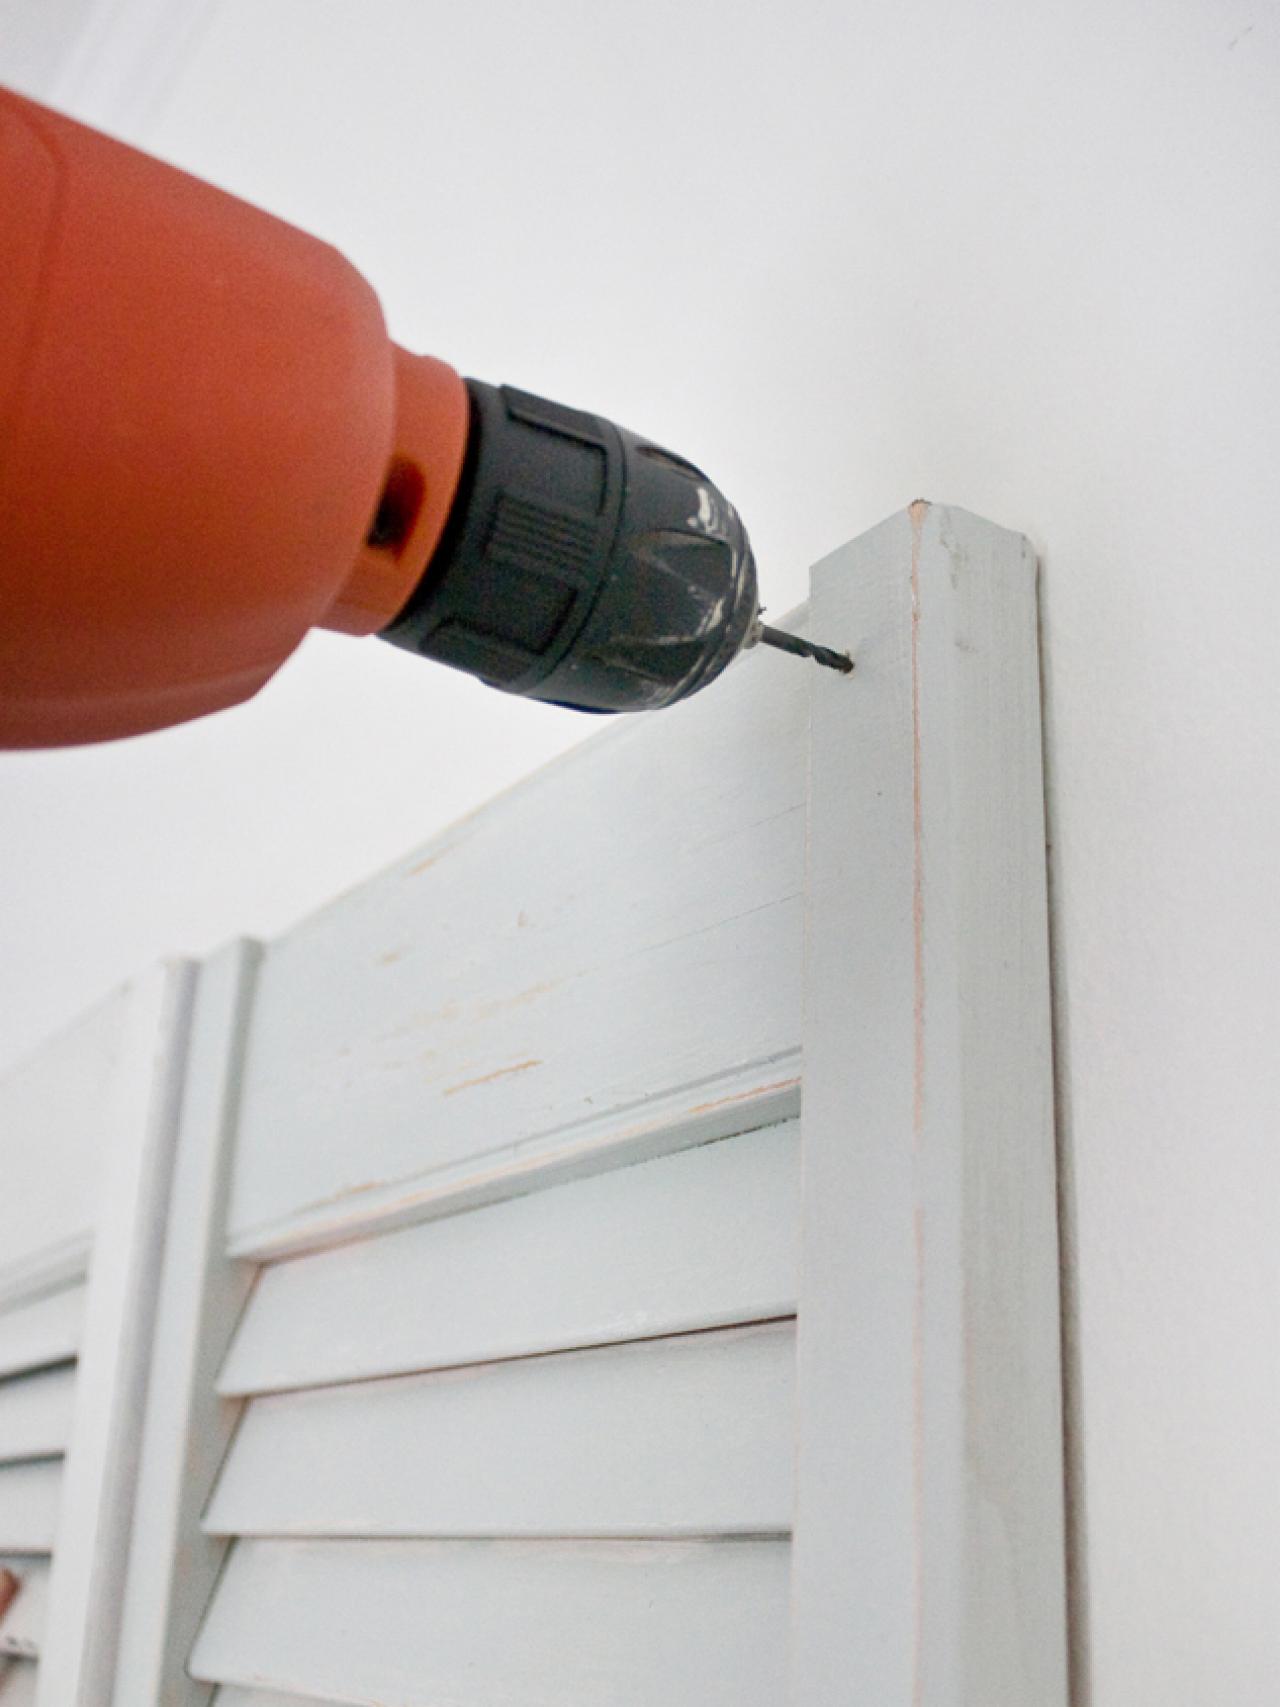
Pre-Drill Holes
Move shutter headboard into place behind bed. Drill a hole through the shutter and into the wall to mark where the wall anchor should go.

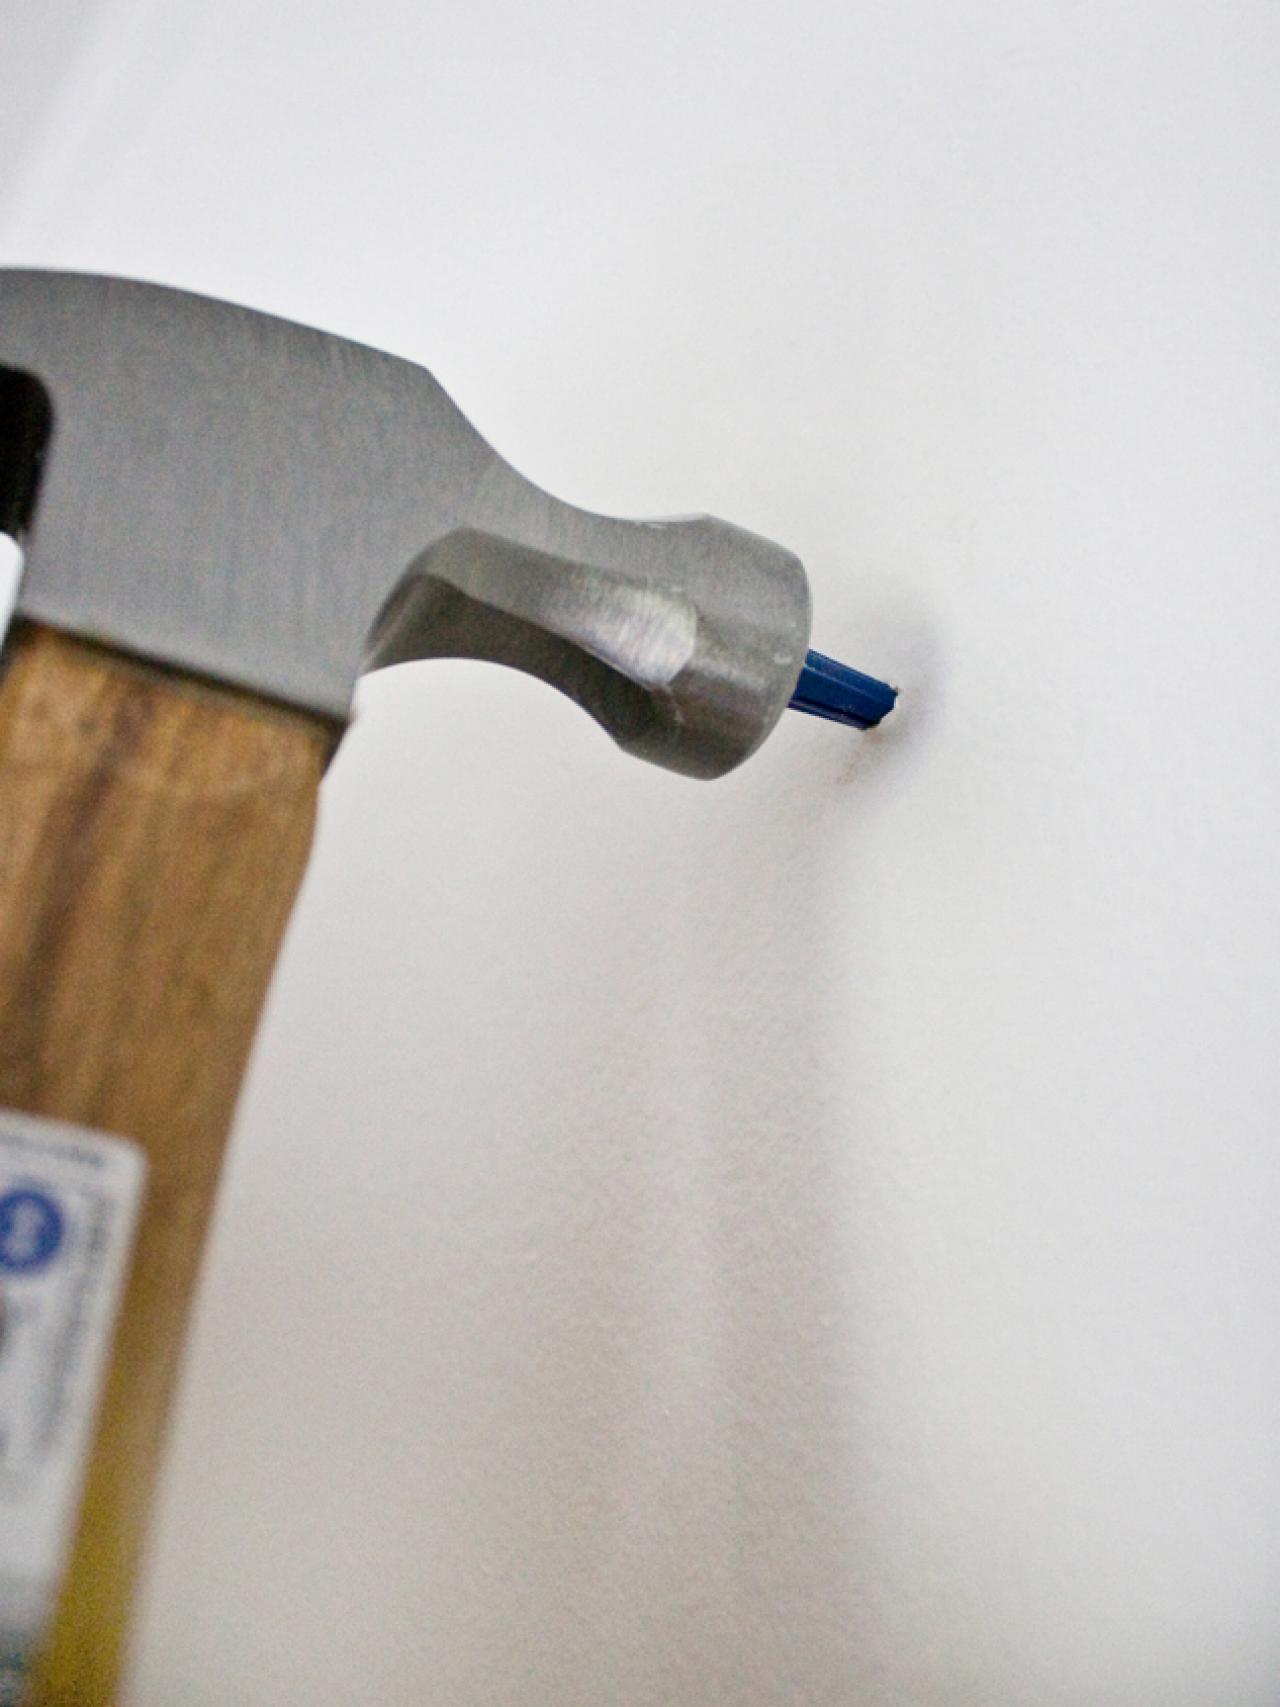
Embed Wall Anchors
Pull shutter headboard away from wall and drive anchors, one in each top corner, into the pre-drilled holes in wall.

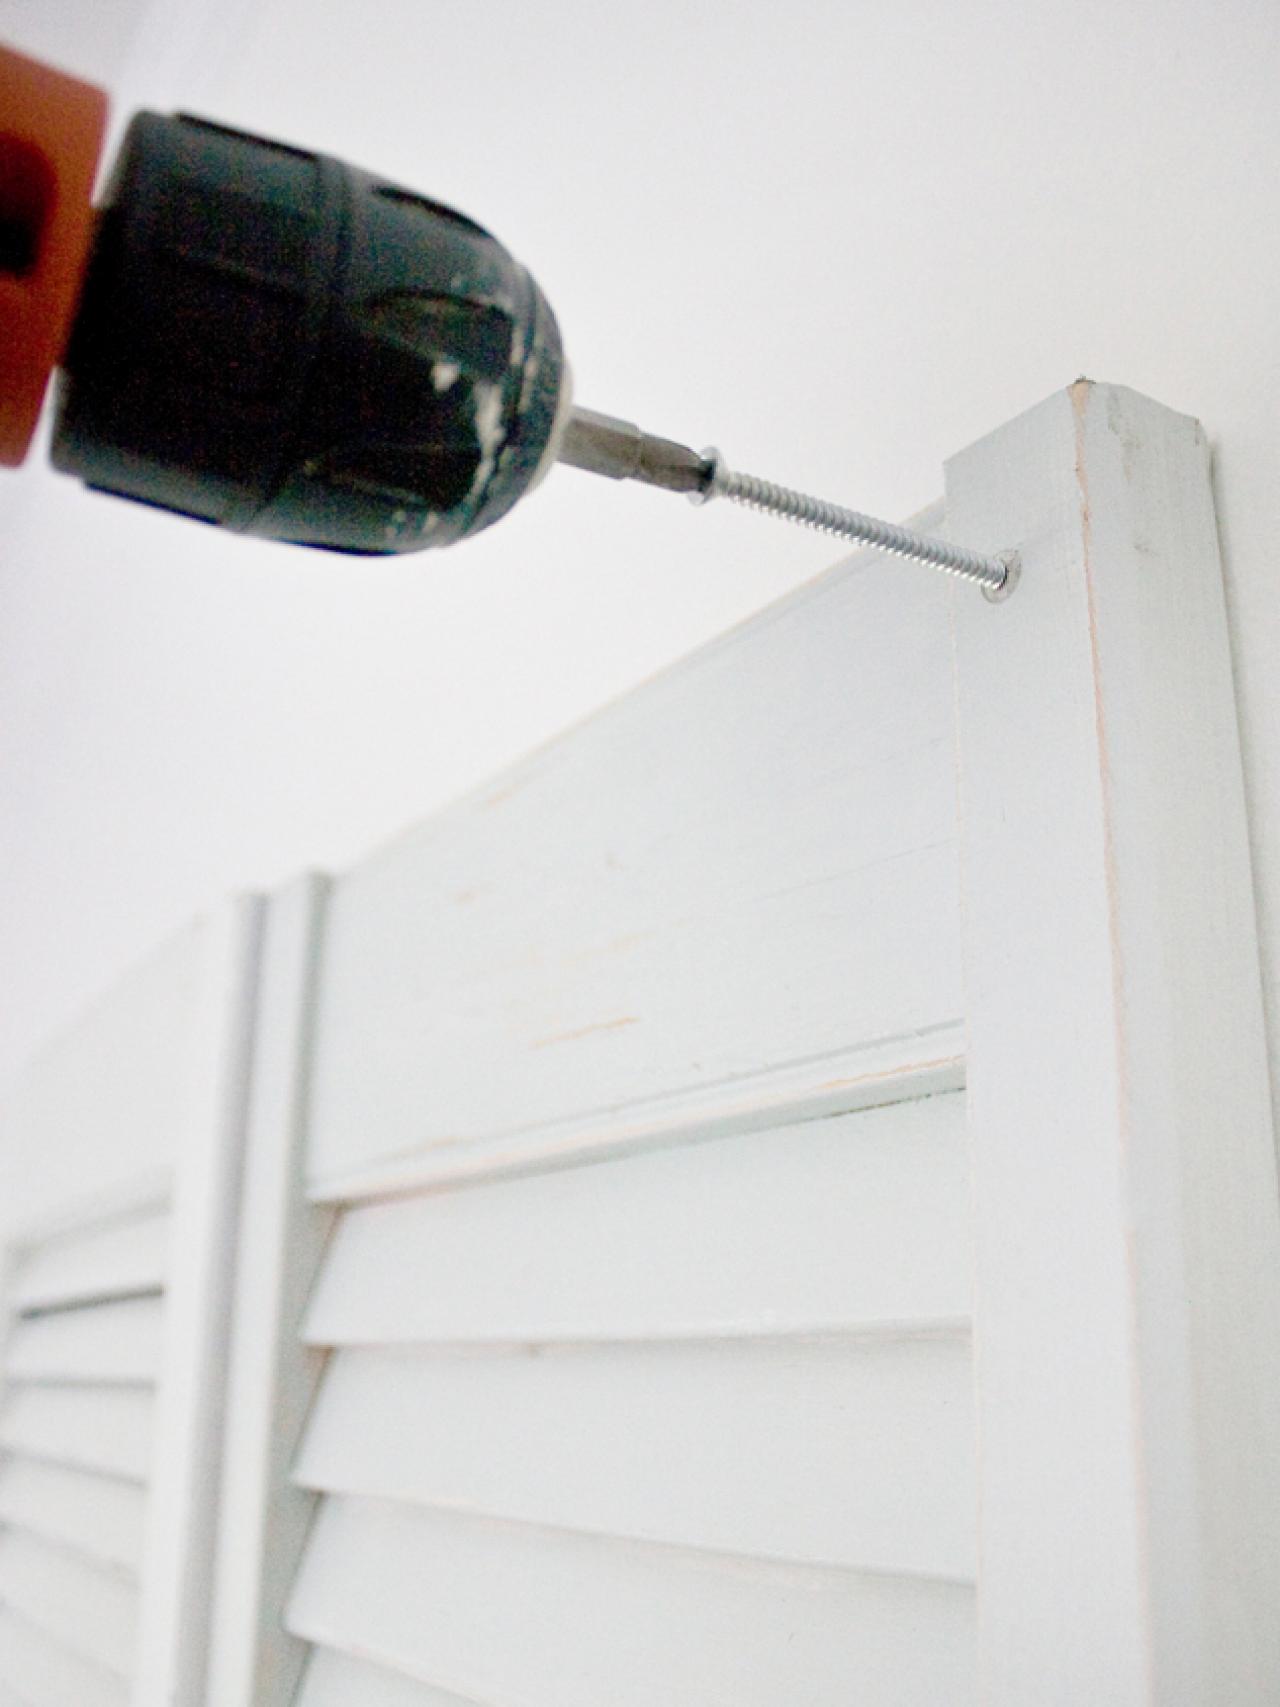
Securely Attach Shutter Headboard to Wall
Put shutter headboard back into place and drive a 2-1/2 inch screw through the front of the shutter and into the anchors embedded in the wall.


